Getting Started with Take
The Take app allows users to create templates of sequences with simple camera paths and keyframe options. Watch the tutorial below to get started.
Projects
Within Take, Projects are the overarching file that you will need to create when starting a new Take project. When in Take you can either create a new create a new project to work on, or select from a previously saved project.
Creating a Project
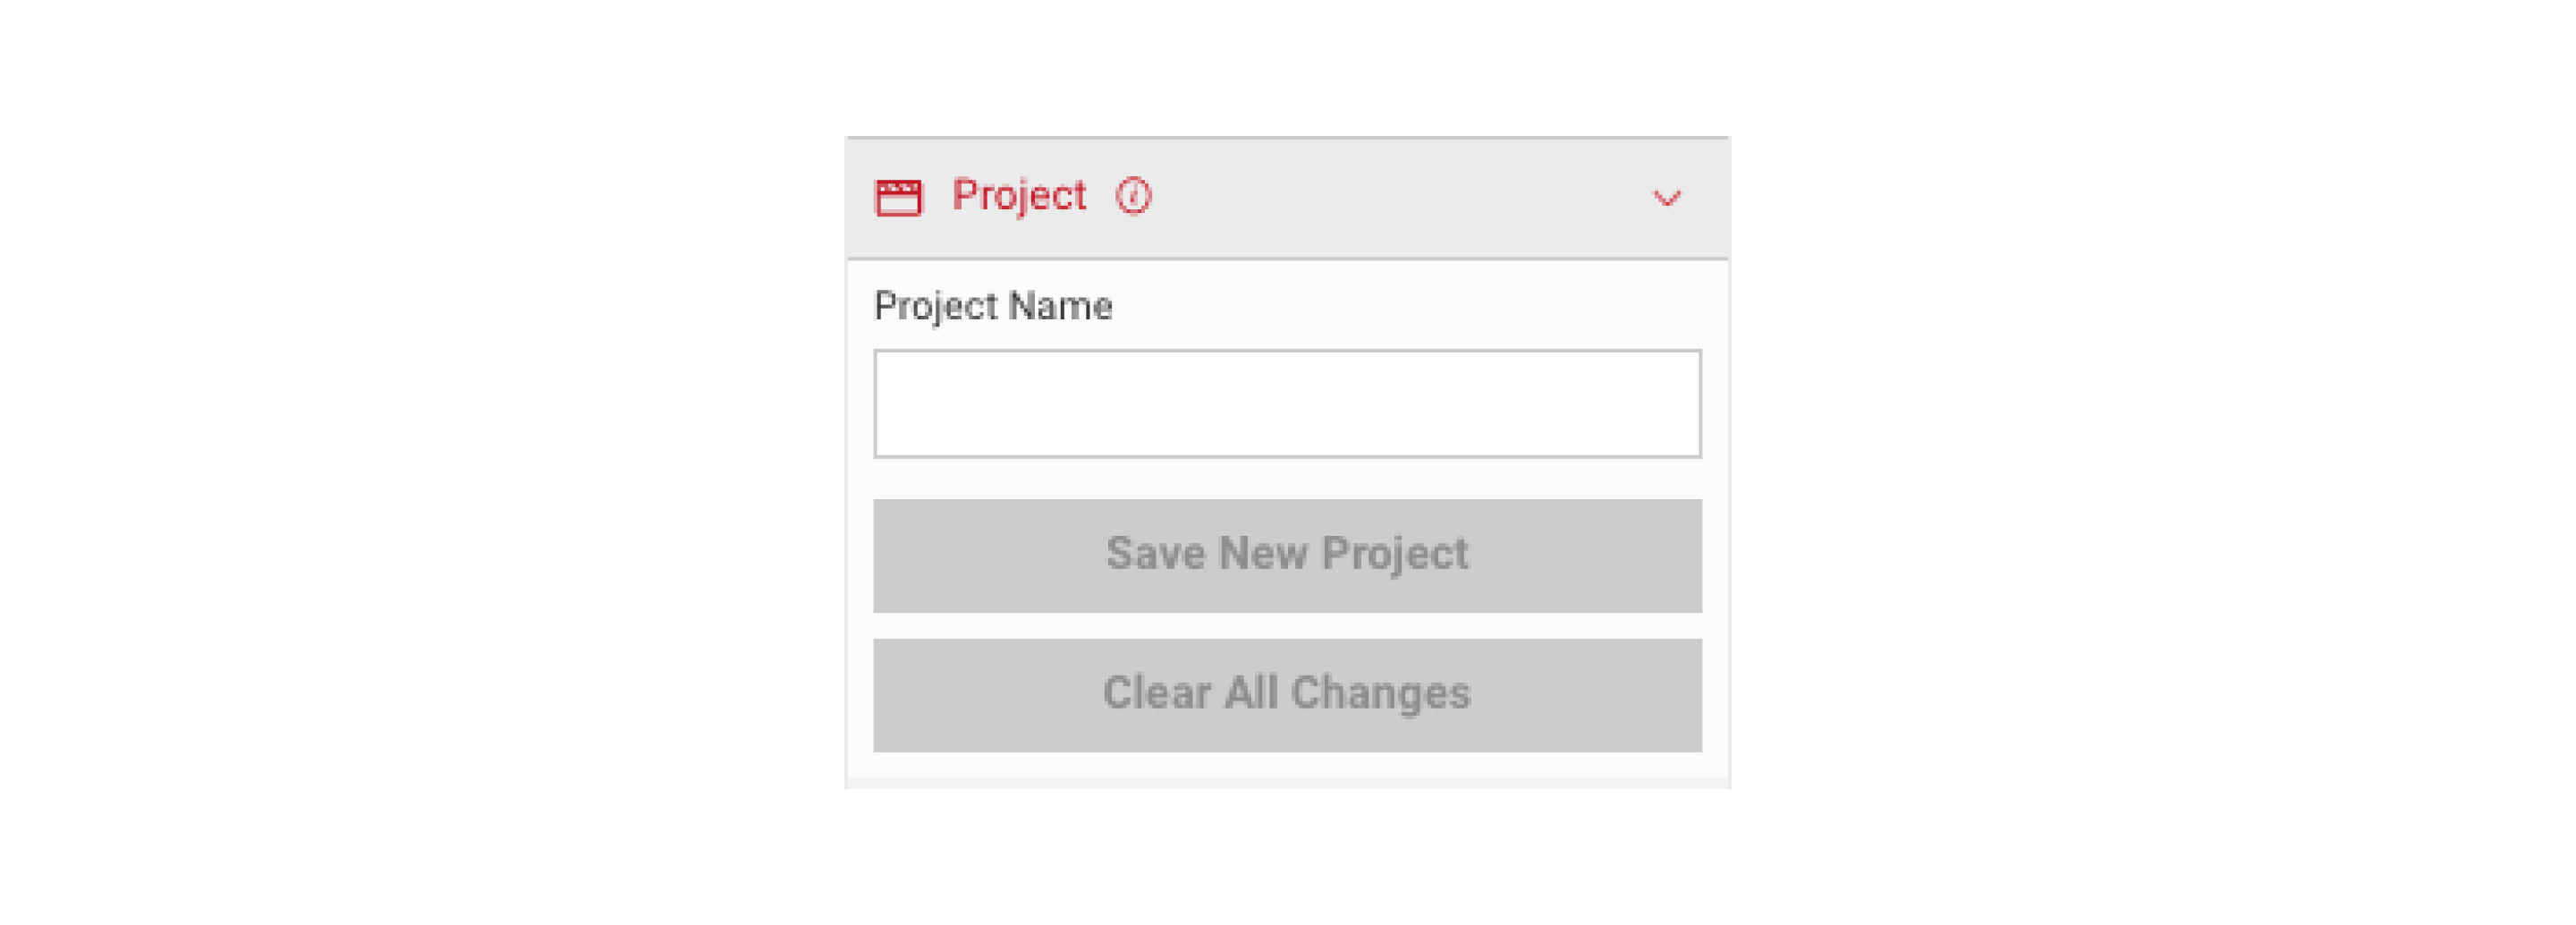
When beginning a new Project users can choose to do it in 2 different ways. Firstly, users can simply enter a name for the new project, and then click “Save New Project”. This will create both the project, and an associated “Clip” for the project. If this step is skipped, then the user can begin creating the sequence and save and name the project later, any progress will not be lost. It is advised that users name and save their project initially, before making any changes, and then save the project intermittently to ensure that they don't lose any progress in case of any issues, such as loss of internet connection.
- If a user wants to save a new version, they can simply enter a new Project Name, and the updates will be saved as a separate Project.
- If the user does not want to save any changes they have made to the sequence, they can select “Clear All Changes”, which will reset the sequence editor and Project.
Loading and Deleting Saved Projects
Select the Project panel to load a previously created Project from the list. The thumbnail here shows the vehicle that is currently selected, not the vehicle that was used to create the sequence.
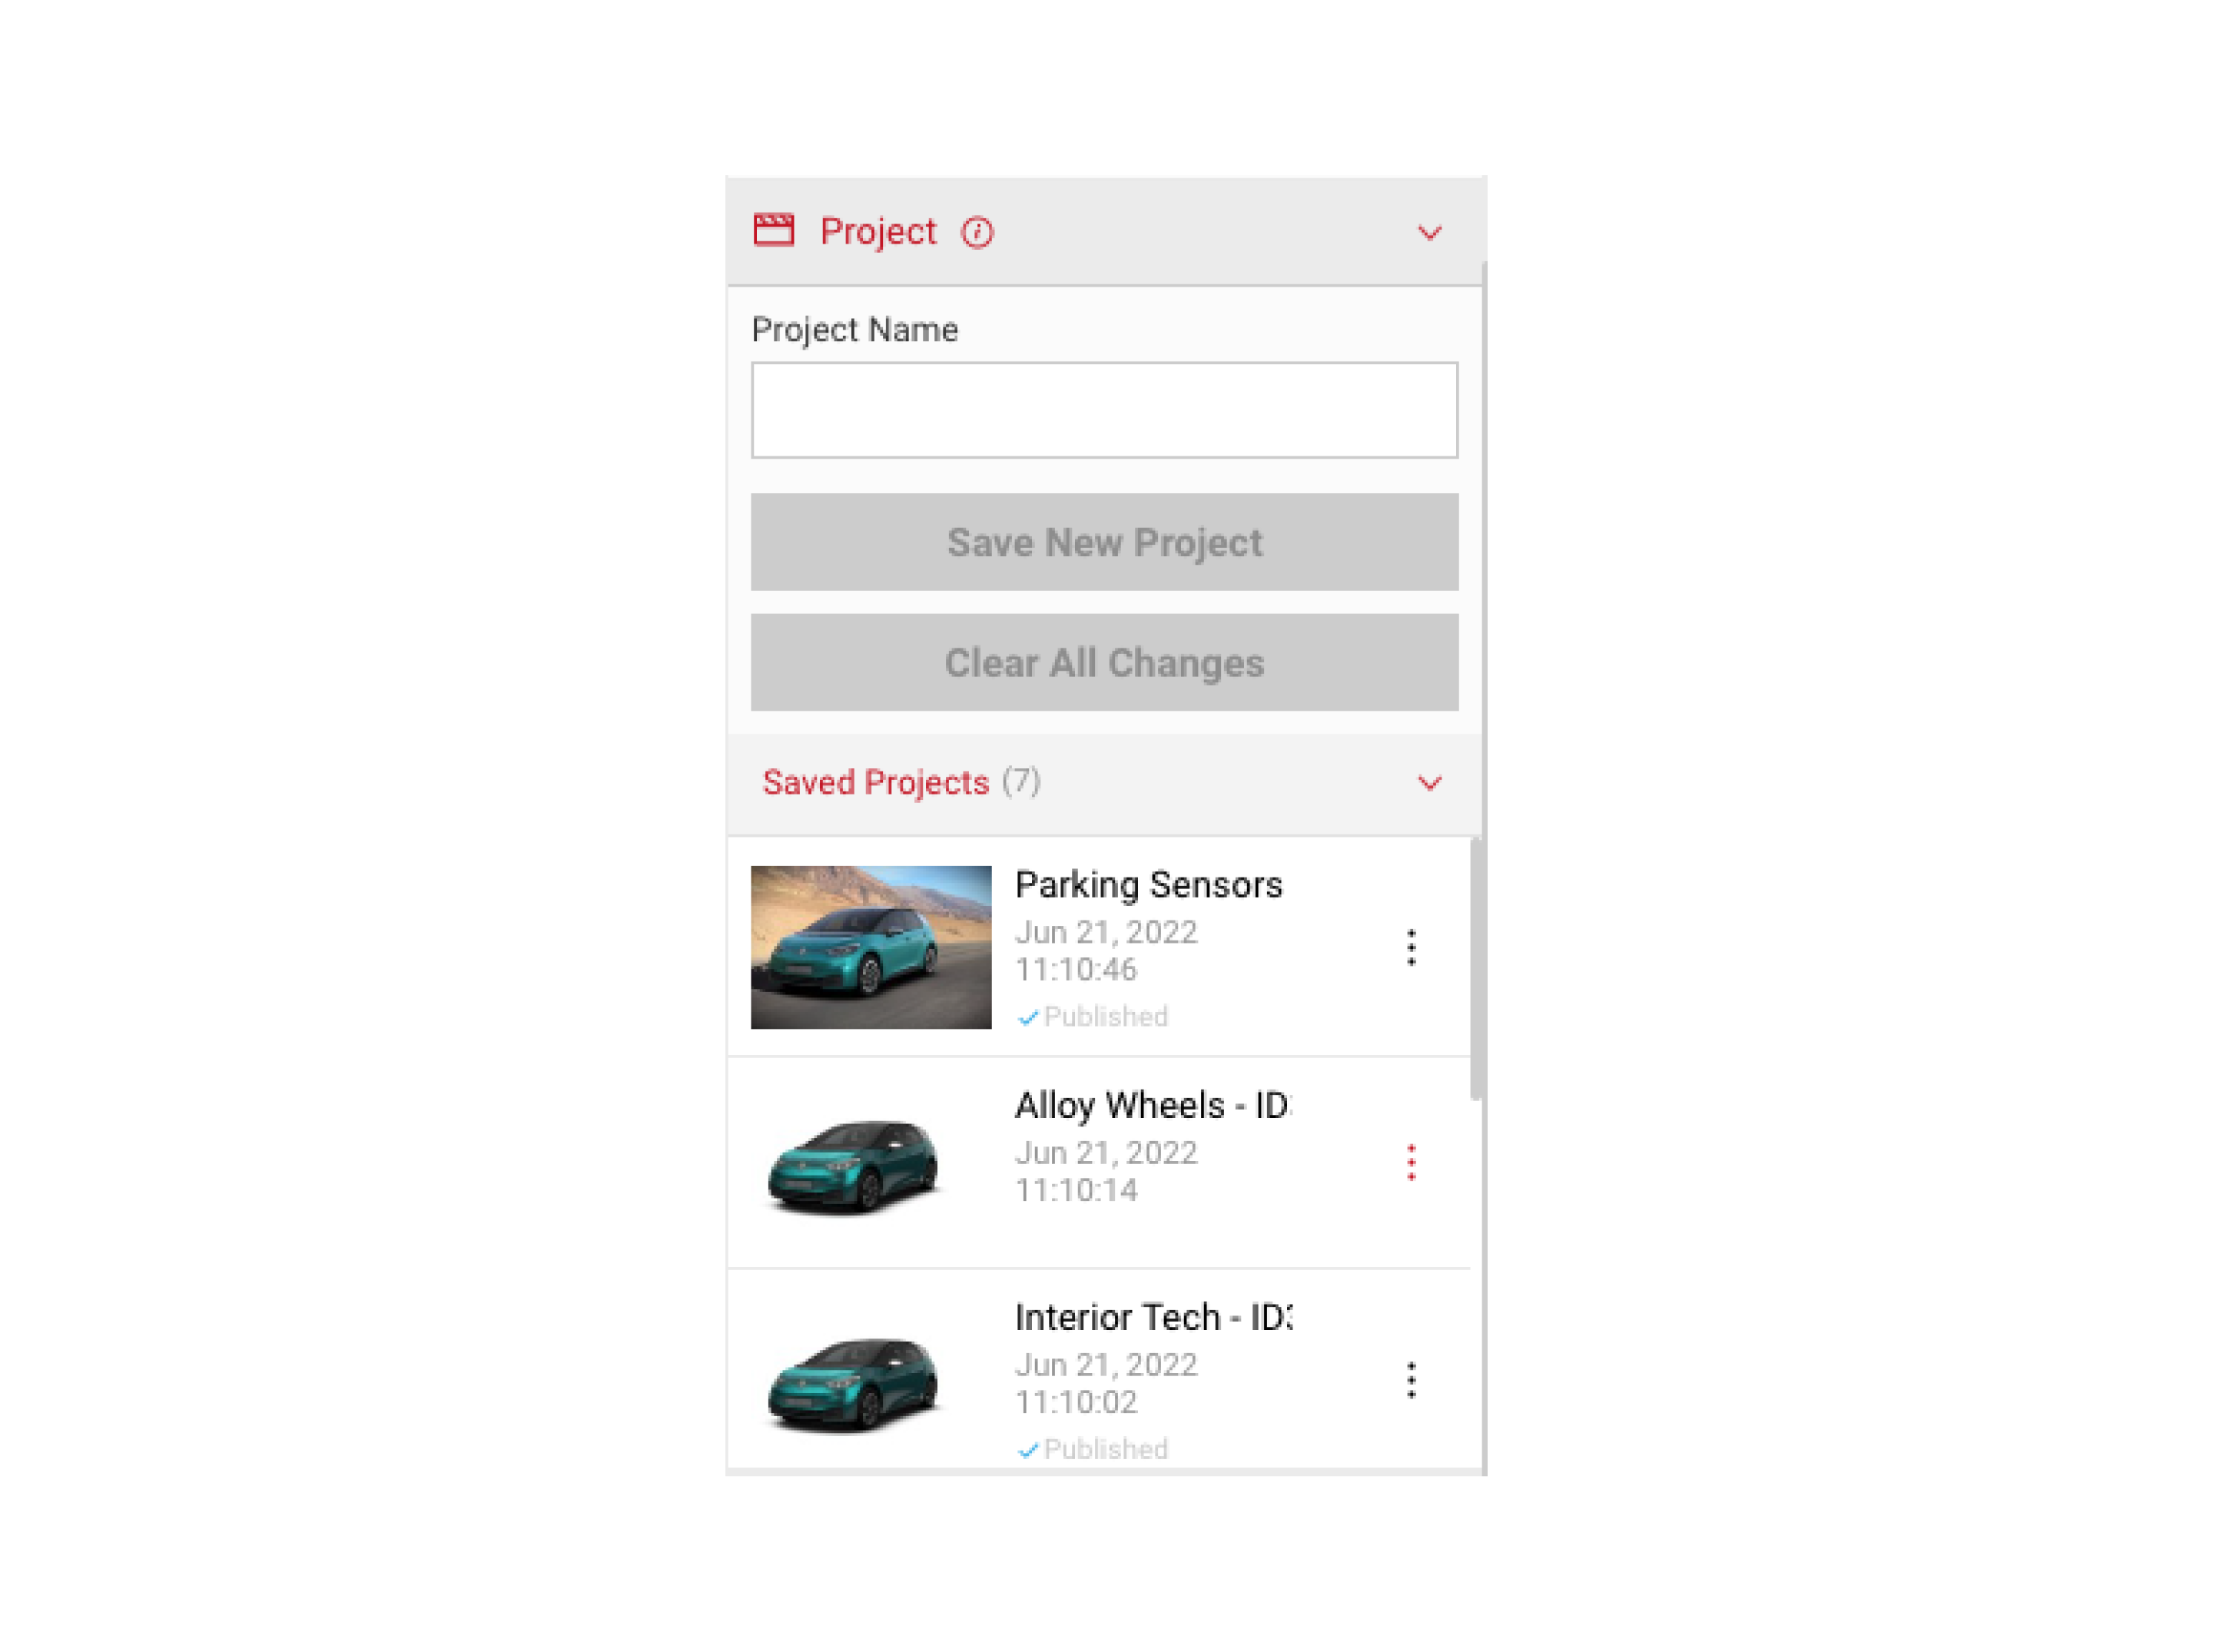
- To delete a saved project, users can just expand the tile with the “three dot menu” at the side. This will then display the option to delete a project. Selecting this presents the user with a Modal which asks you to confirm that you wish to delete the project. You then also have the option to delete the clips associated to that project.
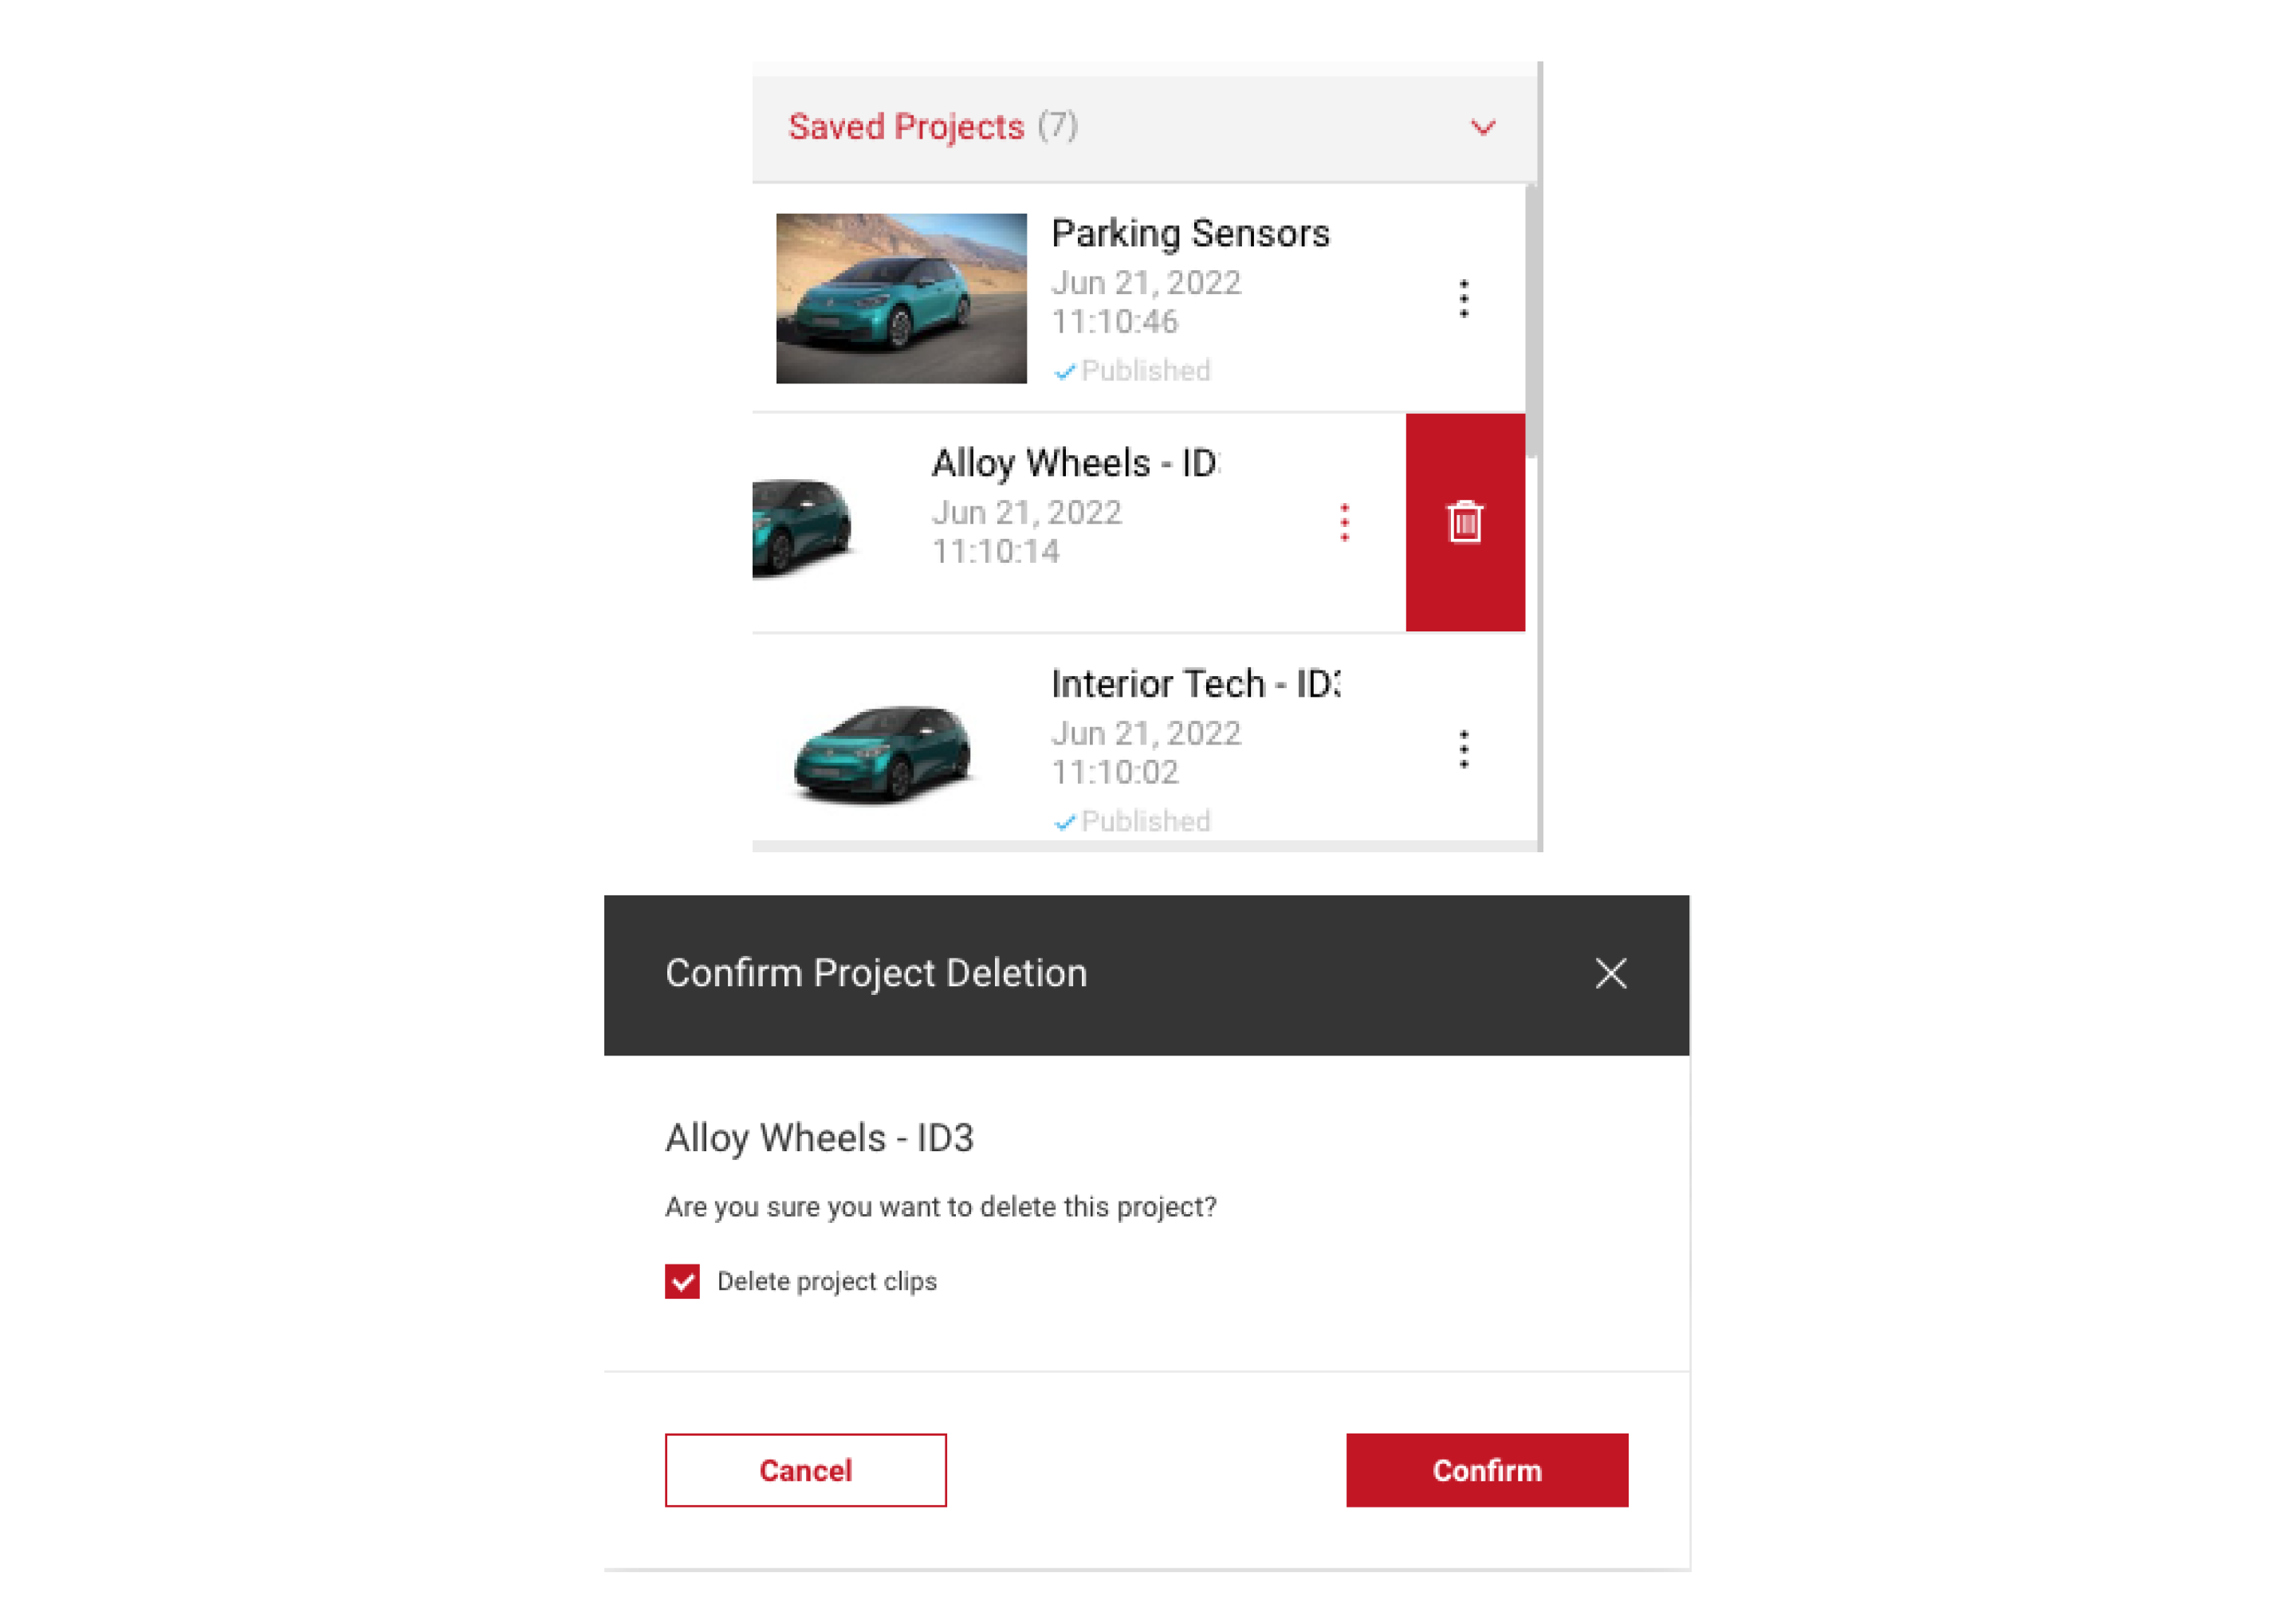
Note: Currently only a single clip can be associated with a project. This will be expanded in future releases.
Applying Tags
You can also apply up to 20 tags per Project or Clip to help structure and filter all your content.
To Learn more visit content tagging
Clips
A clip is a series of keyframes which belongs to a project, a single clip can also be associated with multiple projects. To use an existing clip, create a new project and then select the clip you wish to use.
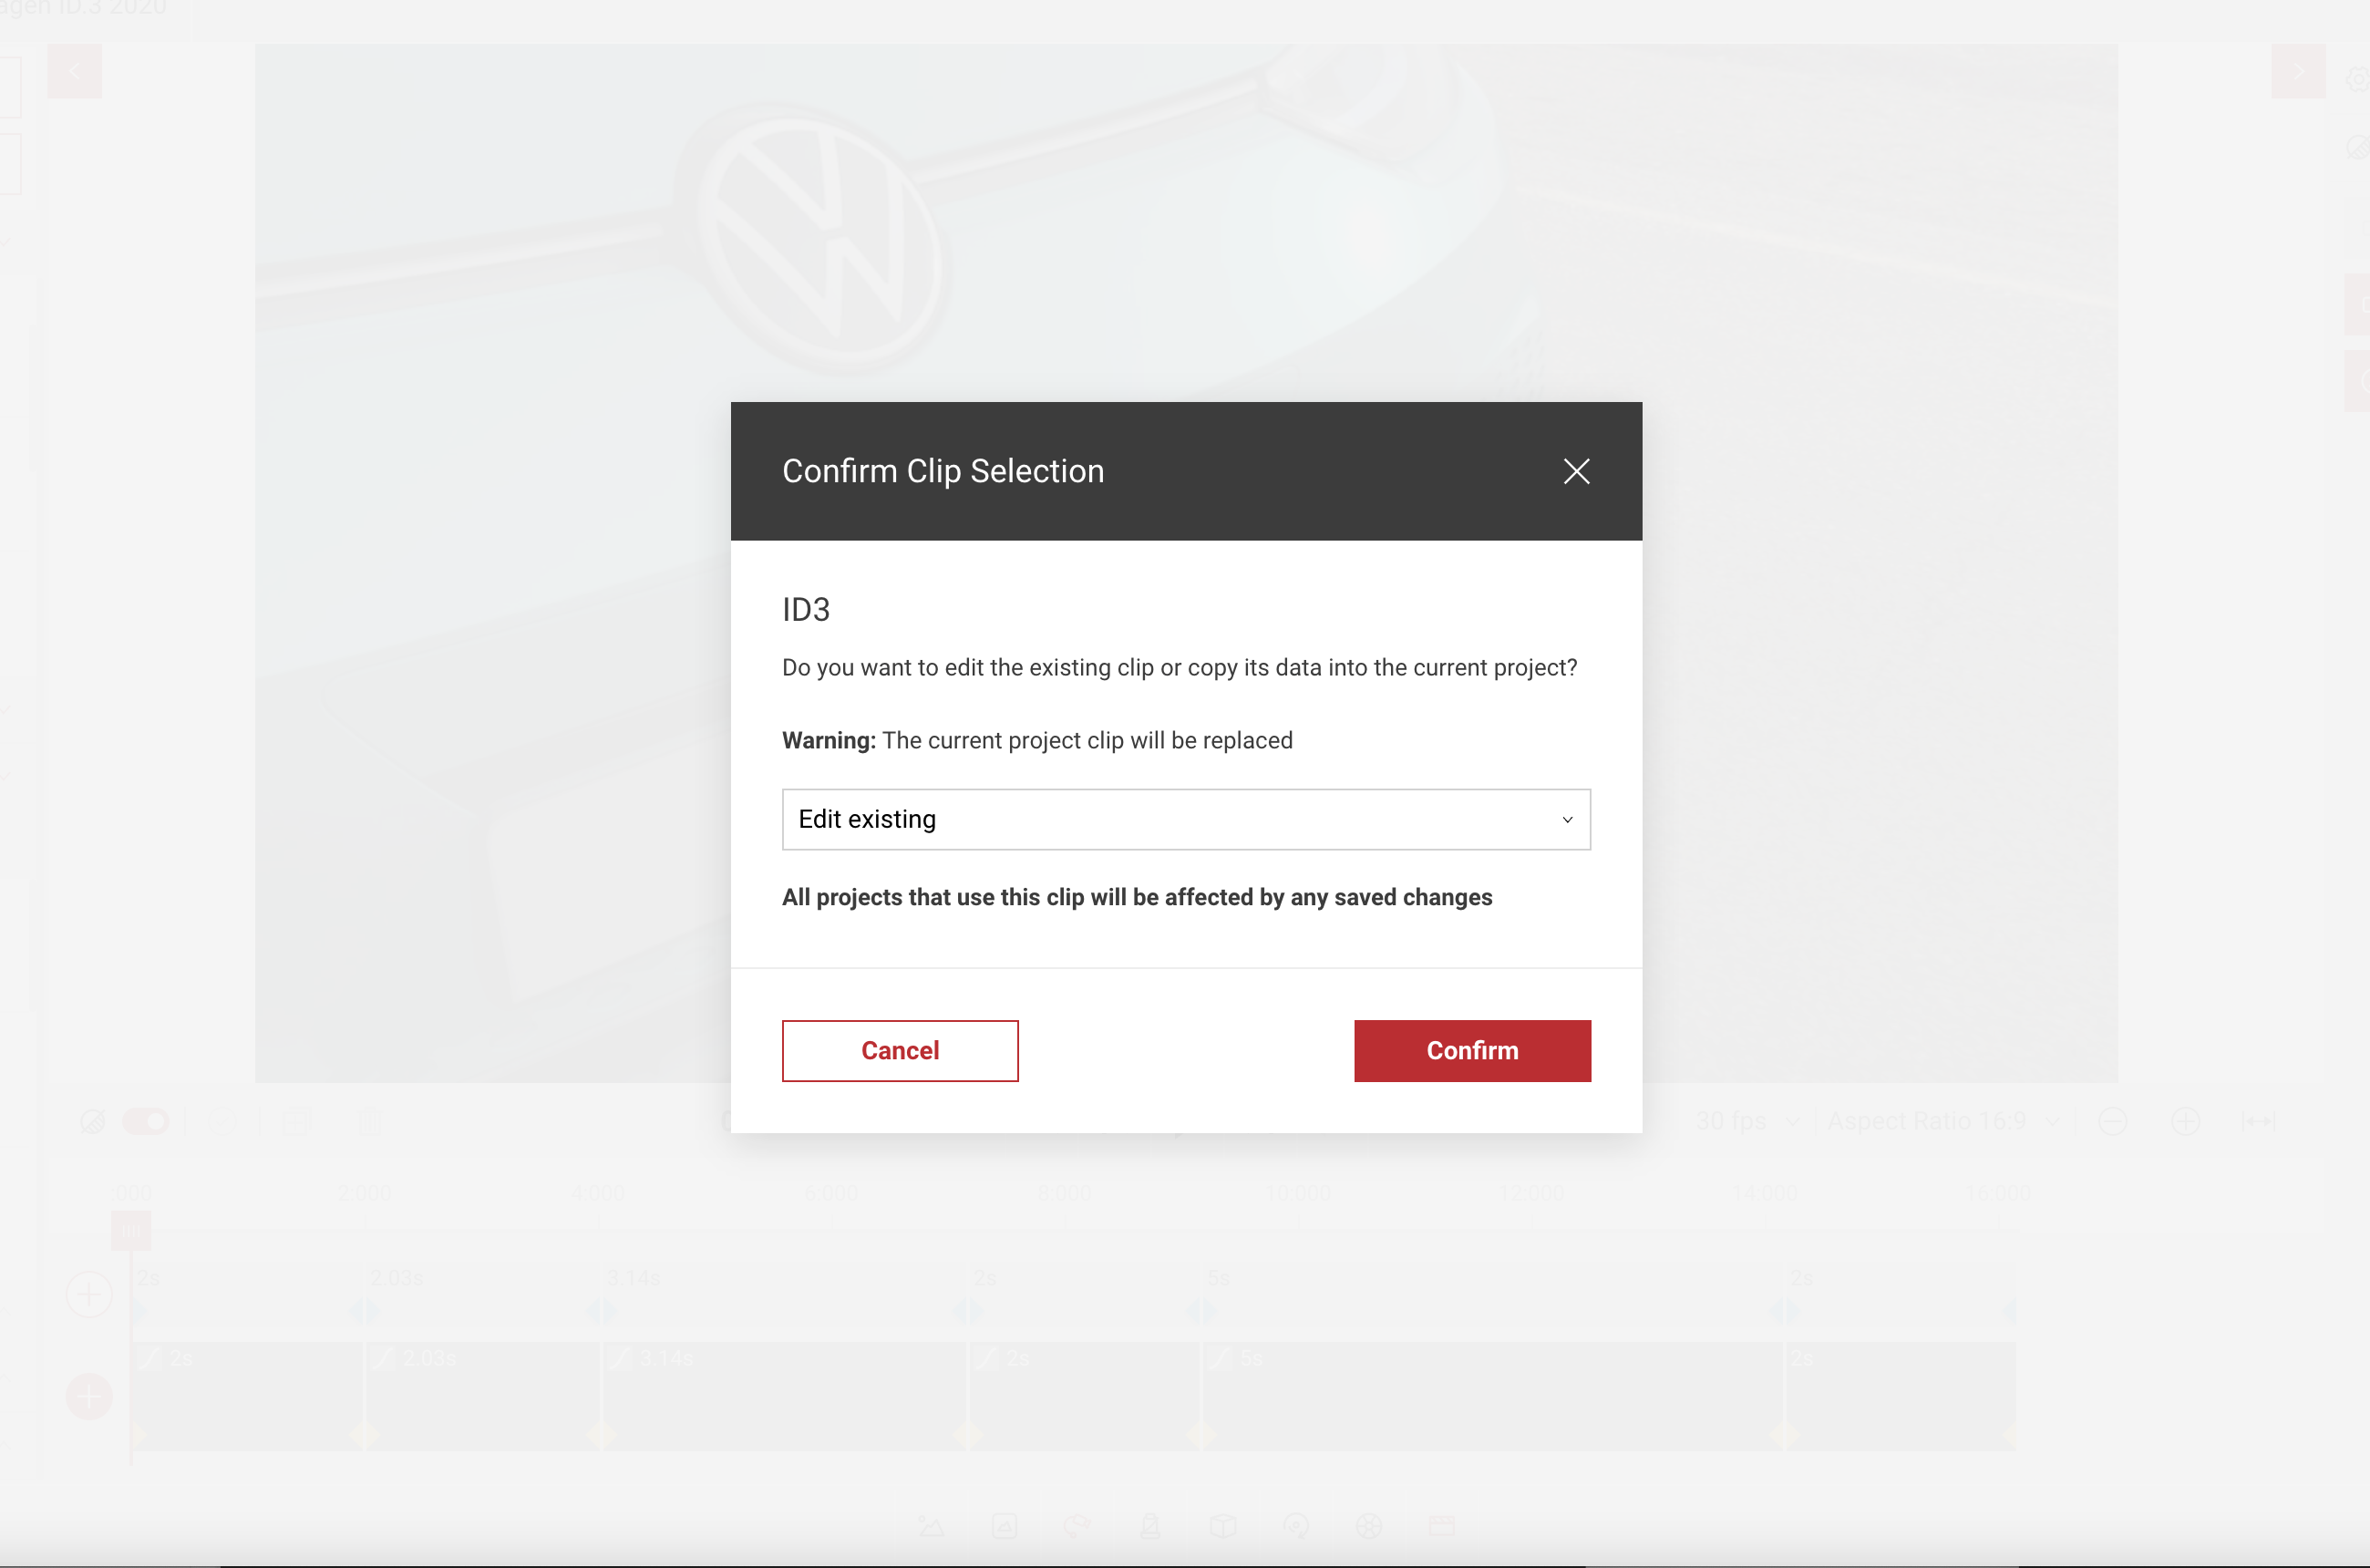
- After you have selected the clip, you will be presented with the dialog below.
- Here you can select whether to Edit the existing clip, or Create a copy.
- If you choose to edit existing, all projects which use the clip will be affected. Creating a copy will simply copy all of the clip data but will be separate from the original.
Note: Currently, only one clip can be associated with a single project. In future versions, multiple clips can be used in projects. Meaning you can import a clip from a previous project, into a new one.
Sharing Clips
Within Take, users can also share clips they have created with other users. Currently, entire projects can't be shared between users.
To Learn more visit sharing