Getting Started with Shutter Pro
Shutter PRO enables enhanced image production through a set of advanced render effects, layers, and options, which maximise image quality and creative freedom while keeping the simple-to-use interface. Shutter Pro can be used for multiple use cases such as social media content, website images, configurators etc.
Use Case 01 - Quick Shot HD Picture
Quick Shot HD Picture
Basic picture production can be used for multiple use cases in Shutter Pro. Can be used by OEMs, creative agencies and marketing departments to support a wide range of content including:
- Website Pictures
- Social Media Campaigns
- Advertising/Marketing Ads
- Digital Product Brochures
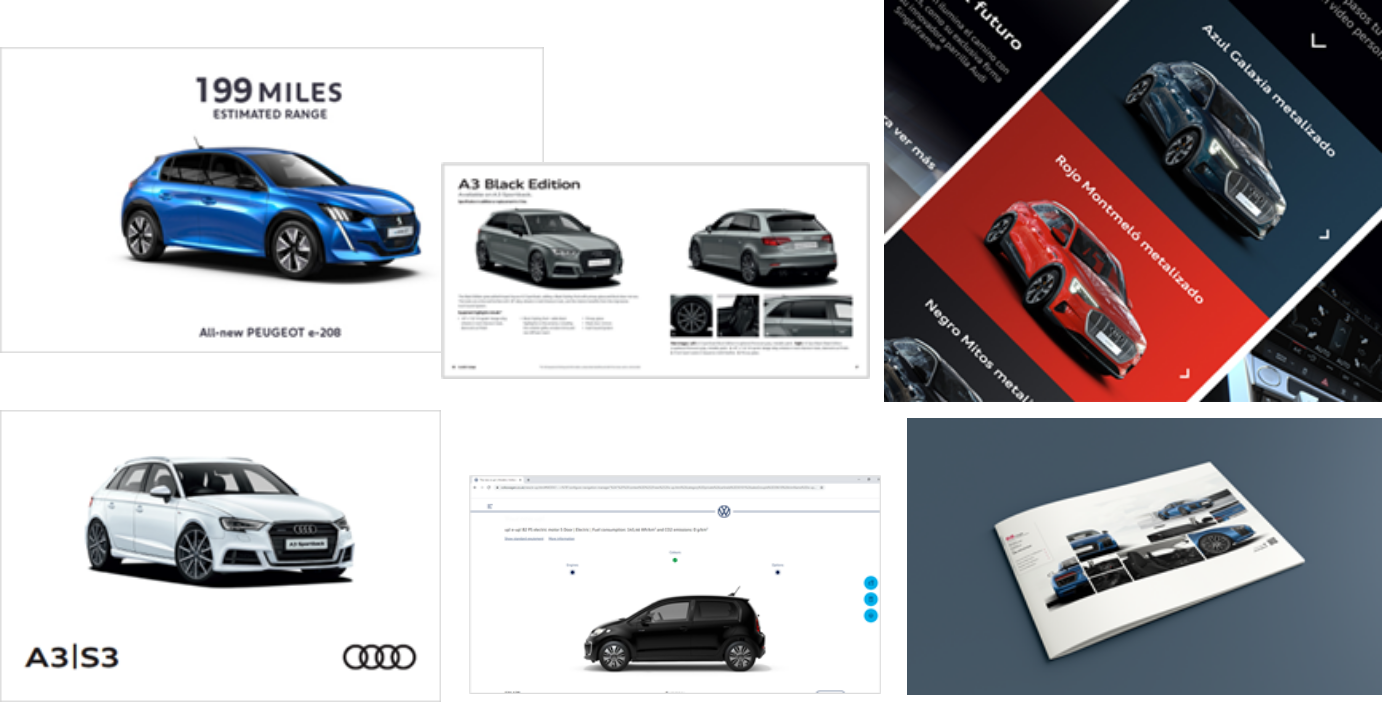
Visit the Quick Shot HD Picture Tutorial to learn how to create a high quality image.
Use Case 02 - Turntable Production
Turntable Images
Turntable picture creation is a fast and efficient way to output up to 144 high quality pictures using different PrCodes and environments. With this feature, users can easily produce content for online configurators and product websites to create dynamic interactive features.
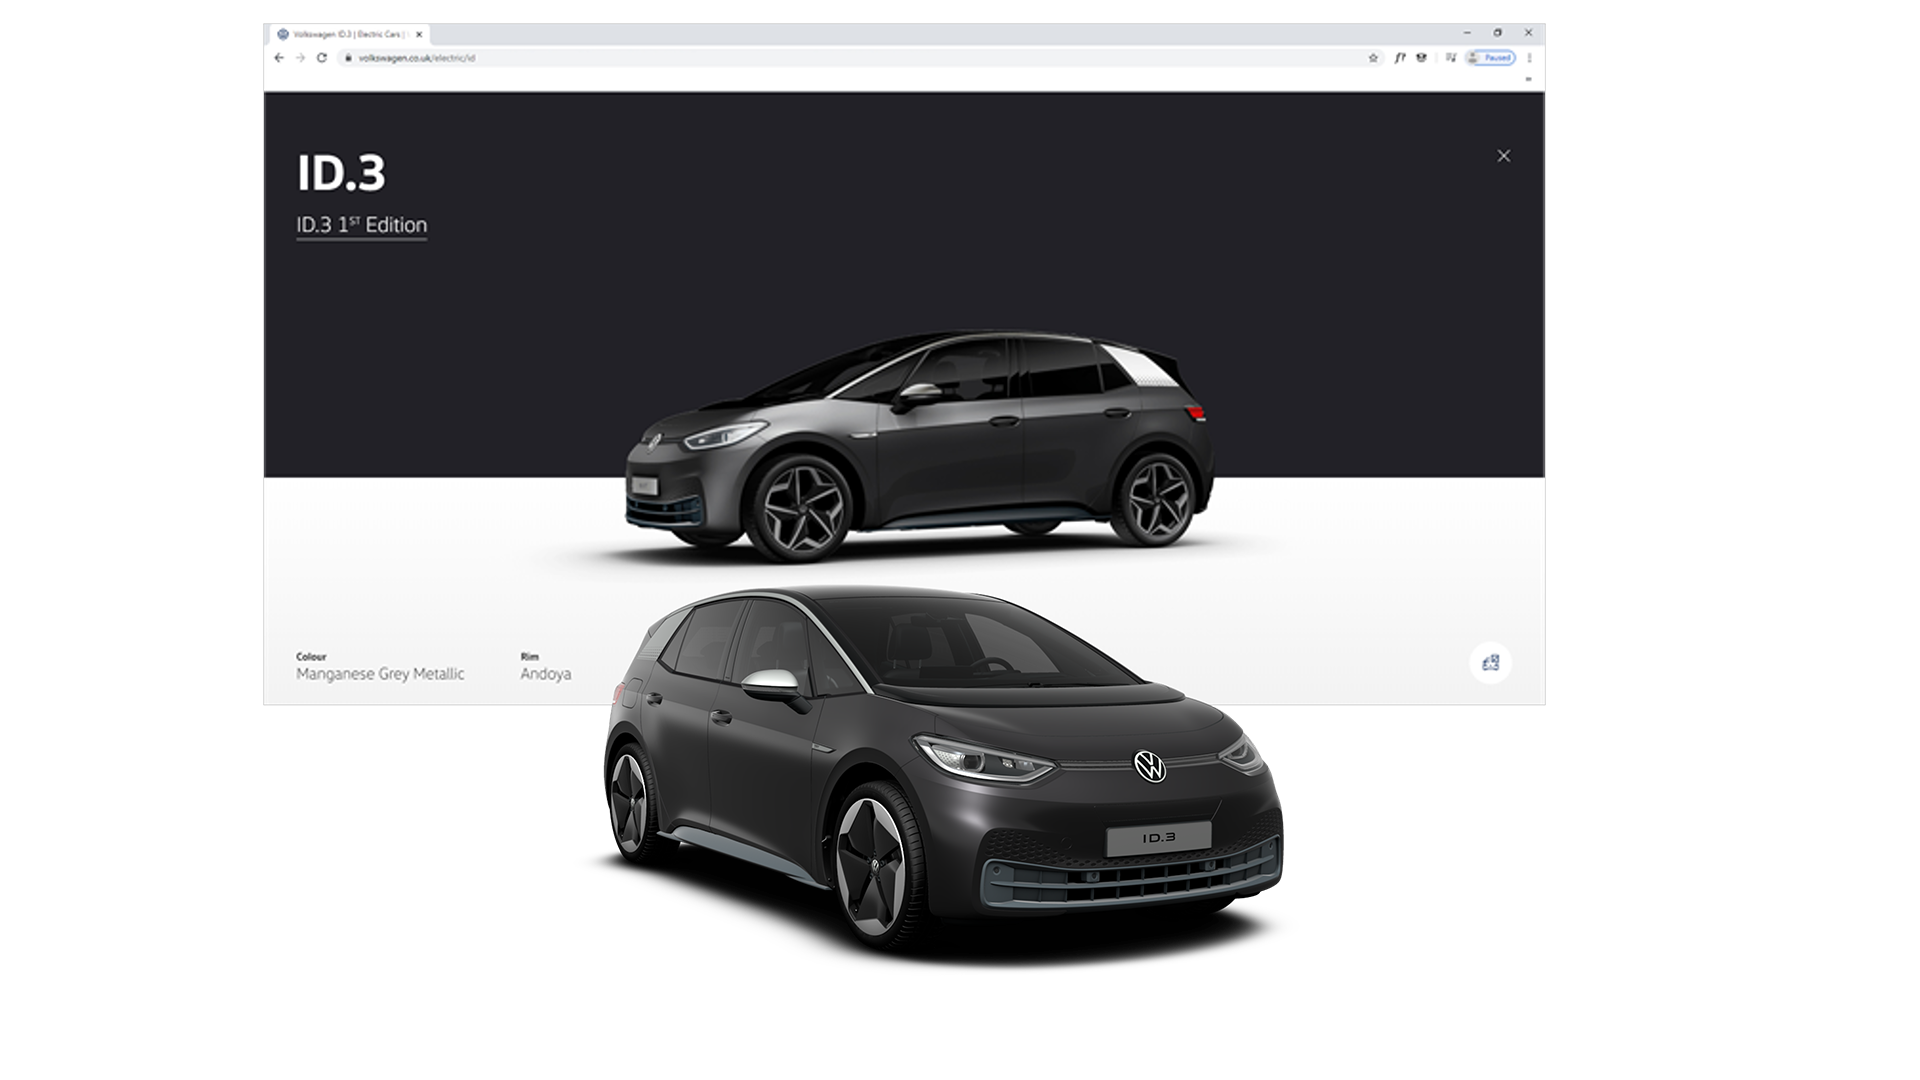
Visit the Turntable Image Tutorial to learn more.
Use Case 03 - Multi Car Image
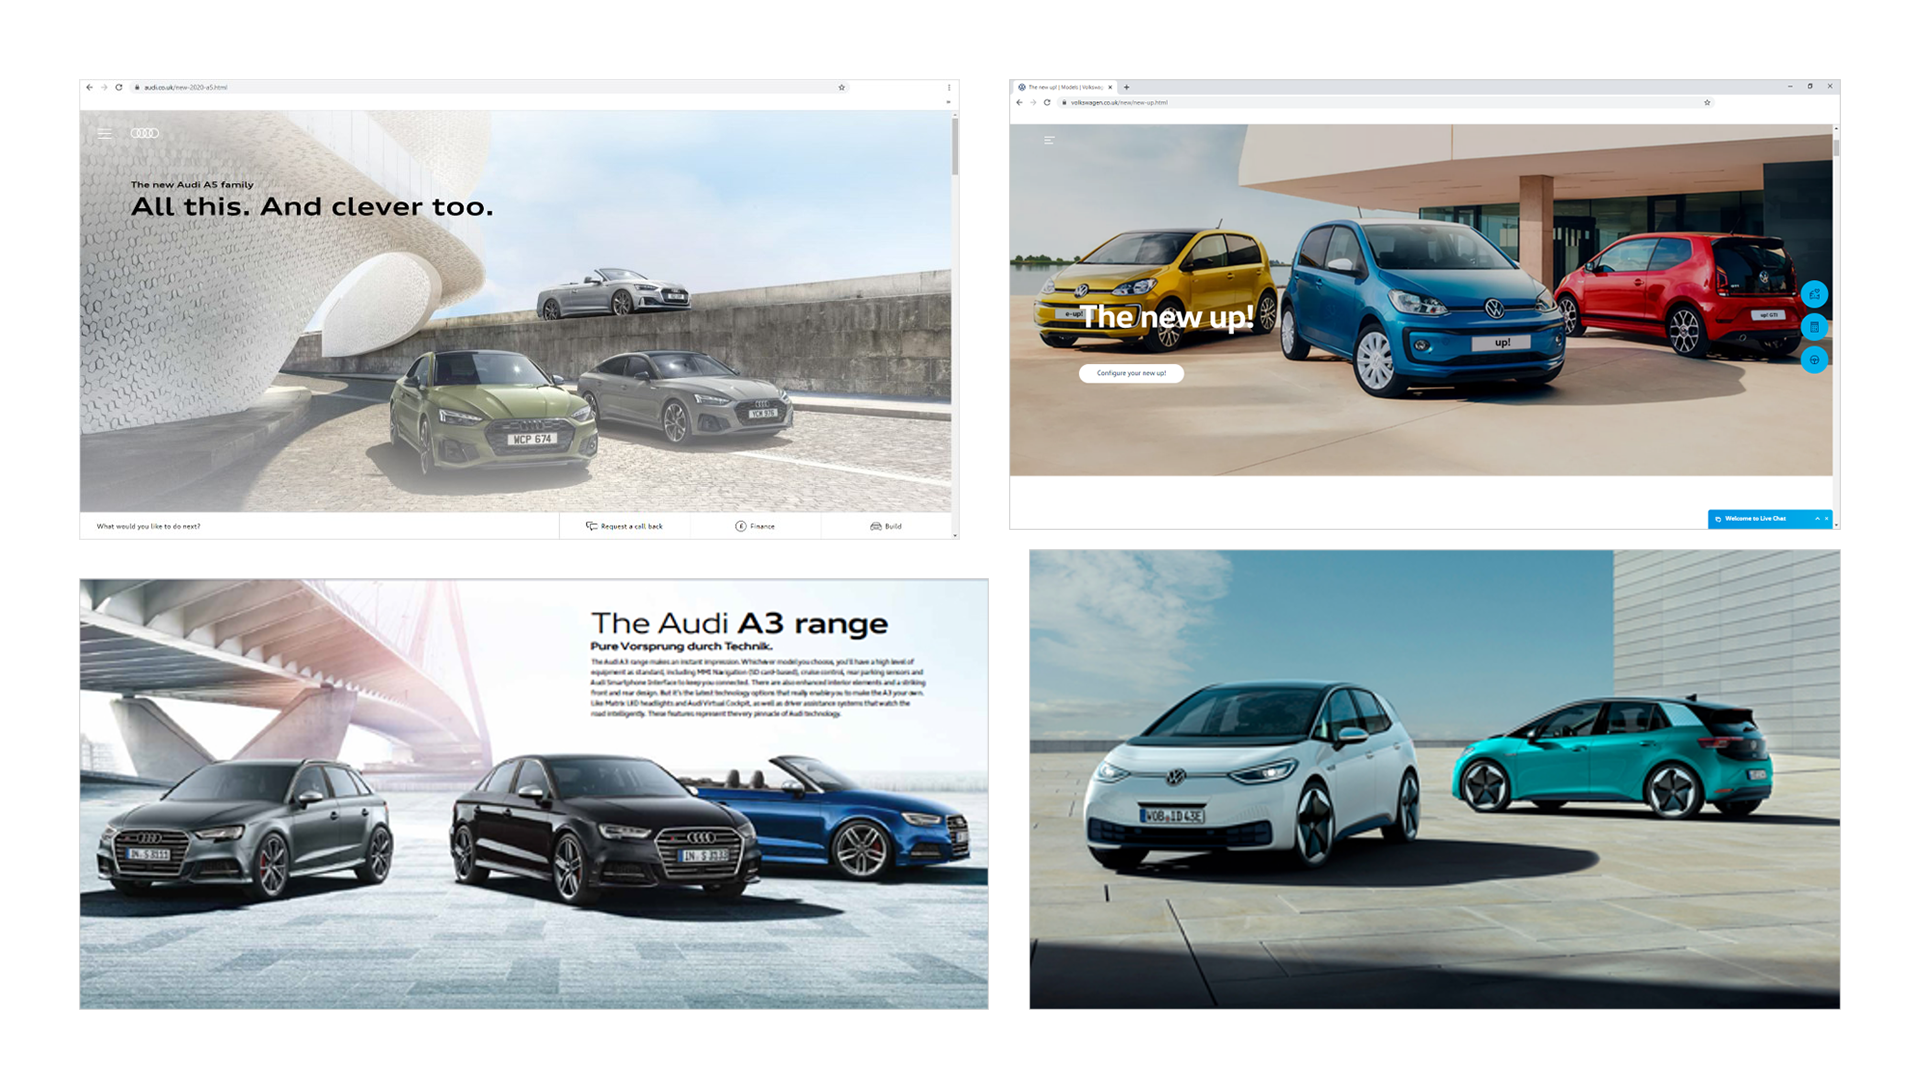
Multi Car Image
Using Shutter Pro's Guides and Overlay tool, users can create dynamic images to showcase multiple car models in stylised environments. Users can produce professional high quality pictures to support worldwide marketing campaigns.
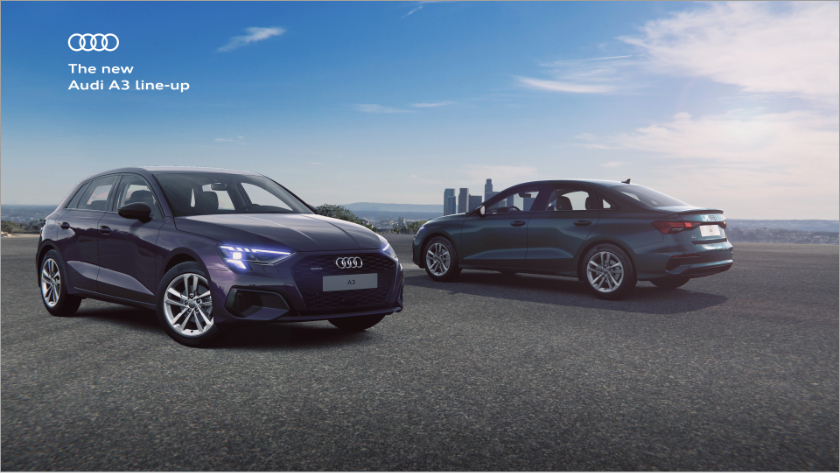
Visit the Hero Shot Multiple Car tutorial to learn more.
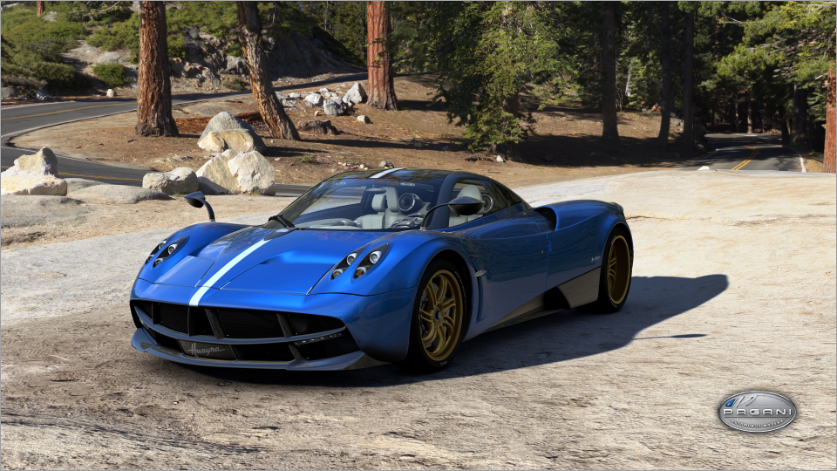
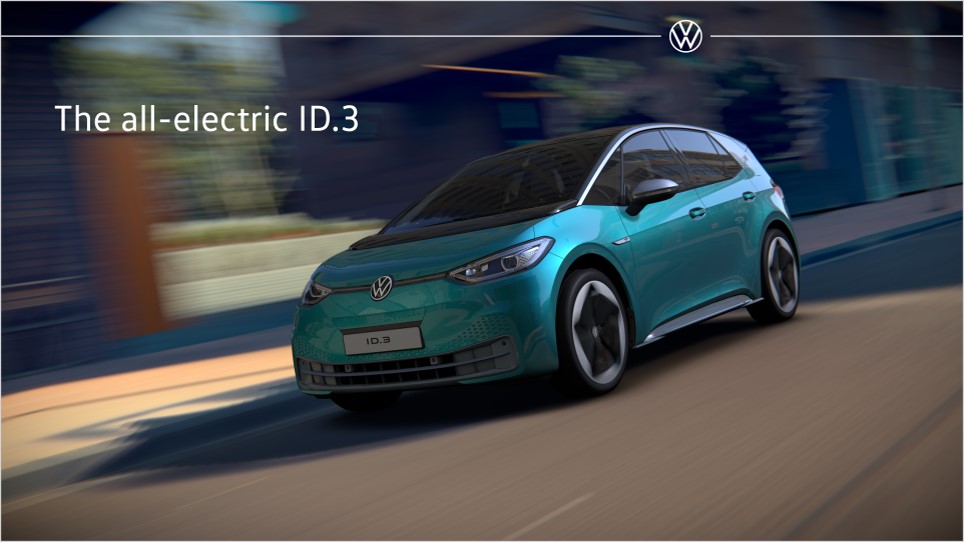
Use Case 04 - 4K Hero Image
Shutter Pro allows high end picture production, giving creative agencies the scope to produce and output on brand stylised and dynamic worldwide campaign content at 4K (and higher resolution) for:
- Website Pictures
- Social Media Campaigns
- Advertising/Marketing Ads
- Digital Product Brochures
Visit the Dynamic 4K Picture Production Tutorial to learn more.
The Shutter Pro Interface
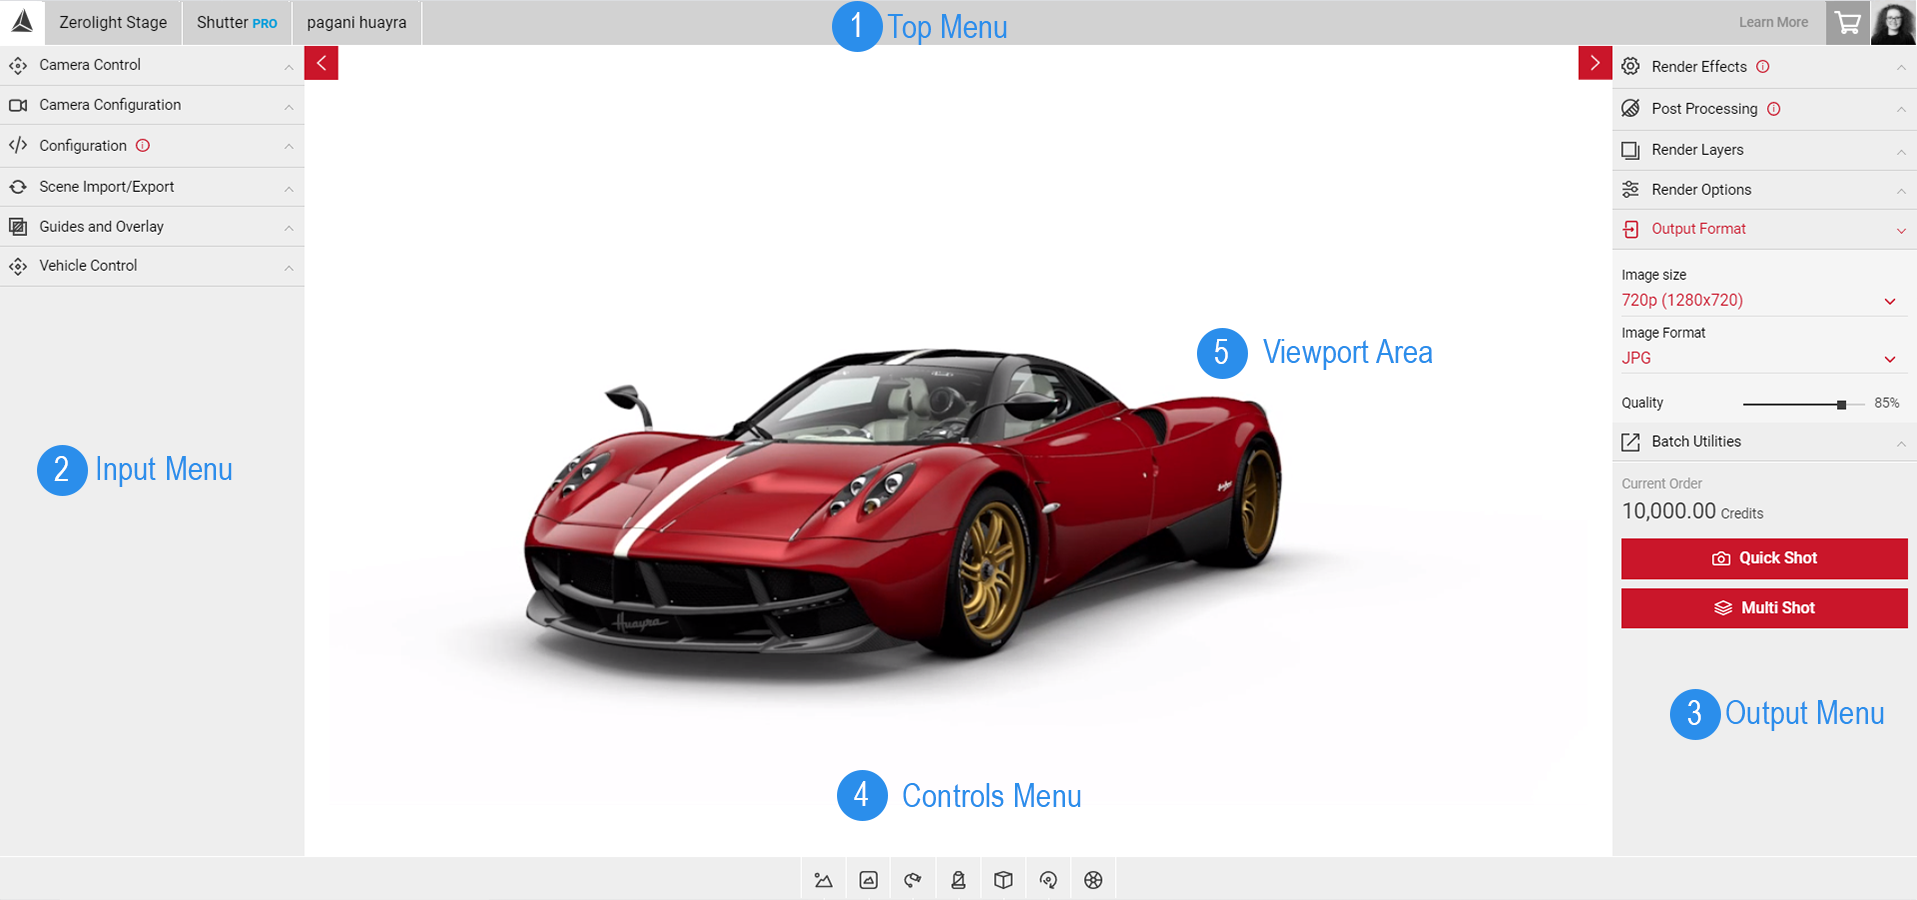
The Shutter Pro app's workspace has five parts:
1). Top Menu
2). Input Menu
3). Output Menu
4) Controls Menu
5) The Viewport
The Top Menu
Top Menu displays your current Team name, the App, and the name of the model you are currently working on. Clicking on the app name will allow you to easily switch from one app to another. The right side of of the Top Menu also has the Shopping Cart button to see your current orders and a thumbnail of your photo, which when clicked, will lead you to your account and order information.
The Input Menu
The Input Menu displays the Input tab allowing position, rotation, field of view camera control along with scene set up through PrCodes, animation and environment selection. Guides and overlays information assist with setting up your image creations.
The Output Menu
The Output Menu houses the Output tab, which can be used for rendering images. It also has the Quick Shot and Multi Shot buttons which can be used for exporting single or batch images, respectively. The cost of your current shot will also be displayed. To know more about how to use the tabs in the Output Menu, learn more here: Exporting Images in Shutter Pro.
The Controls Menu
In the Controls section you can configure the Environment, enable Flycam, select Interior Cameras, Exterior Cameras, Animations, and set the Steer Angle of the wheels.
The Viewport
The Viewport is located at the centre of Spotlight’s UI and displays the image. Any changes to the configurations will also be automatically updated on the Viewport. At the bottom of the Viewport is a menu which contains the icons to the Environment, Flycam, Interior Cameras, Exterior Cameras, and Animations.