Getting Started with Sphere
With SpotLight’s Sphere app, users can create quick 360 images to be used in gear VR, cardboard, and dedicated 360 viewers.
Use Cases 01 - Interior Panoramic Image
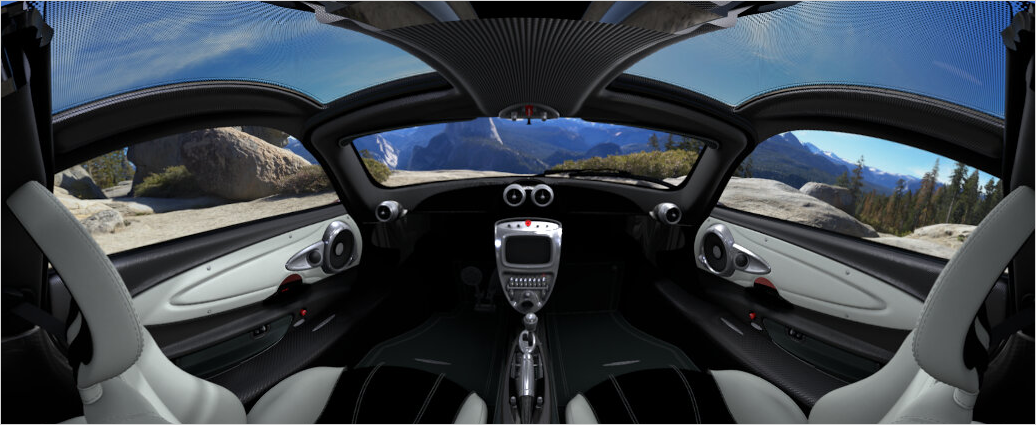
Sphere can be used to create an entire interior of the car via the 360° panoramic, which will help them make purchase choices.
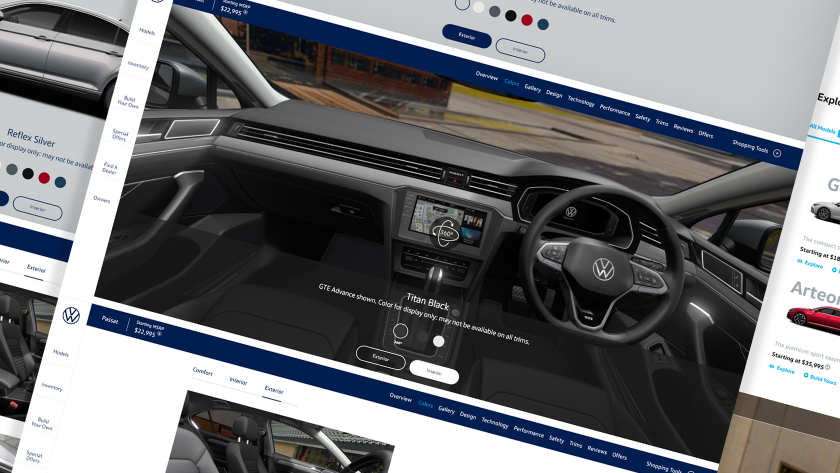
Visit the Interior Panoramic Image Tutorial to learn more.
The Sphere Interface
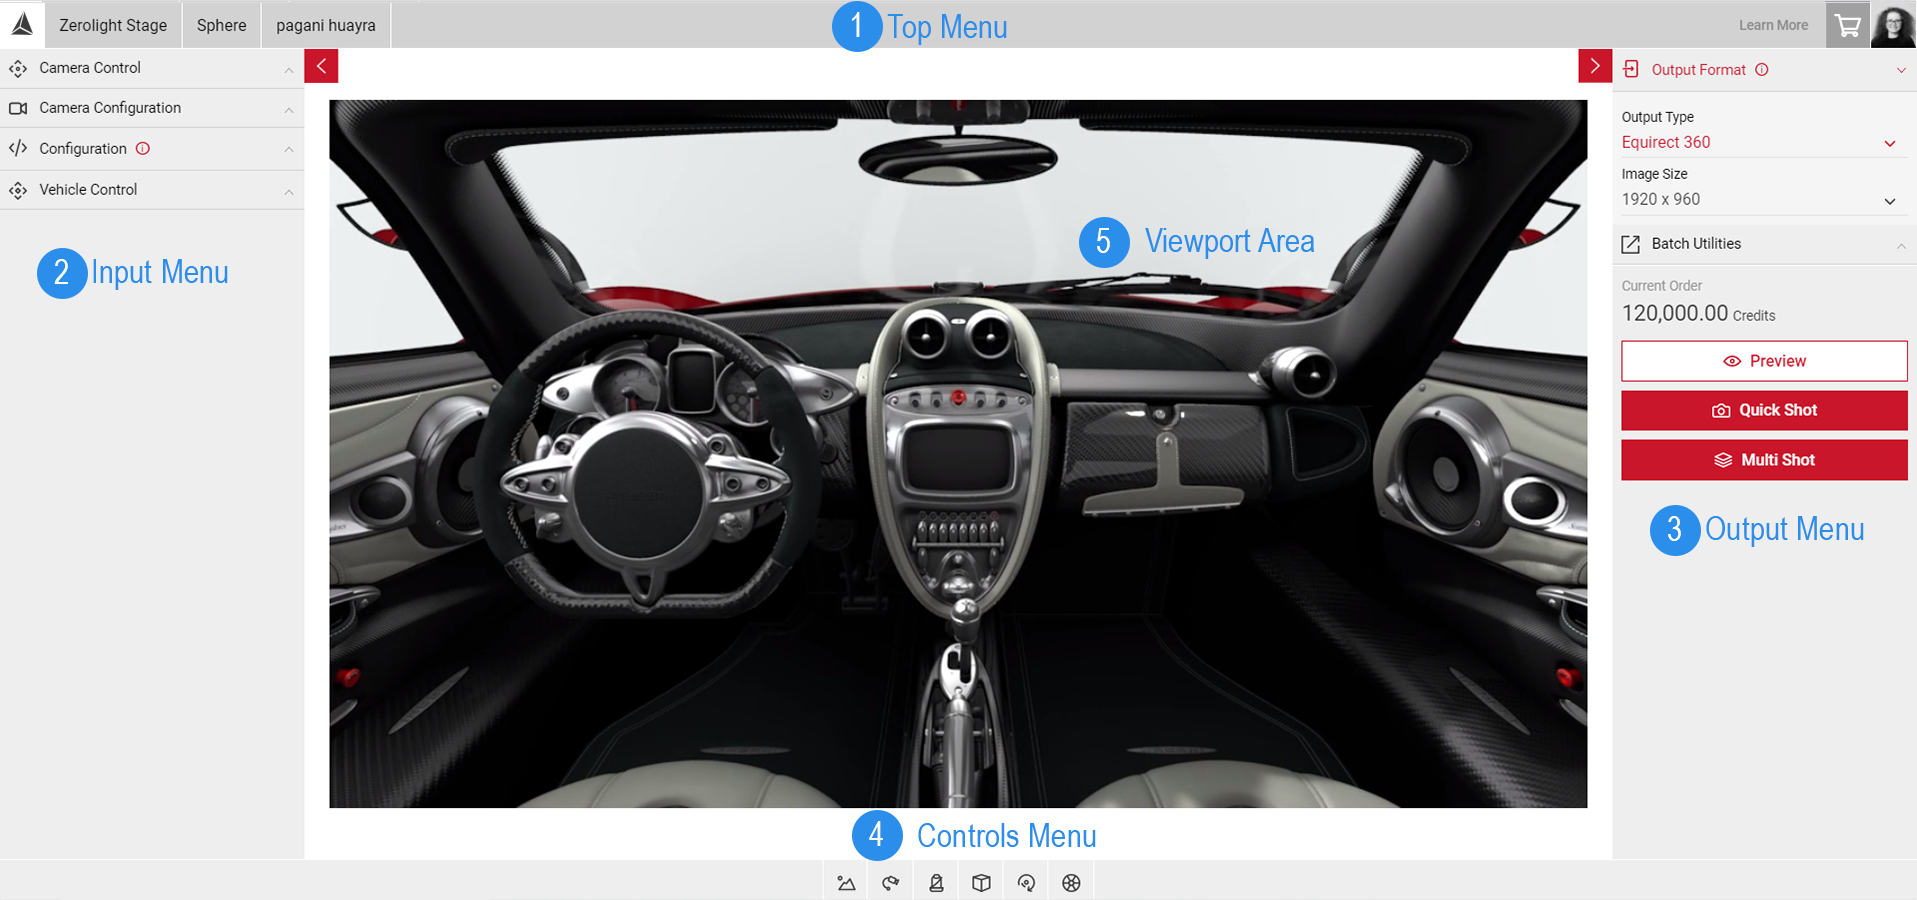
The Sphere App's workspace has five parts:
1) The Top Menu.
2) Input Menu
3) Output Menu
4) The Controls Menu
5) The Viewport Area
The Top Menu
The Top Menu displays the name of the model you are currently working on. Clicking on the Spotlight logo also takes you to the Choose Your App menu, where you can easily switch from one app to another. The right side of the Top Menu also has the Shopping Cart button to see your current orders and a thumbnail of your photo, which when clicked, will lead you to your account and order information.
The Input Menu
The Input Menu contains the different tabs that can be used for configuring your image. It has the Camera Controls, PrCodes Configuration, Camera Configurations, and Set Steer Angle tabs. To learn more, visit Creating Your 360 Image and PrCode Configuration.
The Output Menu
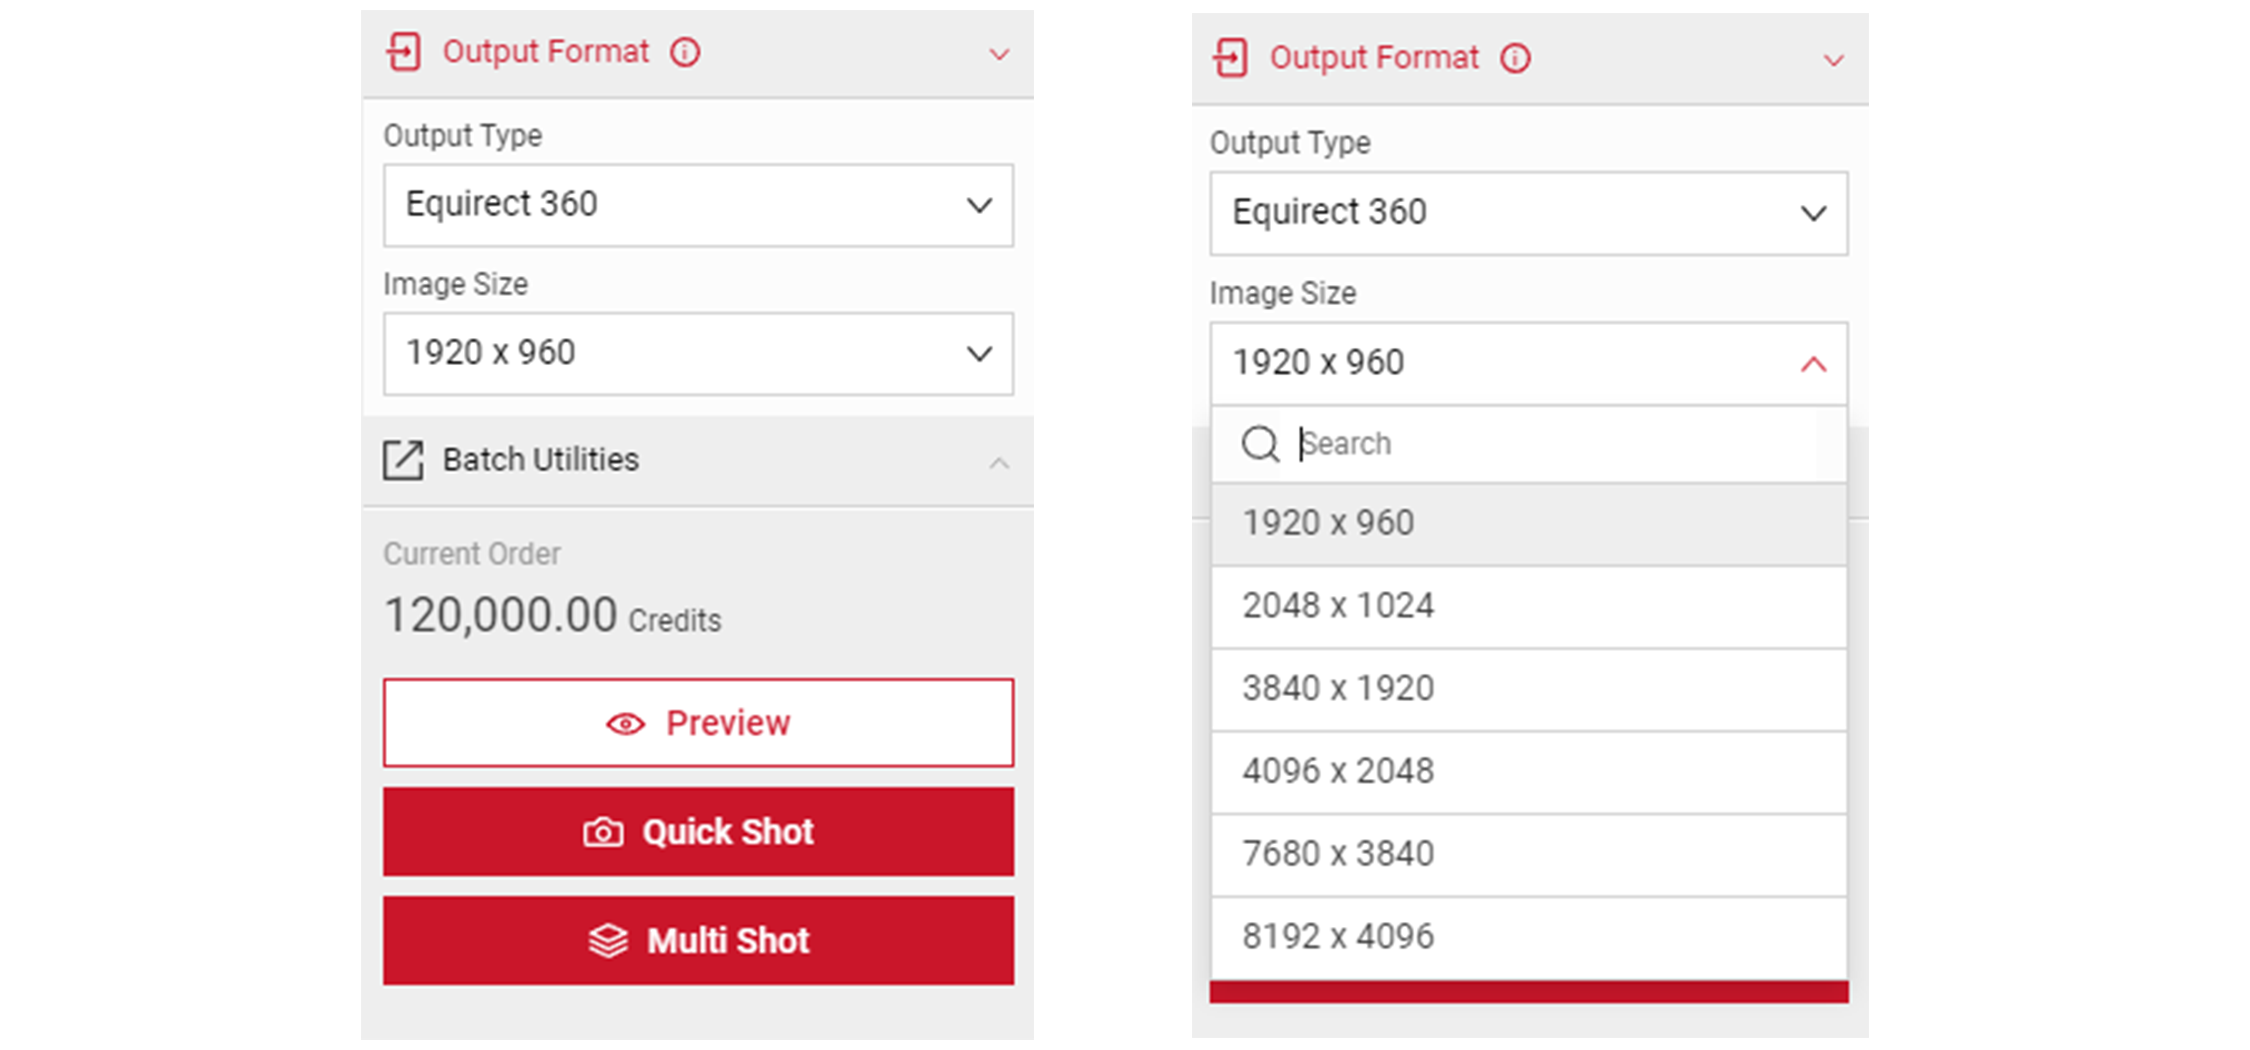
- Click on the Output Format to reveal the Output Type and Image Size menu. Sphere uses Equirect 360 as its default Output Type format.
- To preview your 360 image before rendering, click on the Preview button.
The Controls Menu
In the Controls section you can configure the Environment, enable Flycam, select Interior Cameras, Exterior Cameras, Animations and set the Steer Angle.
The Viewport Area
The Viewport is located at the centre of Spotlight’s UI and displays the image. Any changes to the configurations will also be automatically updated on the Viewport. The bottom of the Viewport shows the controls to change the Environment, Flycam, Interior Cameras, Exterior Cameras, and Animations.