Using Multi-Shot with Sphere
Use Multi-Shot if you want to export multiple images in one batch.
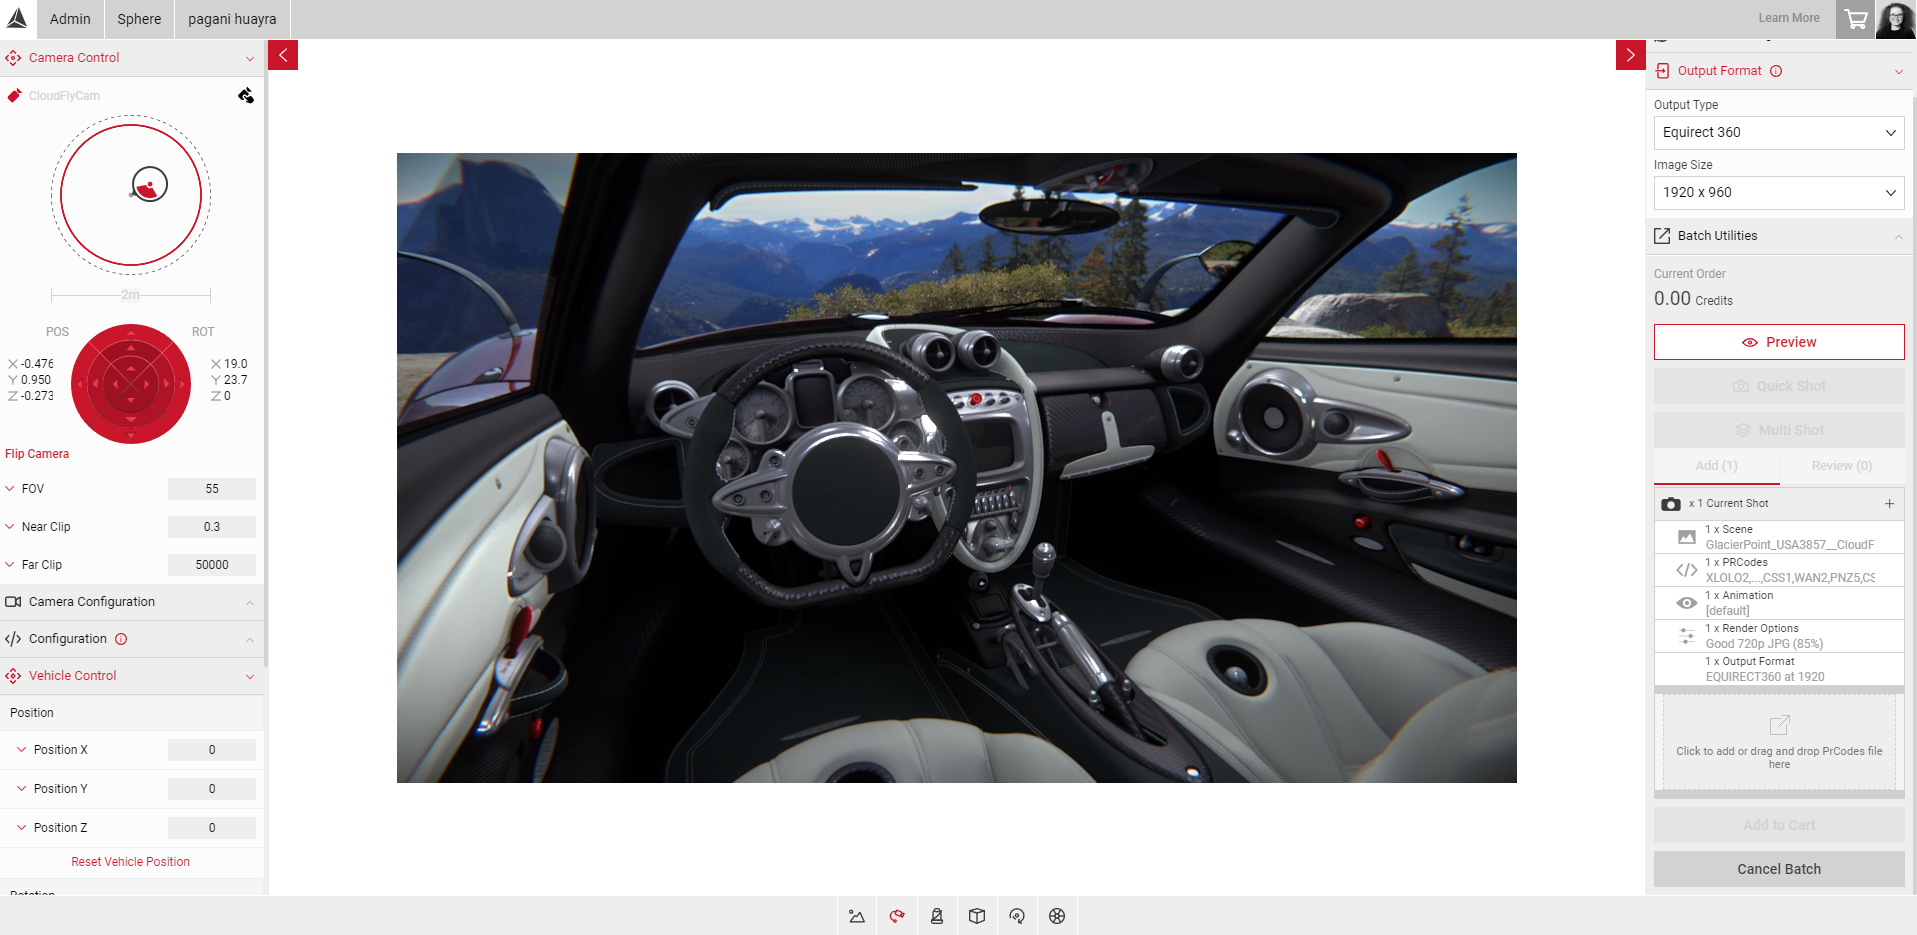
- Configure your first image with the PrCodes, camera position, environment and animation you want & select Multi-Shot.
- The current settings for Scene, PrCodes, Animations and Render Options will appear underneath Current Shot.
- Select the + sign next to Current Shot in the Add panel.
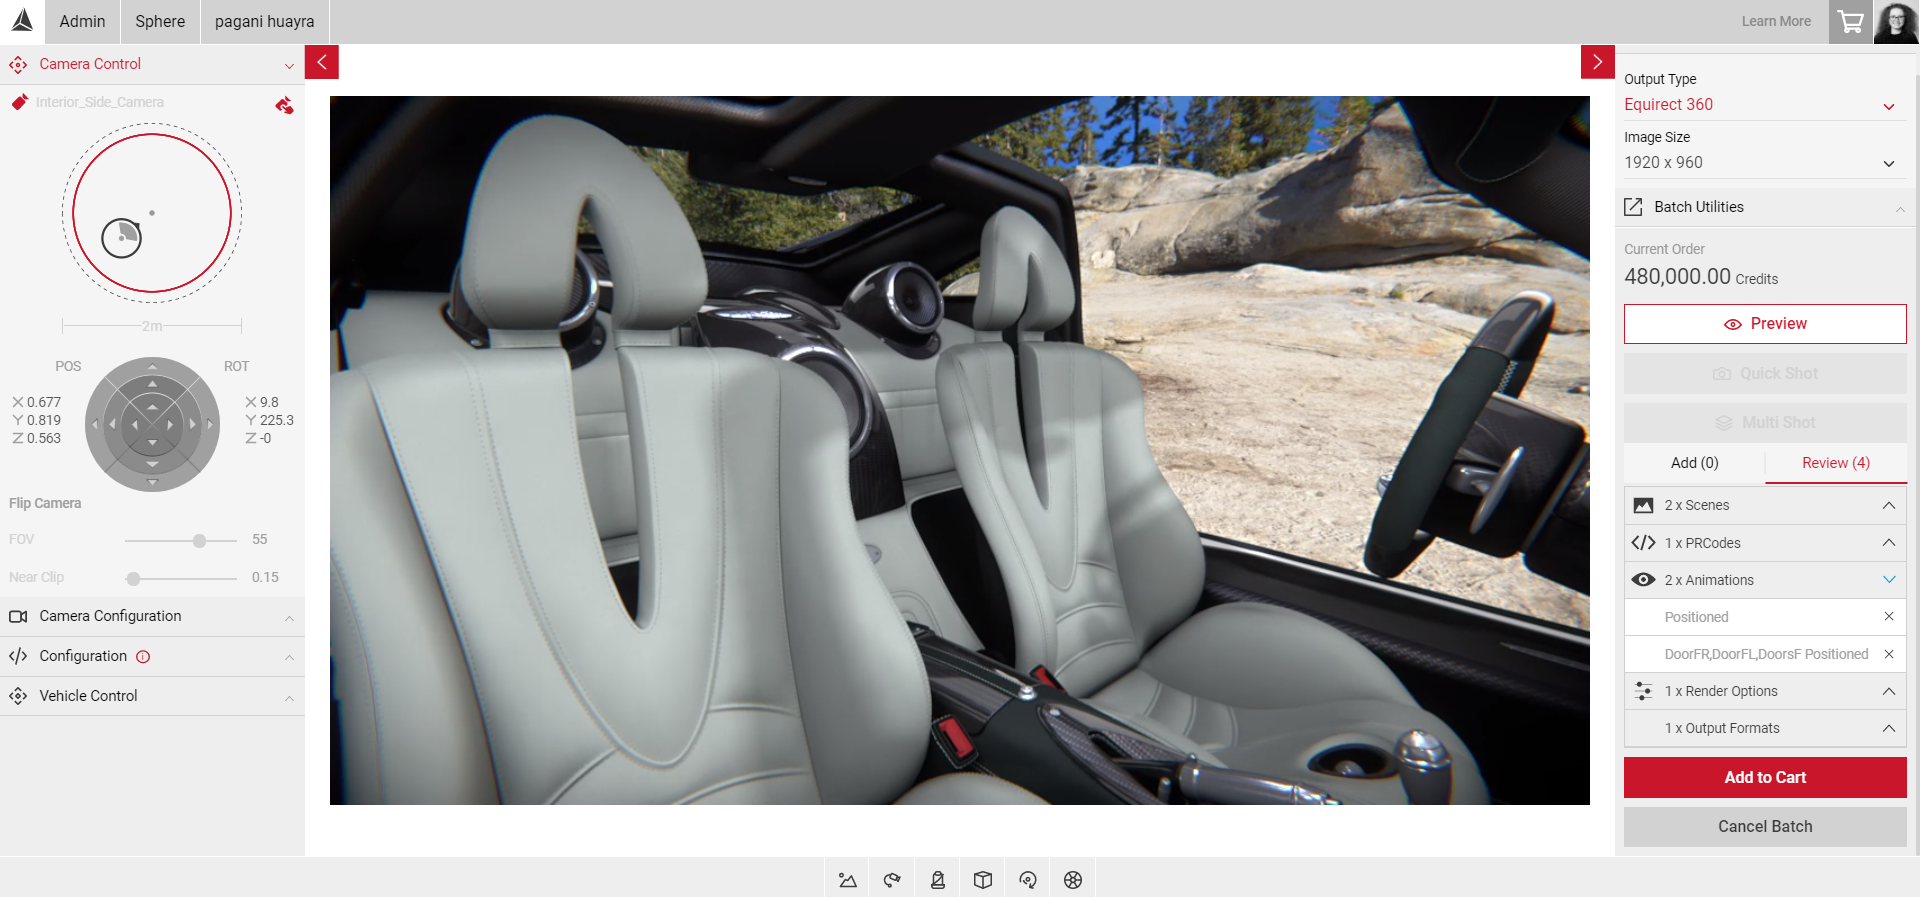
- Your image will then be added to the Review panel.
- The price will update each time a new image is added to the Review panel.
- Configure your next image. In this example we've changed the interior camera and added an animation.
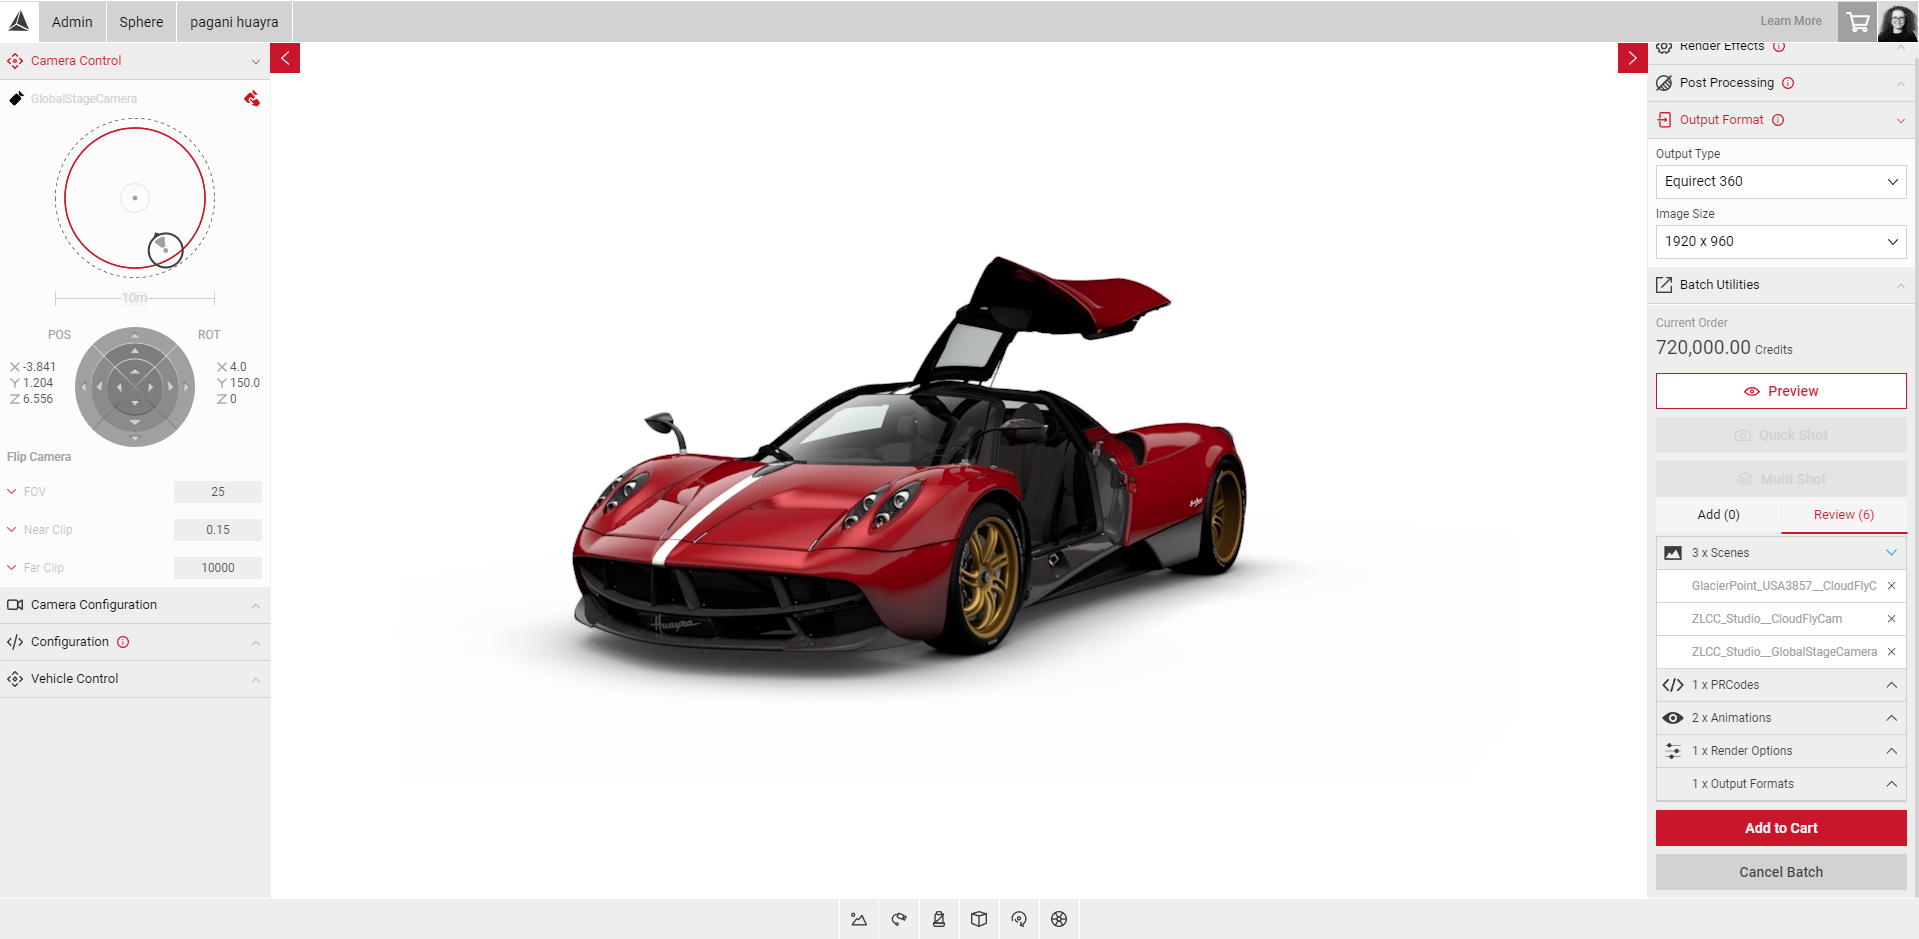
Any settings you change after adding your first shot, e.g the camera position, Environment, Animations, PrCodes and output settings will show in the Add panel as separate images. - Select each + sign to add each image
- In this example, as we've changed the interior camera and added an animation the final export would include 4 images, showing each camera with and without the animation.
Changing/Removing the Settings
Go to the Controls section to change the Environment and Animations and Camera Control to configure the camera. Drag and Drop CSV Files or change the Prcode Configuration to change and add PrCodes.
As an example, we will change the Environment:
- Click on the Environment button in the Controls menu.
- Choose a new environment. The environment in the Viewport will change to the new environment you’ve chosen.
- In the Add panel under Multi Shot, the new environment is added.
- Click on the + sign to add the new environment. The new environment is added under Scenes in the Review panel. Click on Scenes to reveal each environment.
- Click on the X button to the right of the environment you want to delete. You also have the option to keep both environments by not clicking the delete button. You can export more than 1 environment at a time in Multi Shot.
Adding Multiple PrCodes
Visit Creating Batches with Multiple Configurations to learn more about adding multiple PrCodes to a batch.
Batch Utilities
Batch utuilities allows you to export your multi-shot batch before rendering so you can load the same batch later.
Exporting Your Batch:
- When you have created all of your batch images and they're in the Review tab, select the Batch Utilities panel.
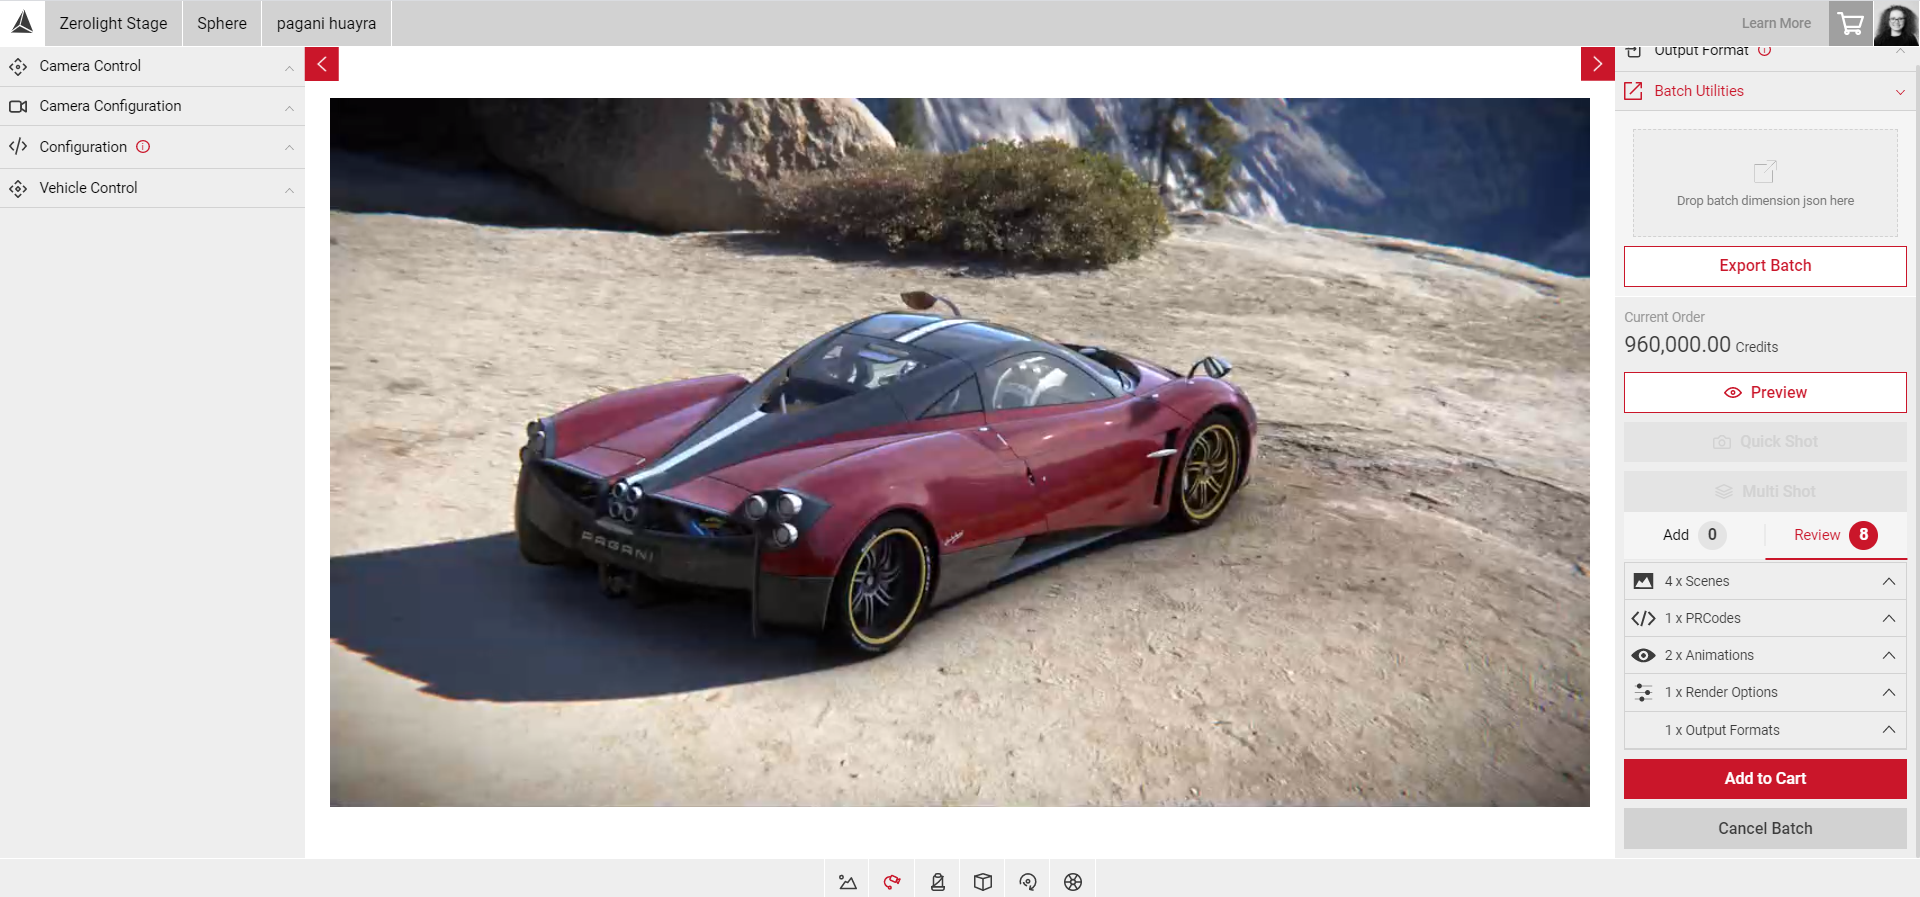
- Select Export Batch. A JSON file of your batch will download.
Importing Your Batch:
- To import your batch, select the Batch Utilities panel.
- Drag and drop your batch JSON file, your batch images will appear in the Review panel of the Multi-shot UI.
- You can now add or remove images to your batch and then Add to Cart to complete your order.

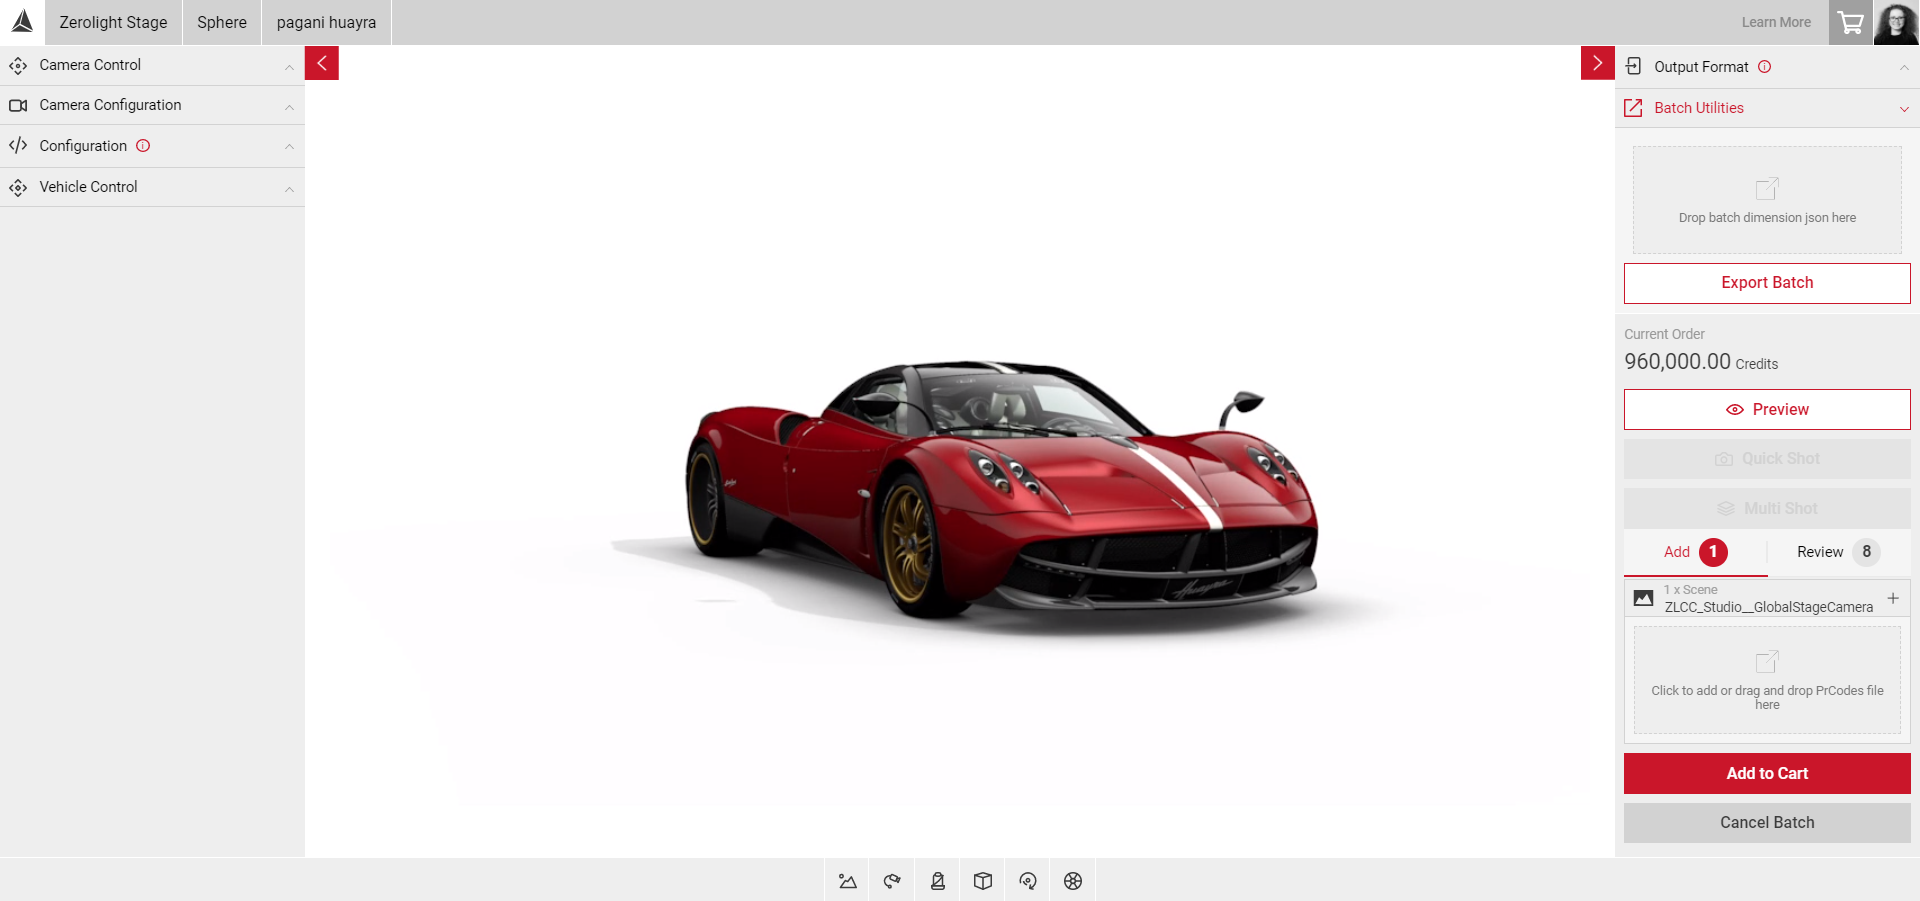
Cancelling a Batch
Click on the Cancel Batch button that is located under the Add to Cart button in the Output Menu. A confirmation message will appear on the screen asking you to confirm that you wish to cancel the batch. On this screen you can either confirm the cancellation of the batch or return to the Multi Shot menu with the selections that have already been made.
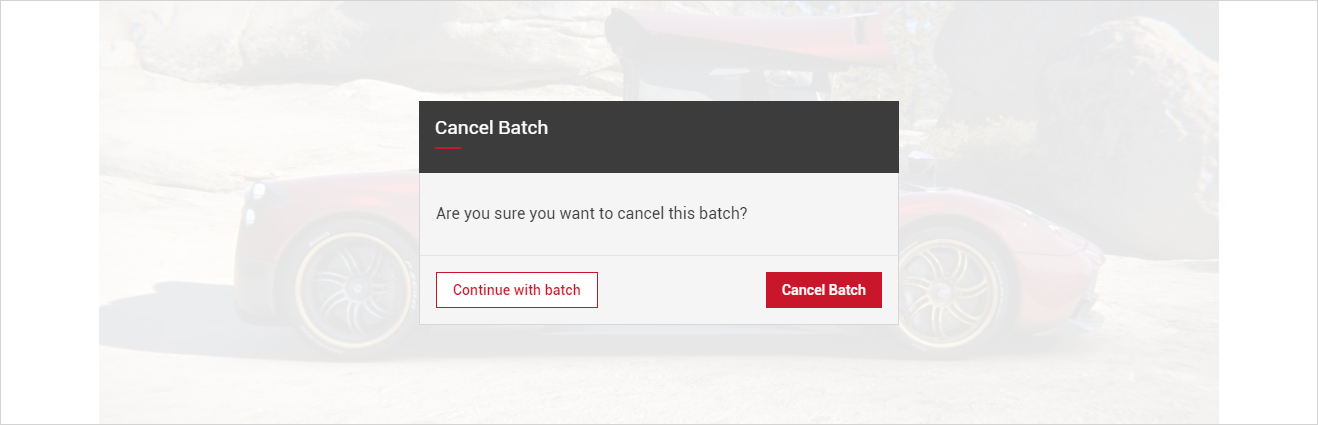
To confirm the cancellation of the batch select Cancel Batch and to return to the Multi Shot menu select Continue with Batch.
Add to Cart
Selecting Add to Cart moves your Multi Shot order to the checkout. By clicking the shopping cart icon [located in the top right-hand corner or the screen], you can review your order information. The Confirm button will process your order.
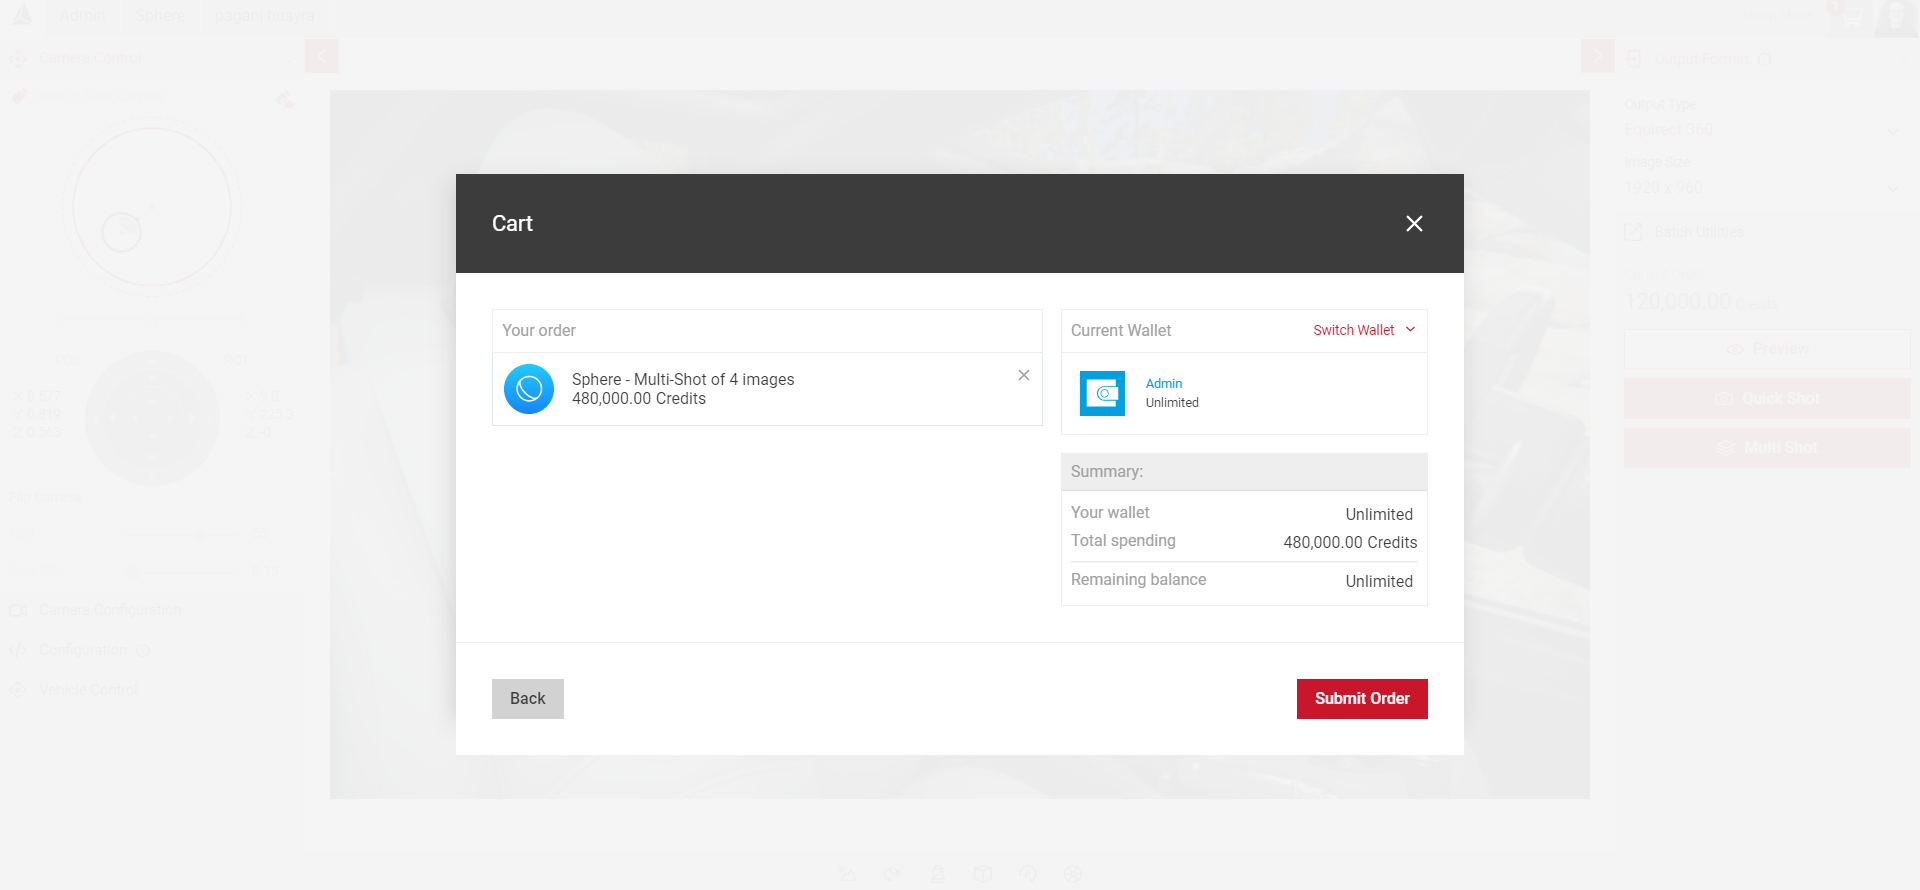
- You can add as many orders as required, providing there are relevant available credits.
- you want to delete a pending order, select the shopping cart and select the X next to the order you want to remove.
- You can also continue to produce new images after already adding an order in your shopping cart. The number of your orders in your shopping cart will appear next to the shopping cart button.
- Once you have confirmed your order, the Render Queue panel will appear on the right side. If the order has been successfully processed, you will see Completed on the right of your order. A notification will pop-up on the top left corner of the screen and a confirmation email of your order will be sent to the email address on the account.