Getting Started with Scene
Scene app allows users to build custom background environments for their vehicles using their own HDR files. These environments can then be published and shared with other users in your team for generating images in SpotLight’s Shutter Pro App. Users can create two scene types, Domes, and Backplates.
- Domes are 3D environments which give users control to move the camera around the 3D space, and alter the shape of the Dome their HDR is projected on to.
- Backplates are 2D background environments with camera solver tools available to create a realistic linear perspective with the vehicle in the scene.
Within both scene types, users can upload individual files for the Source, IBL Diffuse, IBL Specular, Reflection and Ground Shadow Mask textures within Scene Components. Import your own assets, arrange your scene, apply lighting and shadow effects, adjust the vehicle position and more, all in the Scene app.
Visit Creating Your Scene to get started.
Use Case 01 - 3D Environments
Domes and Spheres allow for additional camera controls to move around the entire scene. Using the Scene Setup controls, users can morph the shape and size of the Dome while the vehilce remains fixed to the floor. Spheres allow you to move freely around the 3D space with the vehicle in no fixed position. Users can also apply render and post processing effects to both Sphere and Dome environments which will be the default settings when the scene is used in Shutter Pro to generate images.

Visit the Sphere Environment Creation tutorial to learn more.
To learn how to create a Dome environment, visit the Morphable Dome Tutorial.
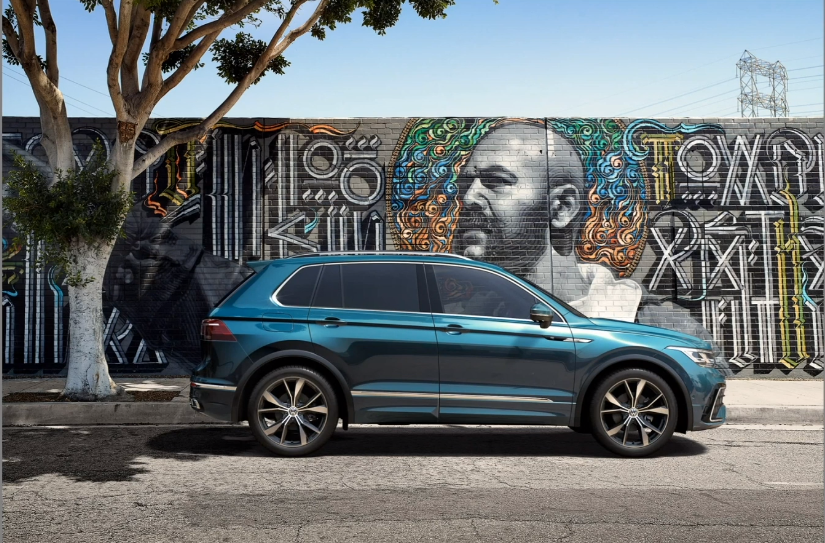
Use Case 02 - 2D Backplate Environment
With Backplates, users can quickly create a 2D environment from a background image and HDR files for the lighting and reflections. The Camera Solver tool allows users to project the vanishing points by positioning the camera projection lines with geometry in the image, which creates a realistic scene.
Visit the Backplate Tutorial to learn more.
Open Projects Modal
When you launch the Scene app, you will be presented with the Open Projects Modal. Here you can find information on the app's capabilities, create a new scene, view saved projects and projects that have been shared with you, as well as tutorial guides for creating a specific outcome in Scene.
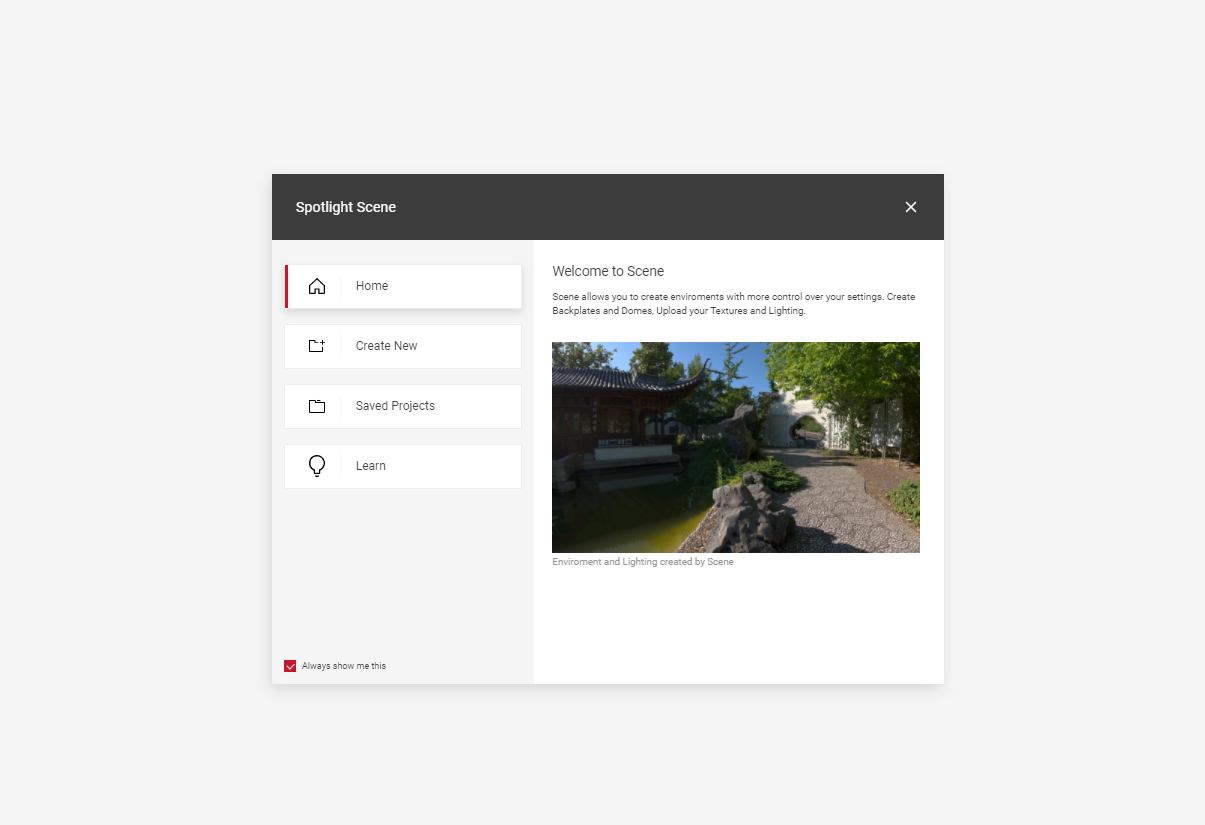
- You can also launch the modal by selecting the Open Projects button in the Scene sub menu.
- The modal will appear on screen by default as soon as the app is launched, to change this deselect the Always show me this checkbox.
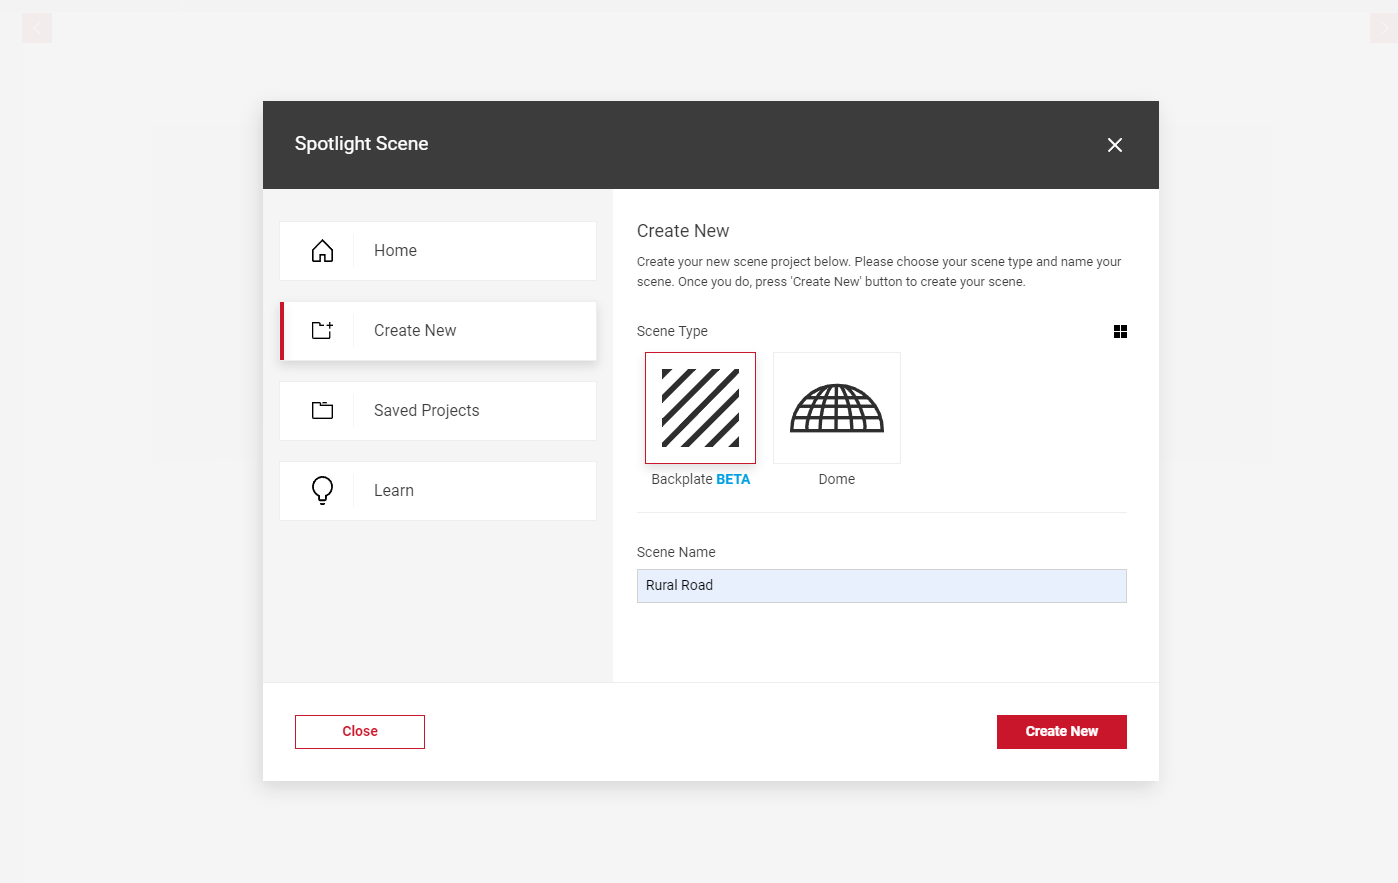
Create New
The Create New tab allows you to select a scene type, name your scene and create a new scene.
- Once you've selected the Scene Type and name, select Create New.
- This will close the modal and your new scene will launch with the default texture so you can begin uploading your assets.
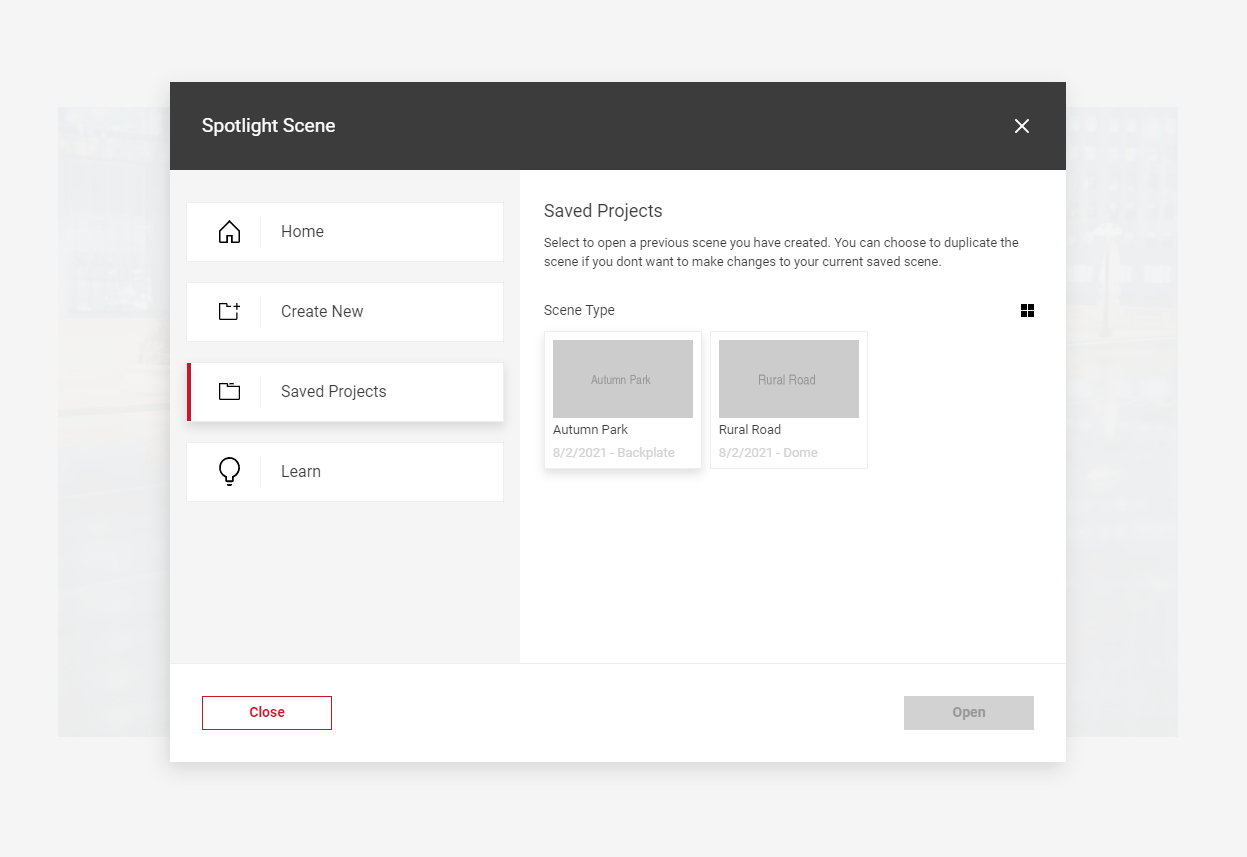
Saved Projects
Within Saved Projects, you will find all of your created scenes which you can then open. Each saved scene will show the scene name, scene type and created date.
- To launch a project, click on a scene tile and select the Open button.
Learn More
The Learn More tab will take you to the Scene guides and tutorials in the Support Centre.
The Scene App Interface
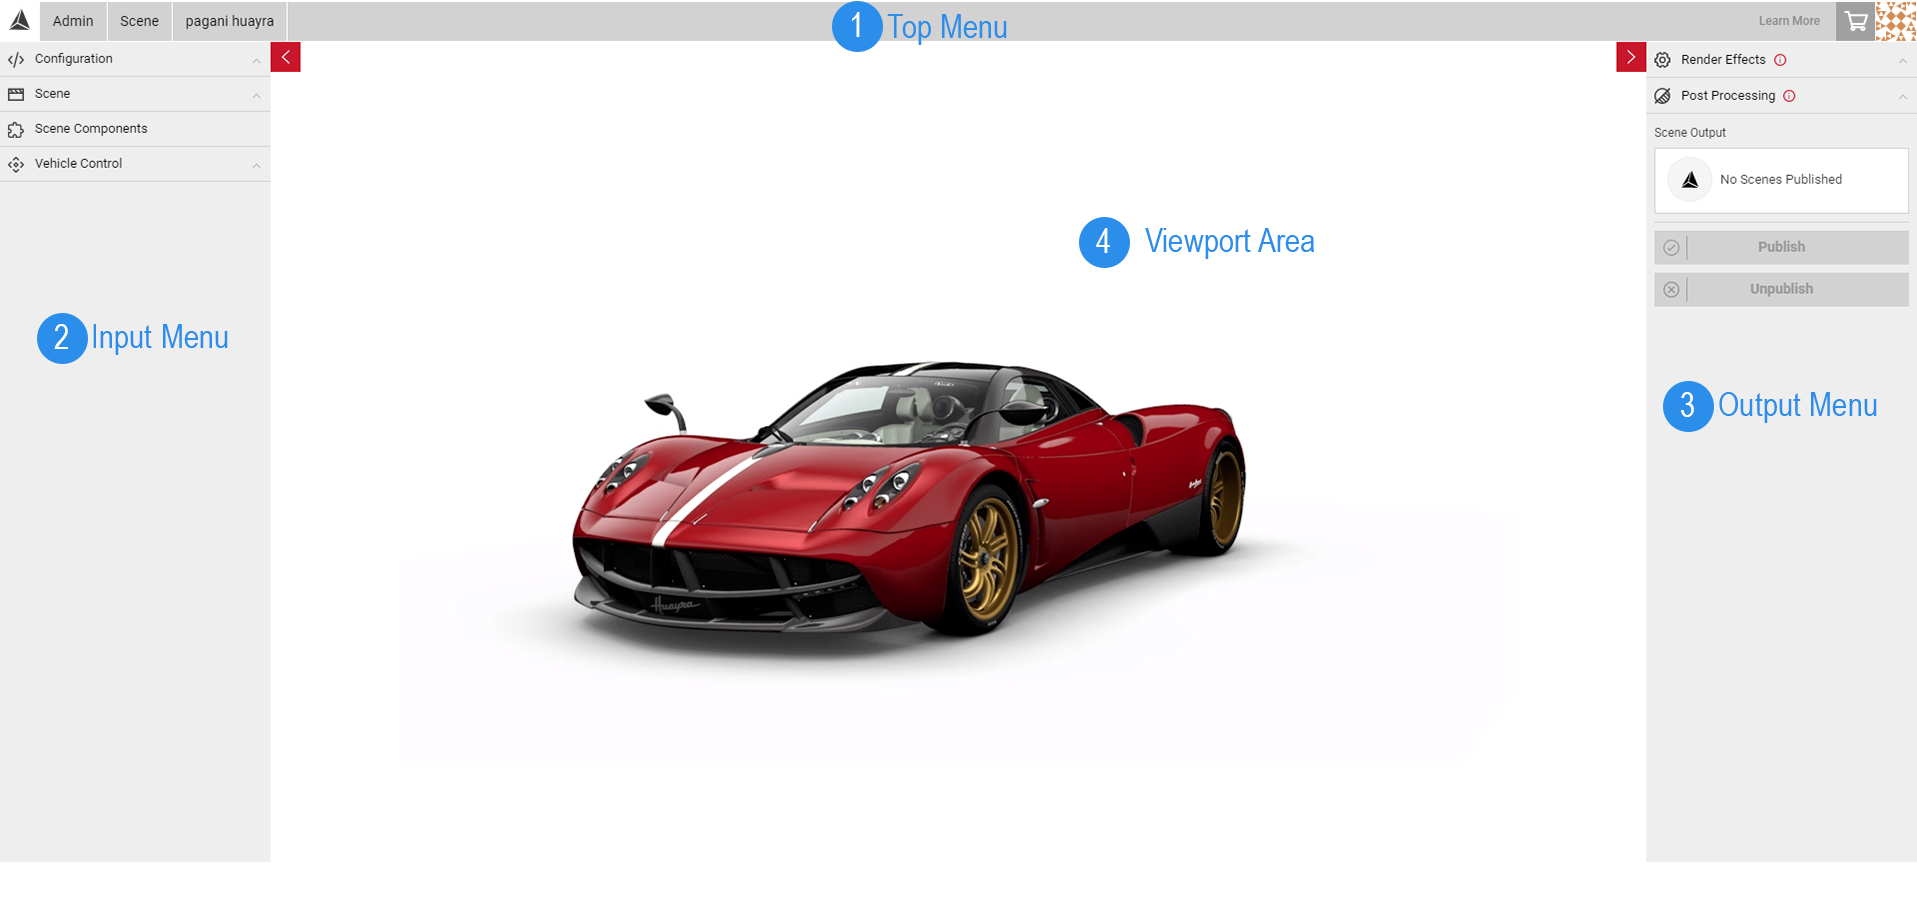
The Scene App workspace has four parts:
1). The Top Menu
2). The Input Menu
3). The Output Menu
4) The Viewport Area
The Top Menu
The Top Menu displays the name of the App and model you are currently working on. Clicking on the app name also takes you to the Choose Your App menu, where you can easily switch from one app to another. The right side of of the Top Menu also has the Shopping Cart button to see your current batch orders and a thumbnail of your photo. When clicked this will lead you to your account and order information.
The Input Menu
The Input Menu displays the Input tab allowing the user to define their scene type, PrCodes configurations, saved scenes, as well as the scene components, setup, and lighting. A scene must be selected from the Saved Scenes list for some of the controls to appear. Learn how to Create a New Scene to get started.
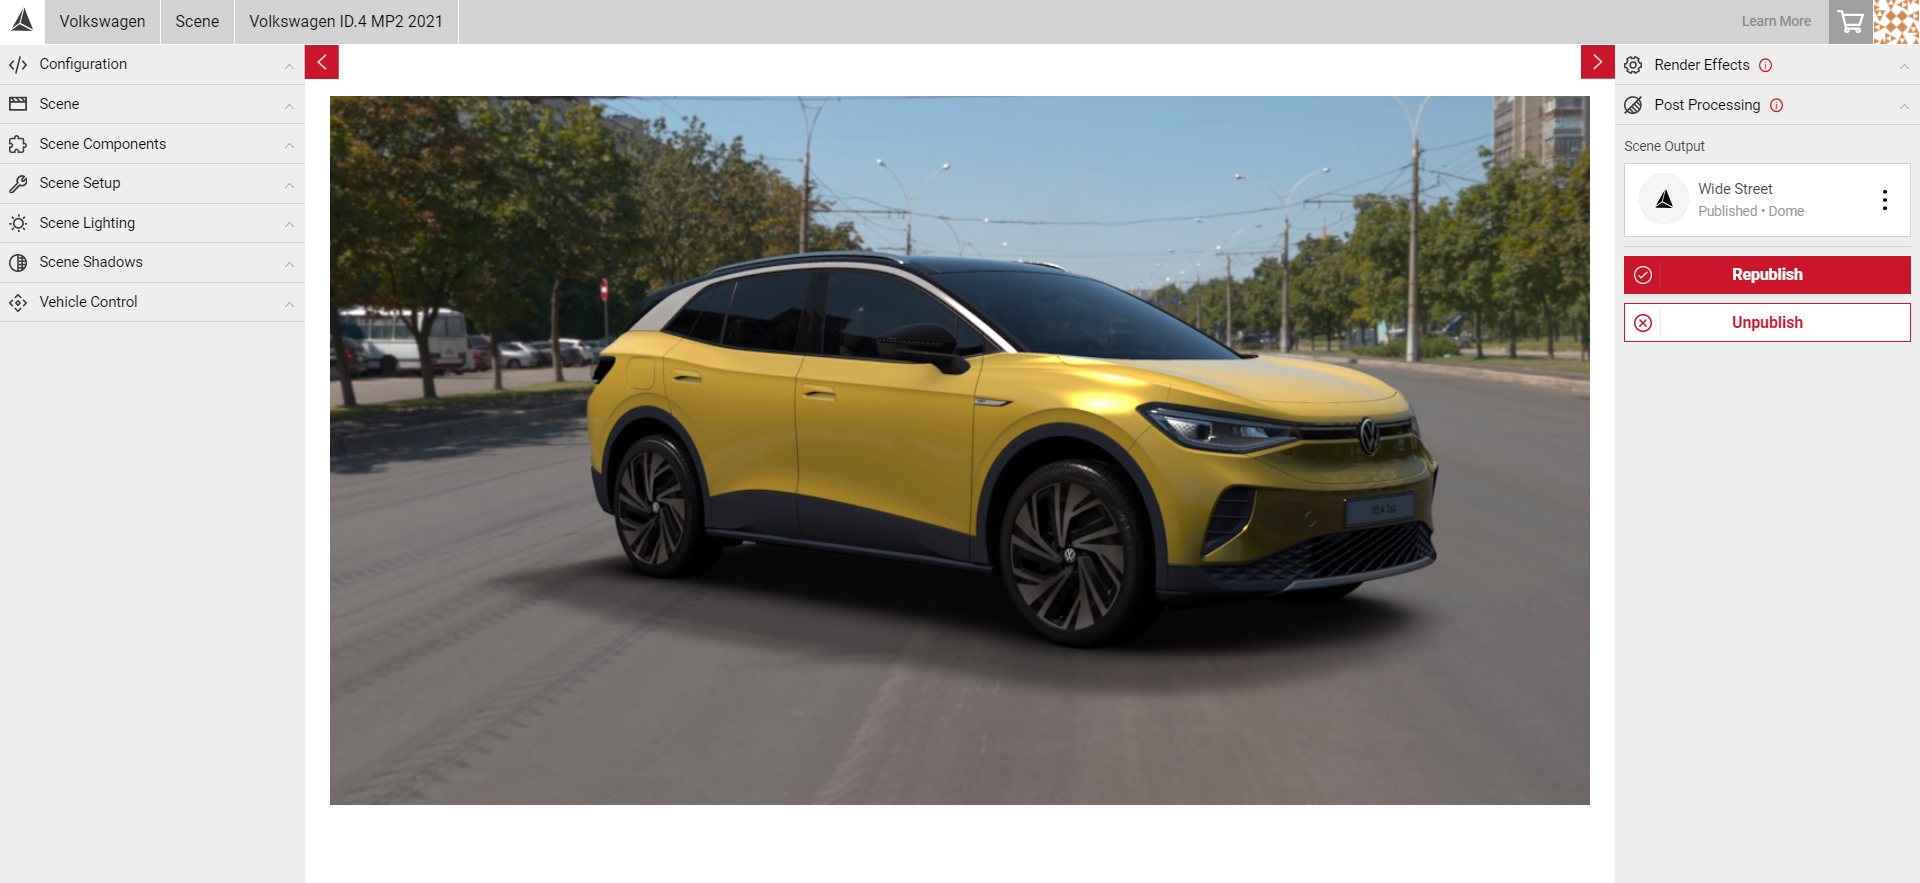
The Output Menu
The Output Menu houses the Output tab, which is used for publishing and sharing your scene to be used in the Shutter Pro app. It also displays the Render and Post Processing Effects tabs. You can publish or unpublish your scene from the Output Menu. If you make any changes to a published scene, you can also re-publish for the changes to take effect in Shutter Pro.
The Viewport Area
The Viewport is the camera that looks into the 3D space and is located at the centre of Spotlight’s UI, showing your scene. You can click and drag the Viewport area to interact with the scene, and any changes made will automatically update.