Publishing & Sharing Your Scene
Within the Scene app, you can share the output of your published scenes with individual users, or teams you're a part of to be accessed in Shutter Pro. Publishing a Scene makes it available on your account only, sharing a scene allows it to be accessed by other users. In the Output menu, when you have selected and published a scene, you will see the option to share.
A scene project must be published before it can be shared. Any scenes you do share will be available to other users in the Controls menu in Shutter Pro.
Publishing Your Scene
When you publish a scene, it will automatically appear in the backplate section in Shutter Pro on your account only, unless it is shared with other users or teams.
- If any changes are made to your scene within the Scene App, you must re-publish your scene for the changes to appear in Shutter Pro. If you don't re-publish, your new settings will still be saved in the Scene app.
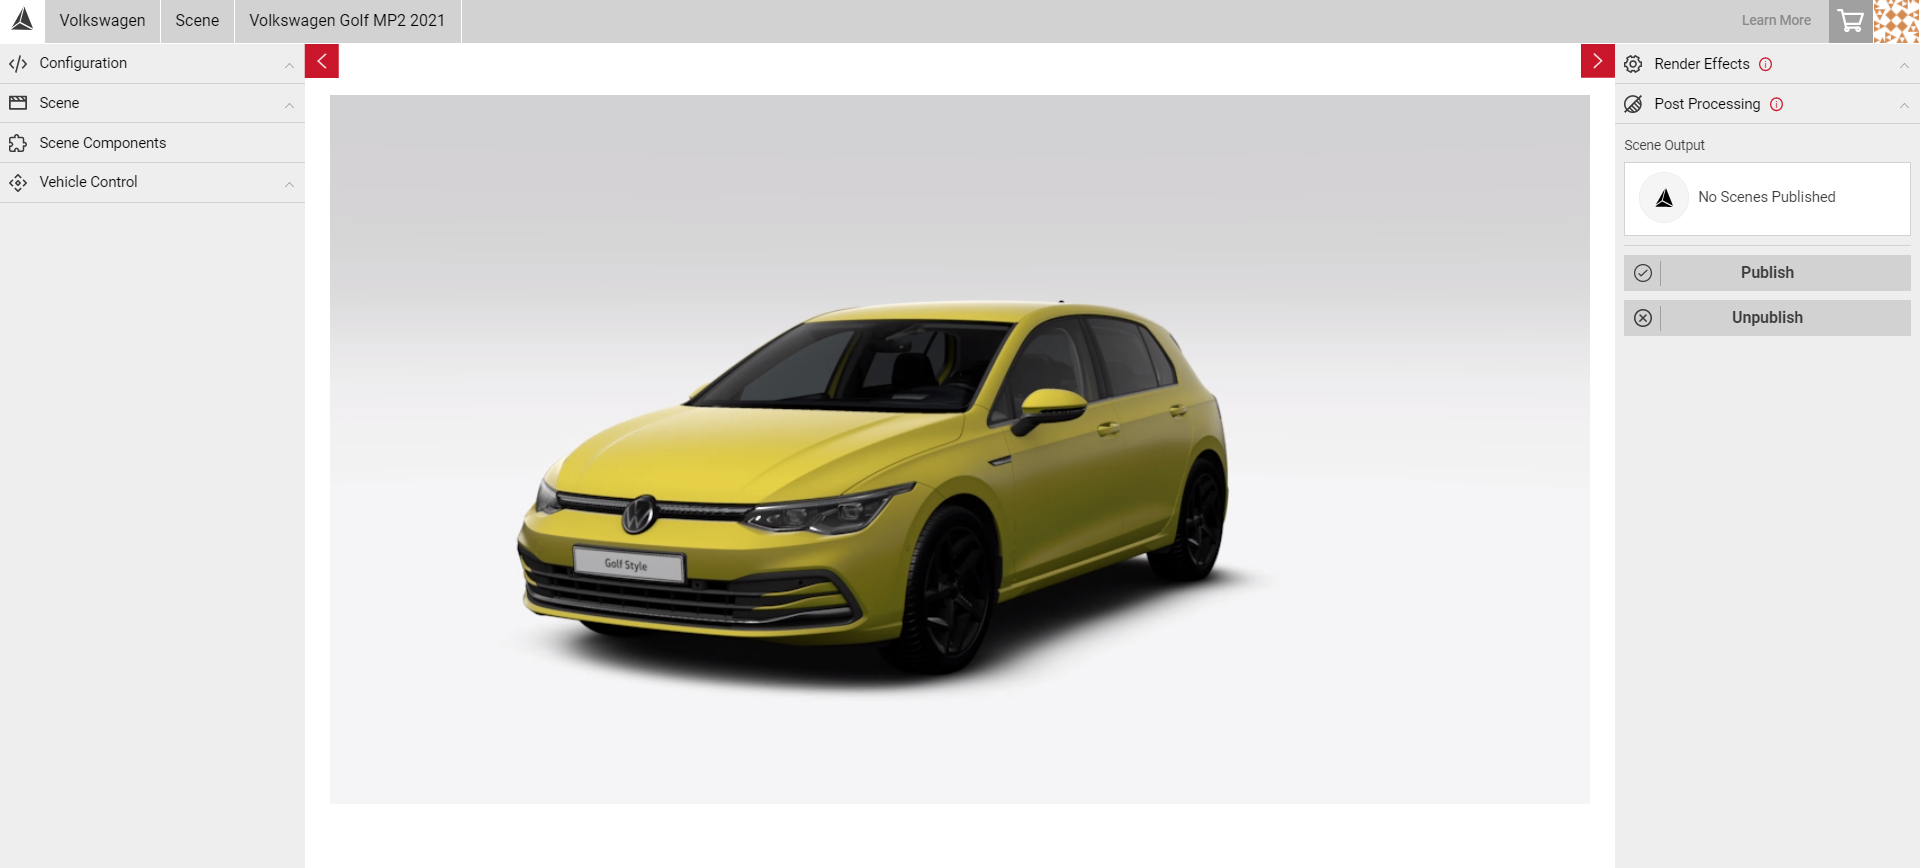
- When you've made all of your configurations to the scene, select Publish from the Output Menu.
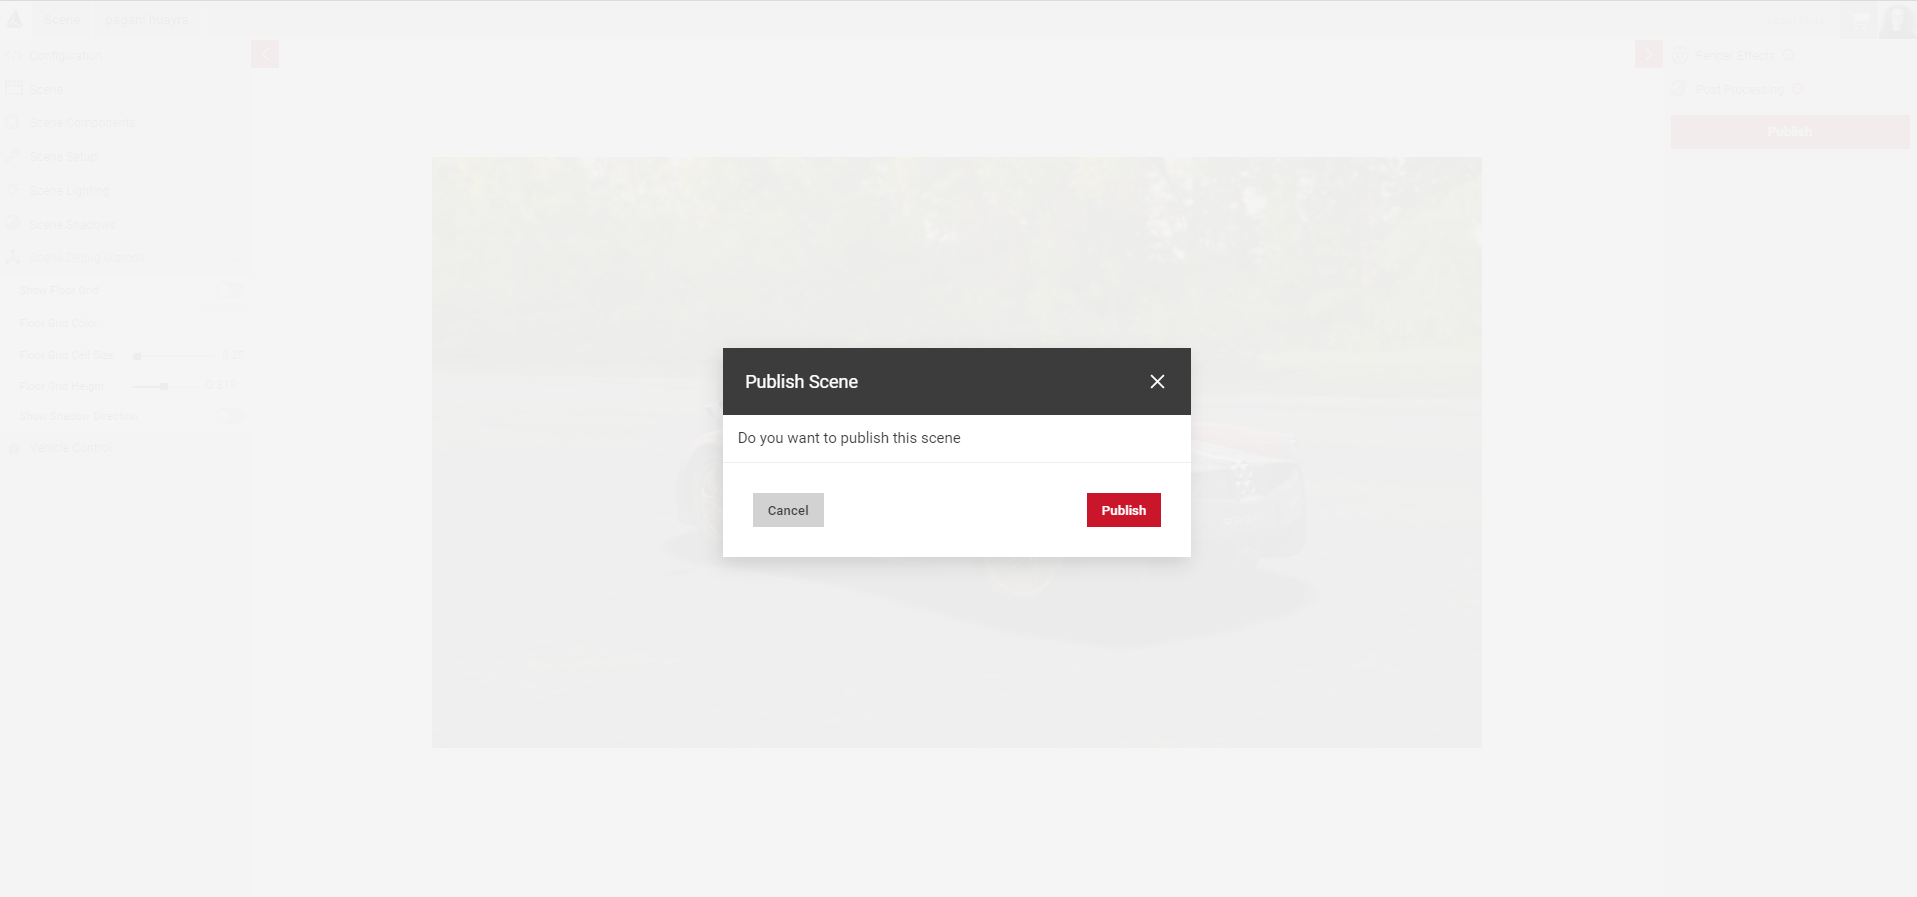
- Select Publish in the confirm dialog.
- You'll see a notification message at the top of the screen and the new scene status will update to Published.
- Select Scene from the top menu and switch to the Shutter Pro app.
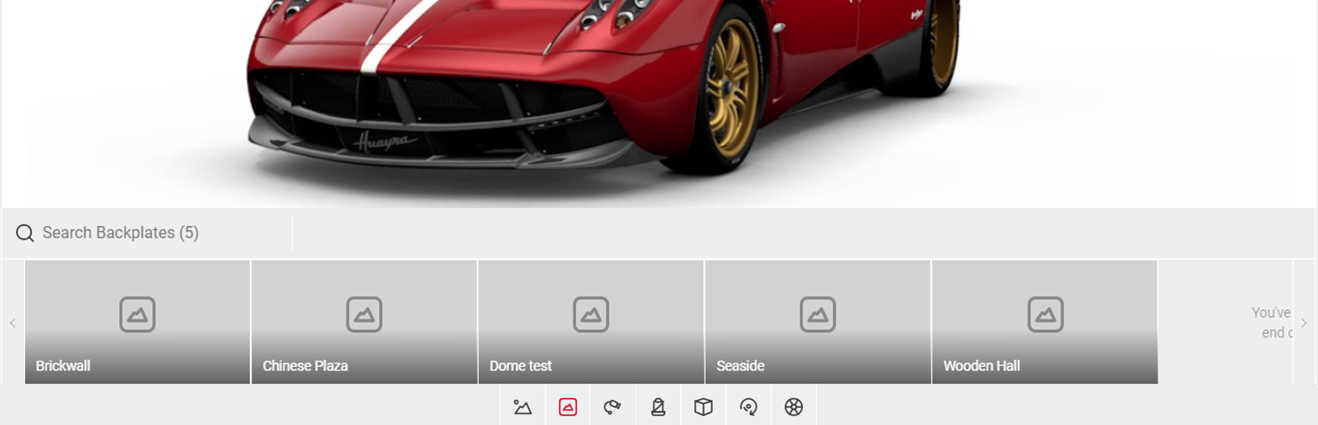
- Select the Backplate icon in the Controls Menu.
- The scene will now appear in the Backplate section of the Controls Menu in Shutter Pro.
Sharing Your Scene
Sharing your scene allows the content to be available for use by other users, and can be shared with individuals or entire teams. A Scene must be published before it can be shared.
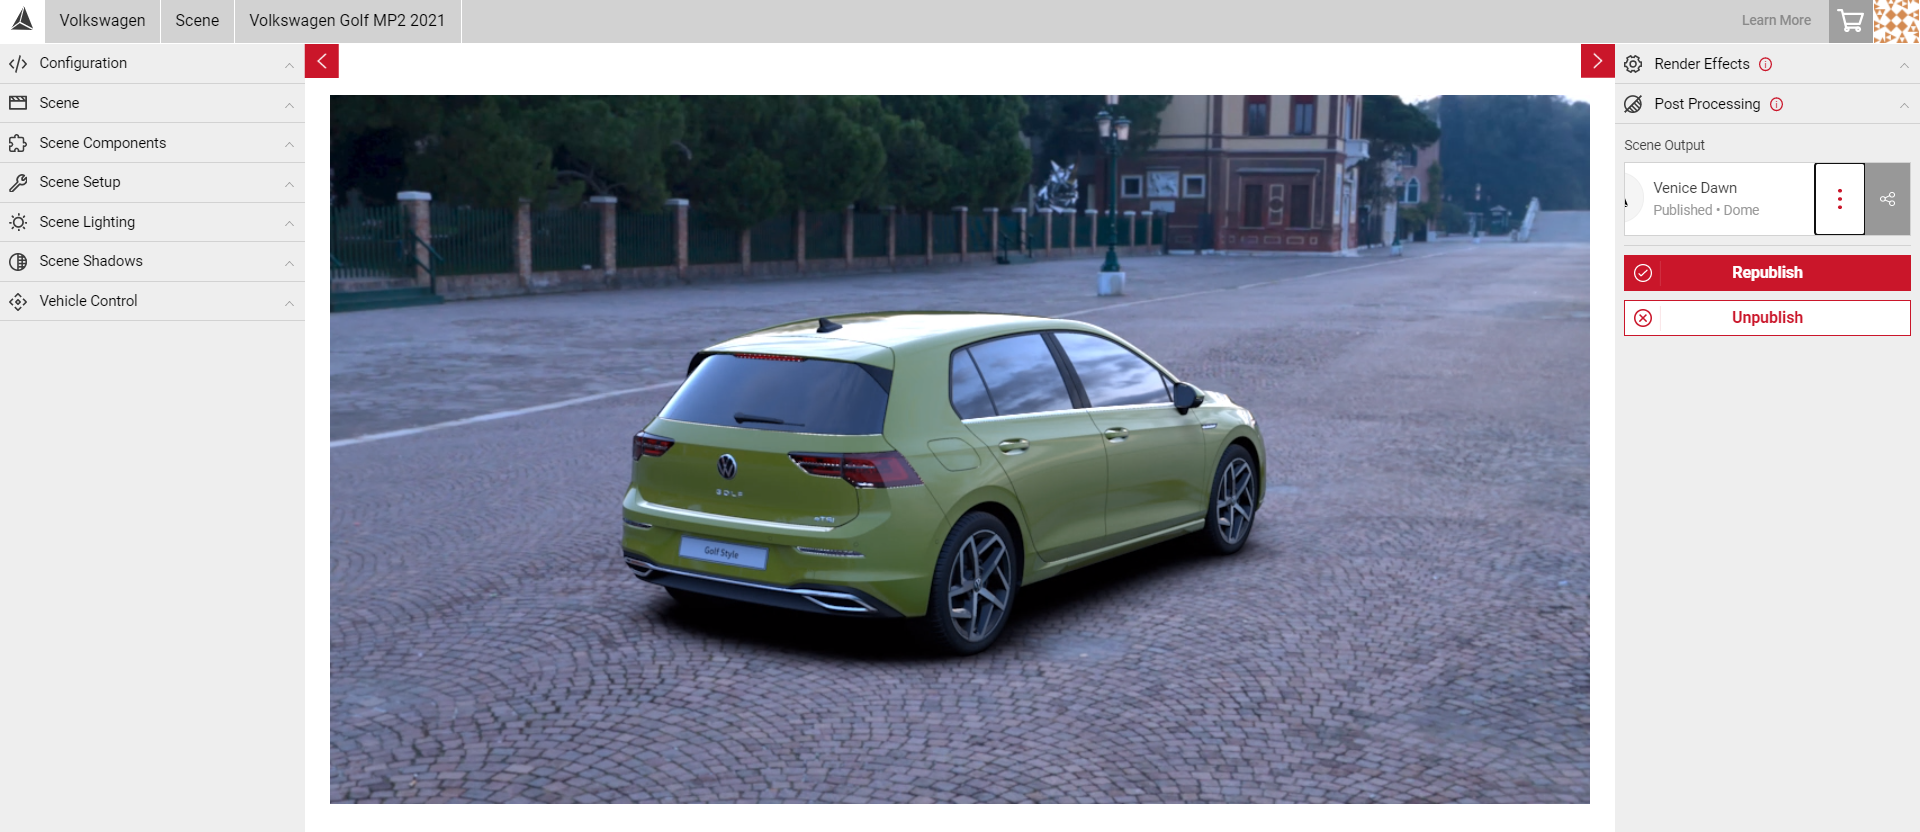
- Once you have published your scene, in the Output menu select the dotted icon to reveal the Share button and click.
- The scene must be selected in the Scene panel for the share options to appear.
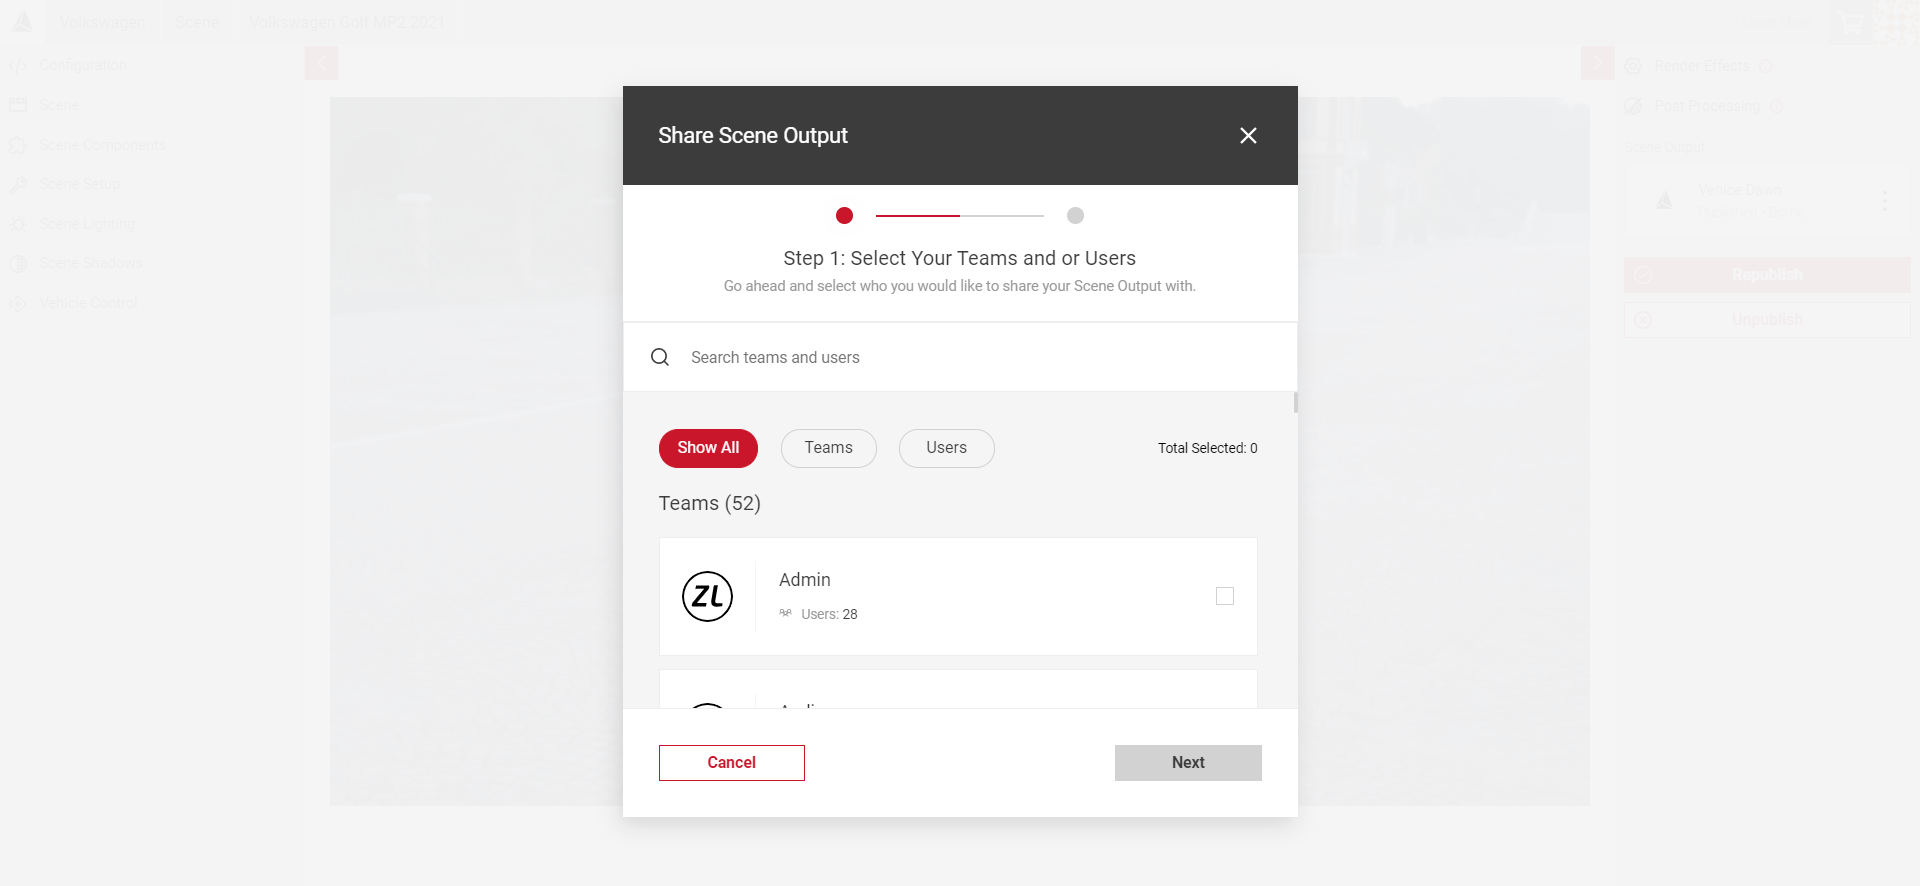
- Next, select Teams and/or individual Users to share your scene with. Selecting a team will share your scene output with all users within that team. You can select multiple teams/users at once.
- Once you've made your selections, click Next.
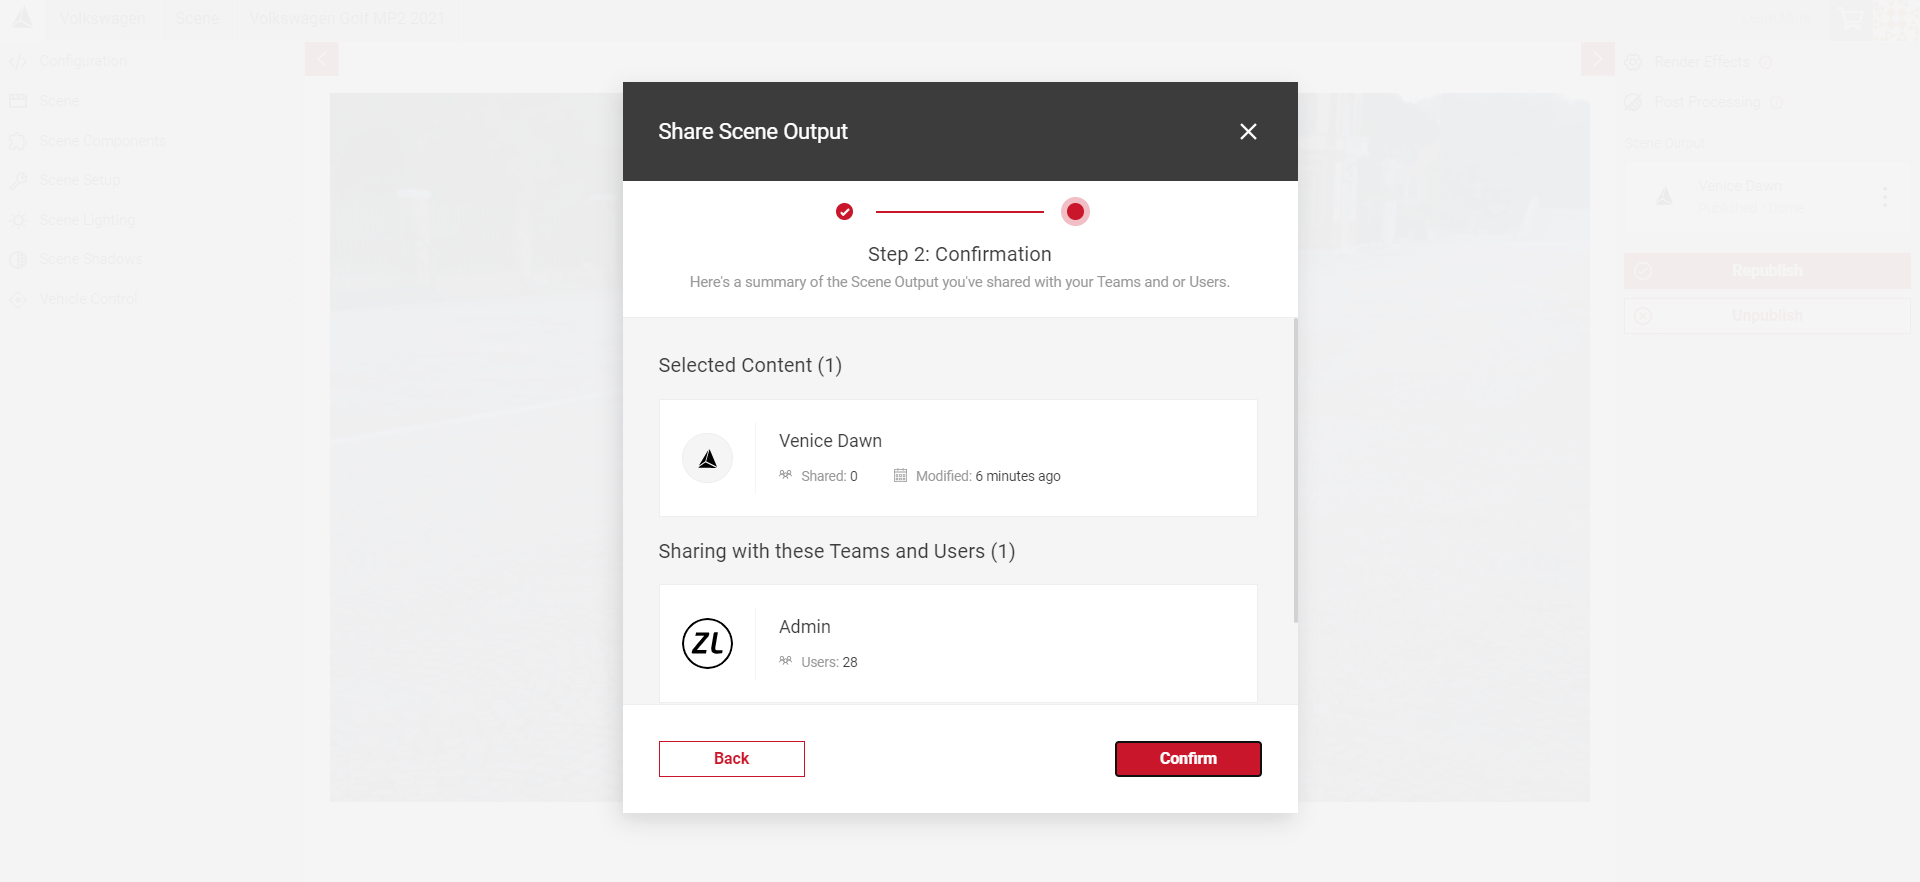
- Here, you will see a confirmation summary of the scene you have selected to share, and which Teams or Users it will be shared to.
- Click Confirm to share, or select the Back button to make any amendments.
Unsharing Your Scene
Unsharing your scene allows you to keep the scene as an accessible environment in Shutter Pro but will remove it from any teams or individuals you select.
- Select your scene project from the Scene panel.
- In the Output menu, select the dotted icon to reveal the share icon.
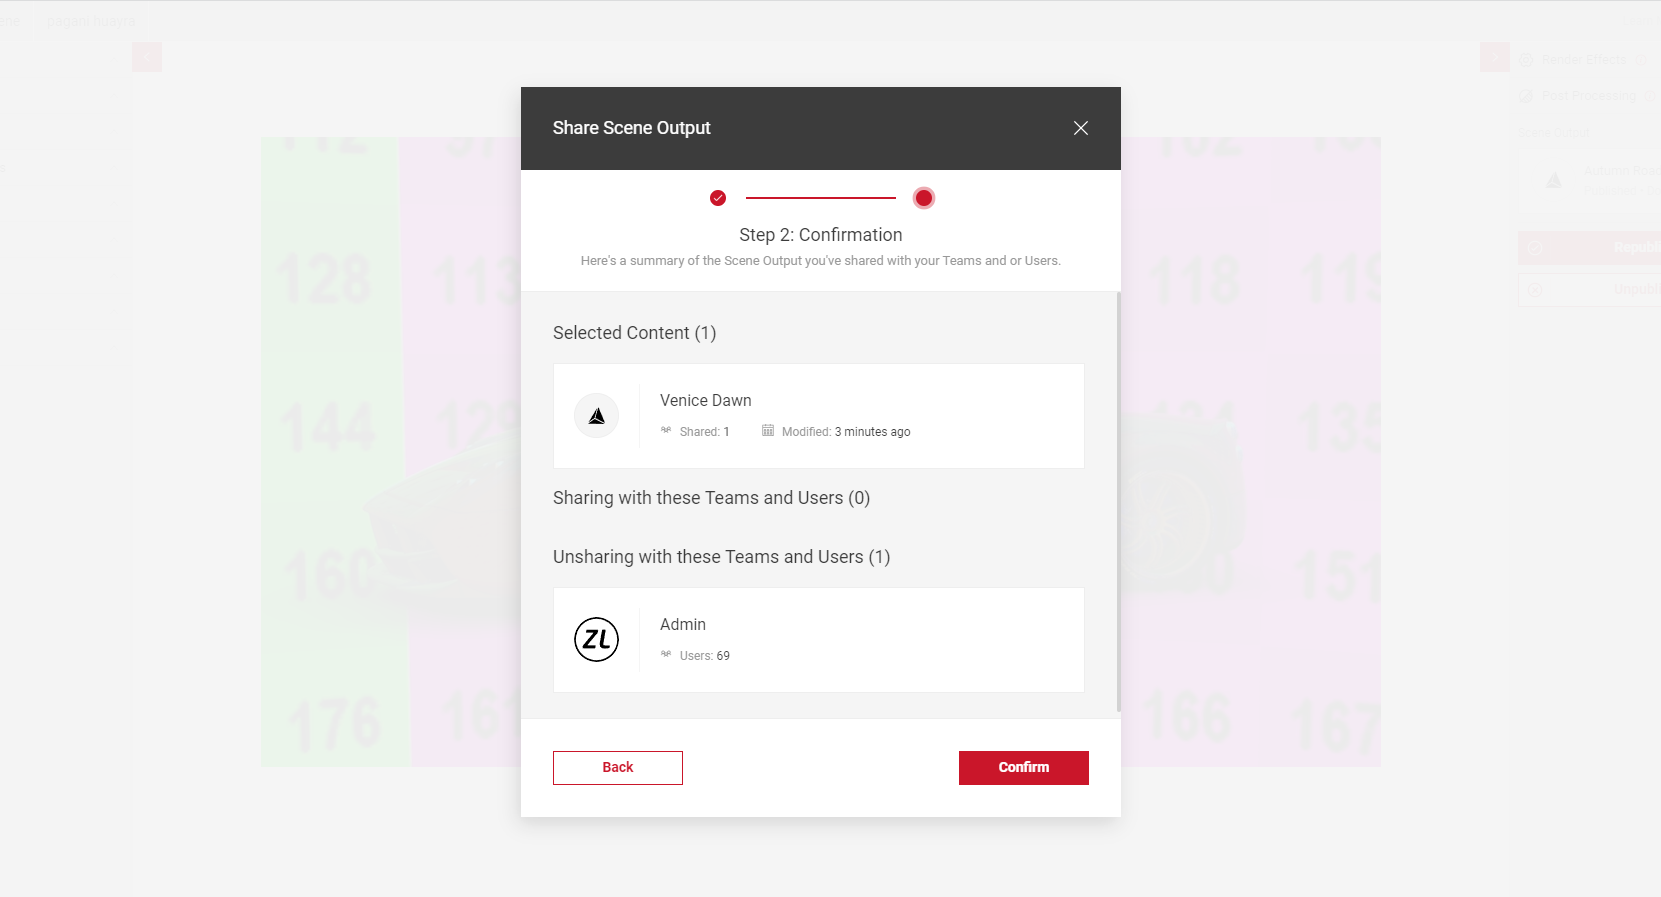
- In the sharing modal, deslect any teams or individual users you wish to unshare the environment with and click Next.
- Here, you will see a confirmation summary of the scene you have selected to unshare, and the Teams or Users it will be unshared with.
- Click Confirm to unshare, or select the Back button to make any amendments.
Editing Your Scene
If you make any changes to your scene, you must republish and reshare for the changes to take affect. Republishing your scene will update any changes in Shutter Pro on your individual account, but will unshare with any team or user. You must reshare your scene after making any changes.

Unpublishing a Scene
Unpublishing a scene means the environment will no longer be accessible in Shutter Pro for any user including yourself, unless you republish and reshare the scene. However, the project will still be available in the scene app for you to edit.
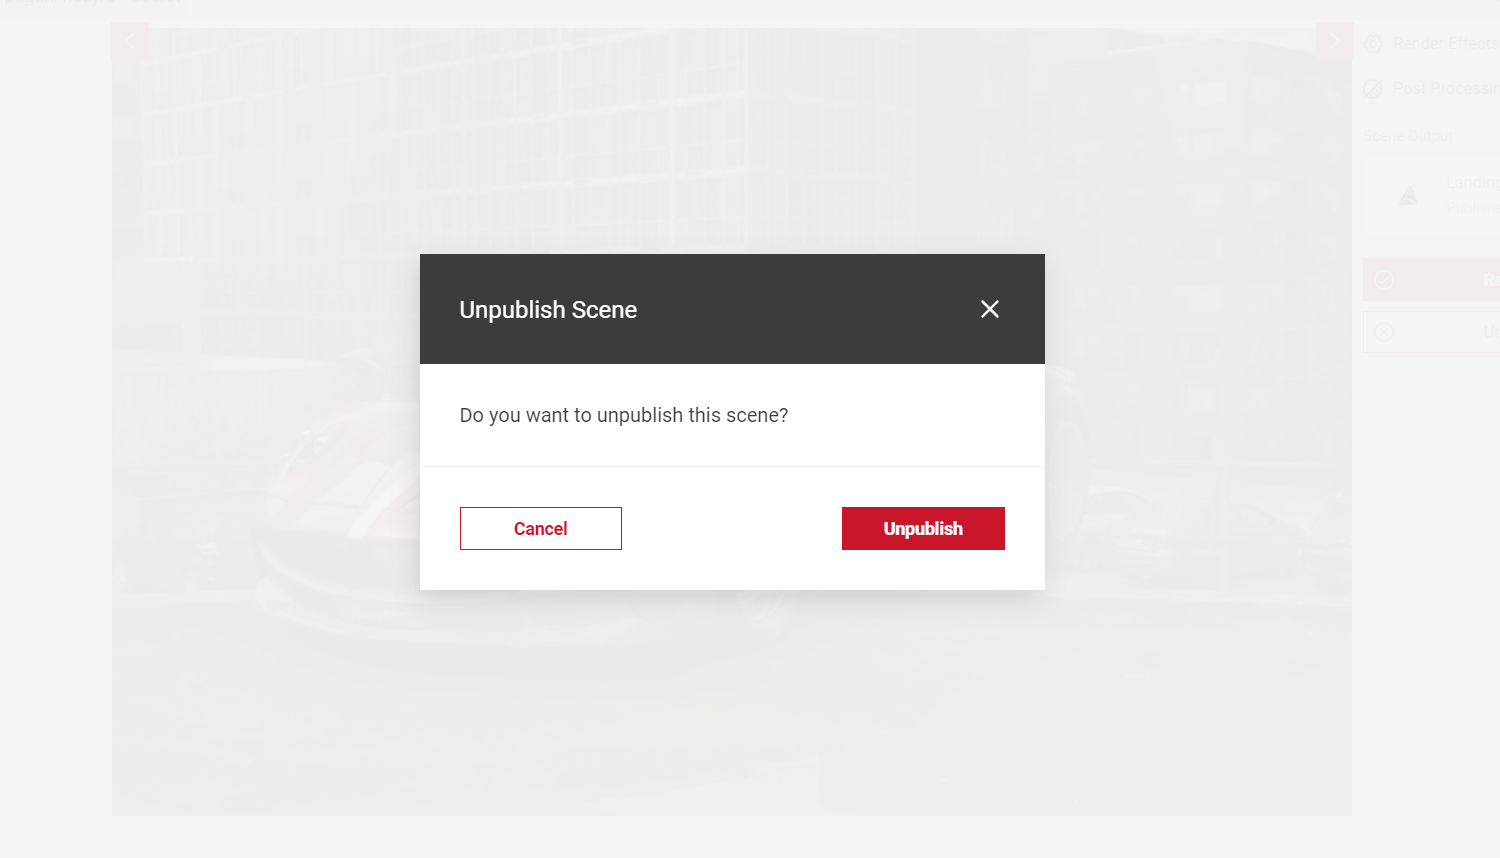
- When your scene is selected, select Unpublish from the Output menu.
- Select Unpublish in the confirm dialog.
- Your scene will be unshared with any users and won't be accessible in Shutter Pro.
Deleting a Scene
Deleting a scene will delete the entire project from your Scene app.
- Select the Scene panel in the Input Menu.
- Locate the scene you wish to delete, and select the dotted icon. This will expand the delete button.
- Select the Delete button.
- In the confirm dialog box, select Delete User Content.