Scene Lighting
Scene Lighting allows you to adjust the exterior and interior lighting and reflection parameters and rotation on the car, rather than the entire scene. Any settings you apply here will be the default settings you see when you load the scene in Shutter Pro. You can also load a different vehicle in Shutter Pro which will have the same default lighting settings as applied in your scene.
Note: Switching vehicles with a different shape or paint finish may make the lighting look different to your original set up. If you switch vehicles, you may need to re-adjust the lighting settings.
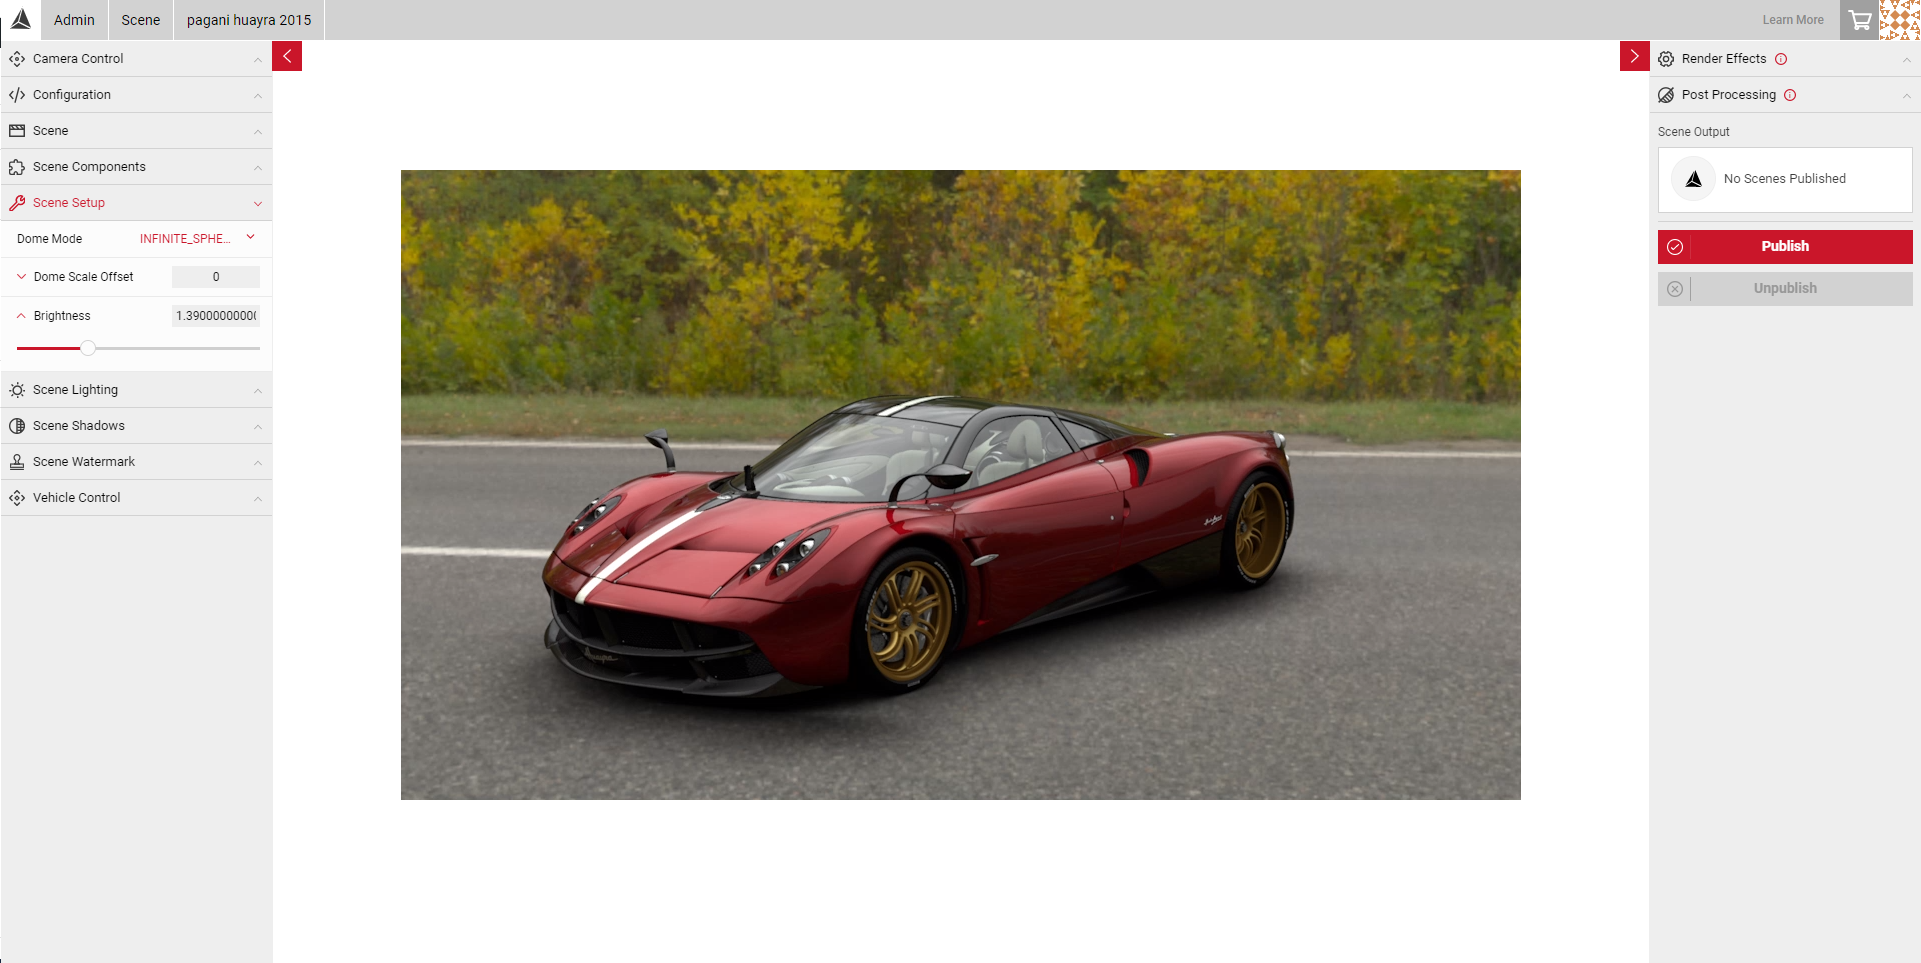
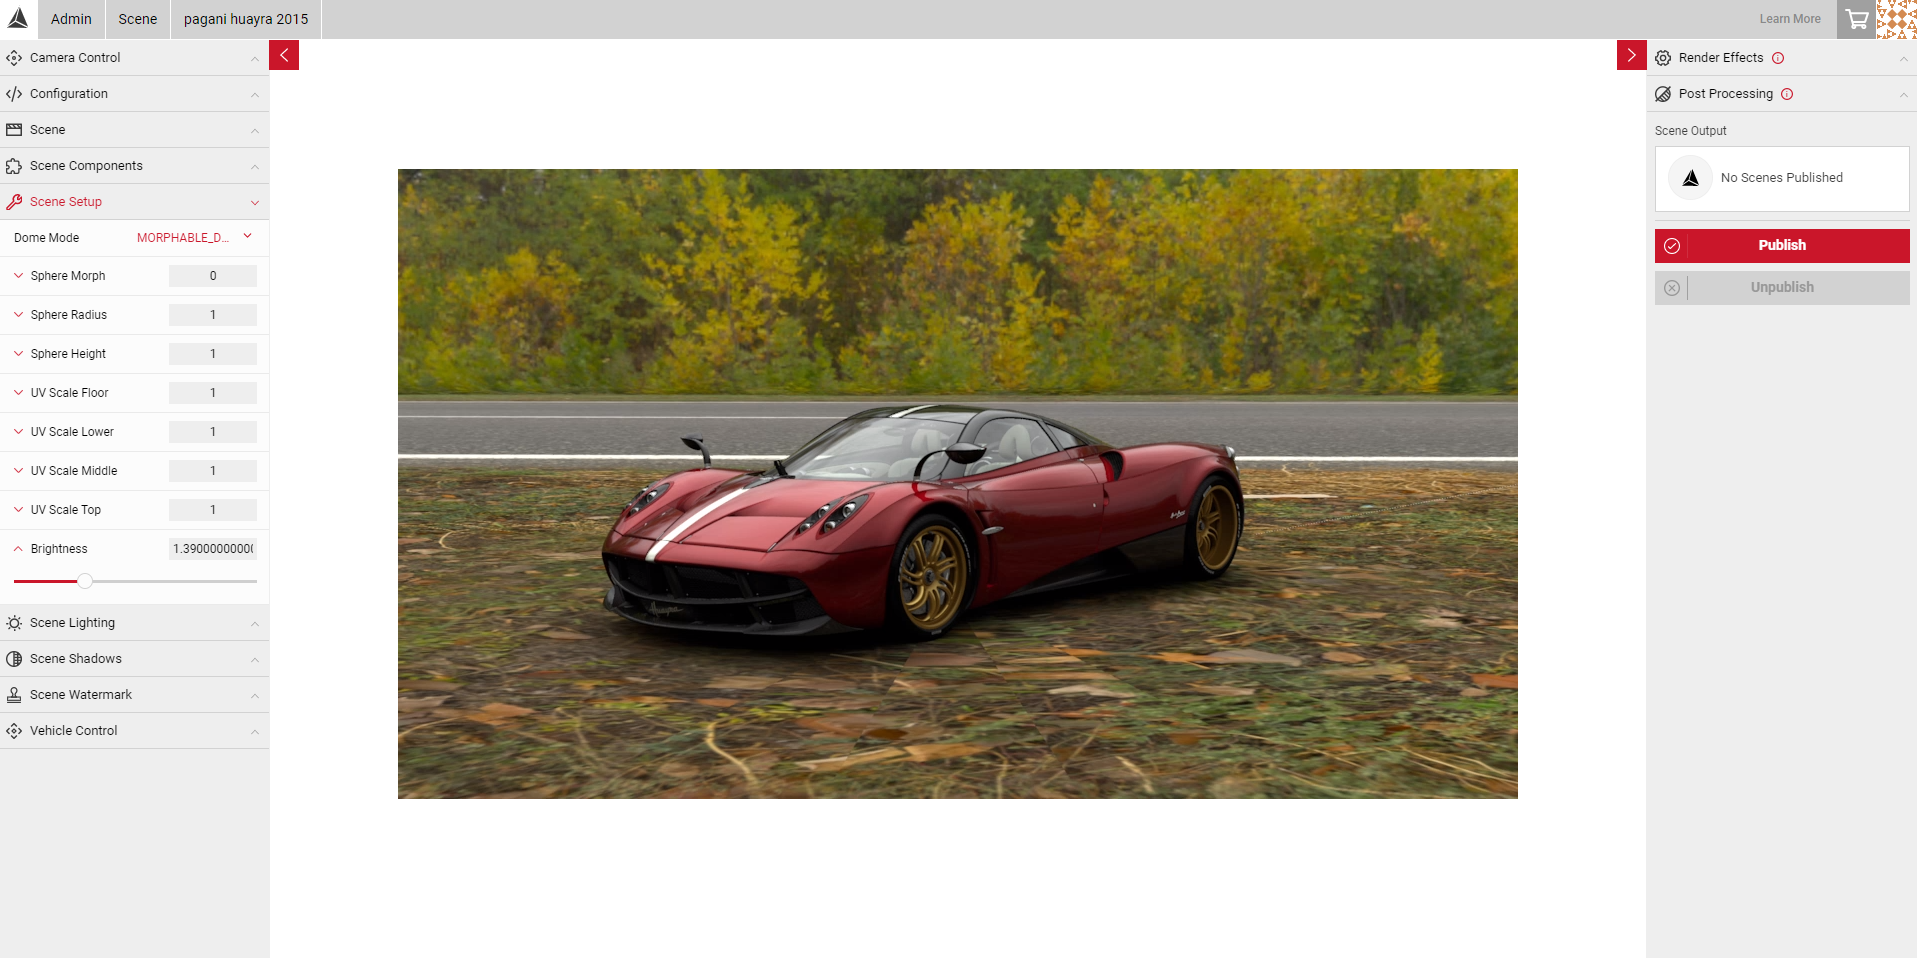
- In Dome environment type scenes, you can also adjust the overall brightness of the scene in Scene Setup by adjusting the Brightness slider.
- Backplates do not have this option.
Exterior Lighting Settings
Clicking on the Exterior sub menu expands the lighting options where you can adjust the brightness, contrast and saturation of the lighting and lighting rotation on the car.
- Brightness - Try to match the brightness of the vehicle to the HDR/image. Move the slider to the right to increase the overall brightness of the vehicle. Move the slider to the left to decrease.
- Contrast - Move the slider to the right to increase the overall contrast on the vehicle. Move the slider to the left to decrease.
- Saturation - Move the slider to the right to increase the overall saturation on the vehicle. Move the slider to the left to decrease.
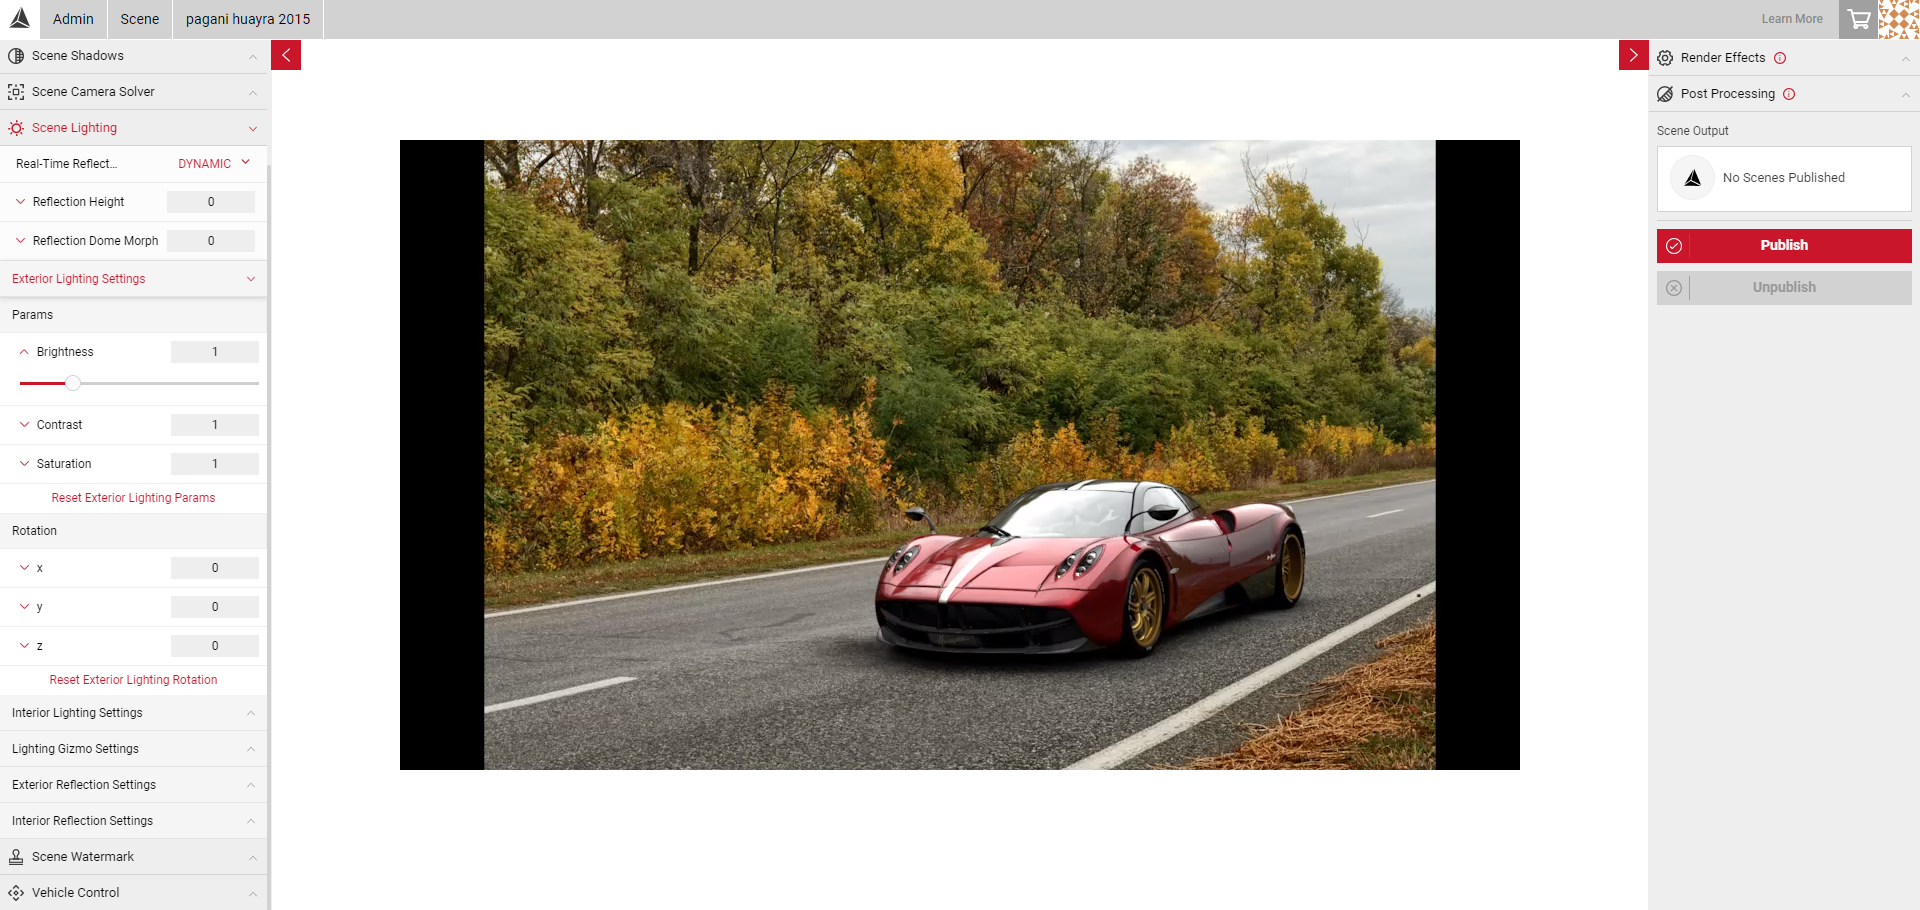
- The Rotation menu allows you to change the direction of the lighting on the exterior of the car on the X, Y and Z axis. You can edit these by clicking on each axis panel to reveal the sliders, or type in a number in the X, Y and Z Rotation values box.
Note: Try to adjust the lighting settings to match the light source or where the light source might be in your scene. For example, if the sunlight appears to be coming from the left but the lighting on the car is on the right, you can adjust the lighting on the Y axis to get the correct rotation for realistic lighting.
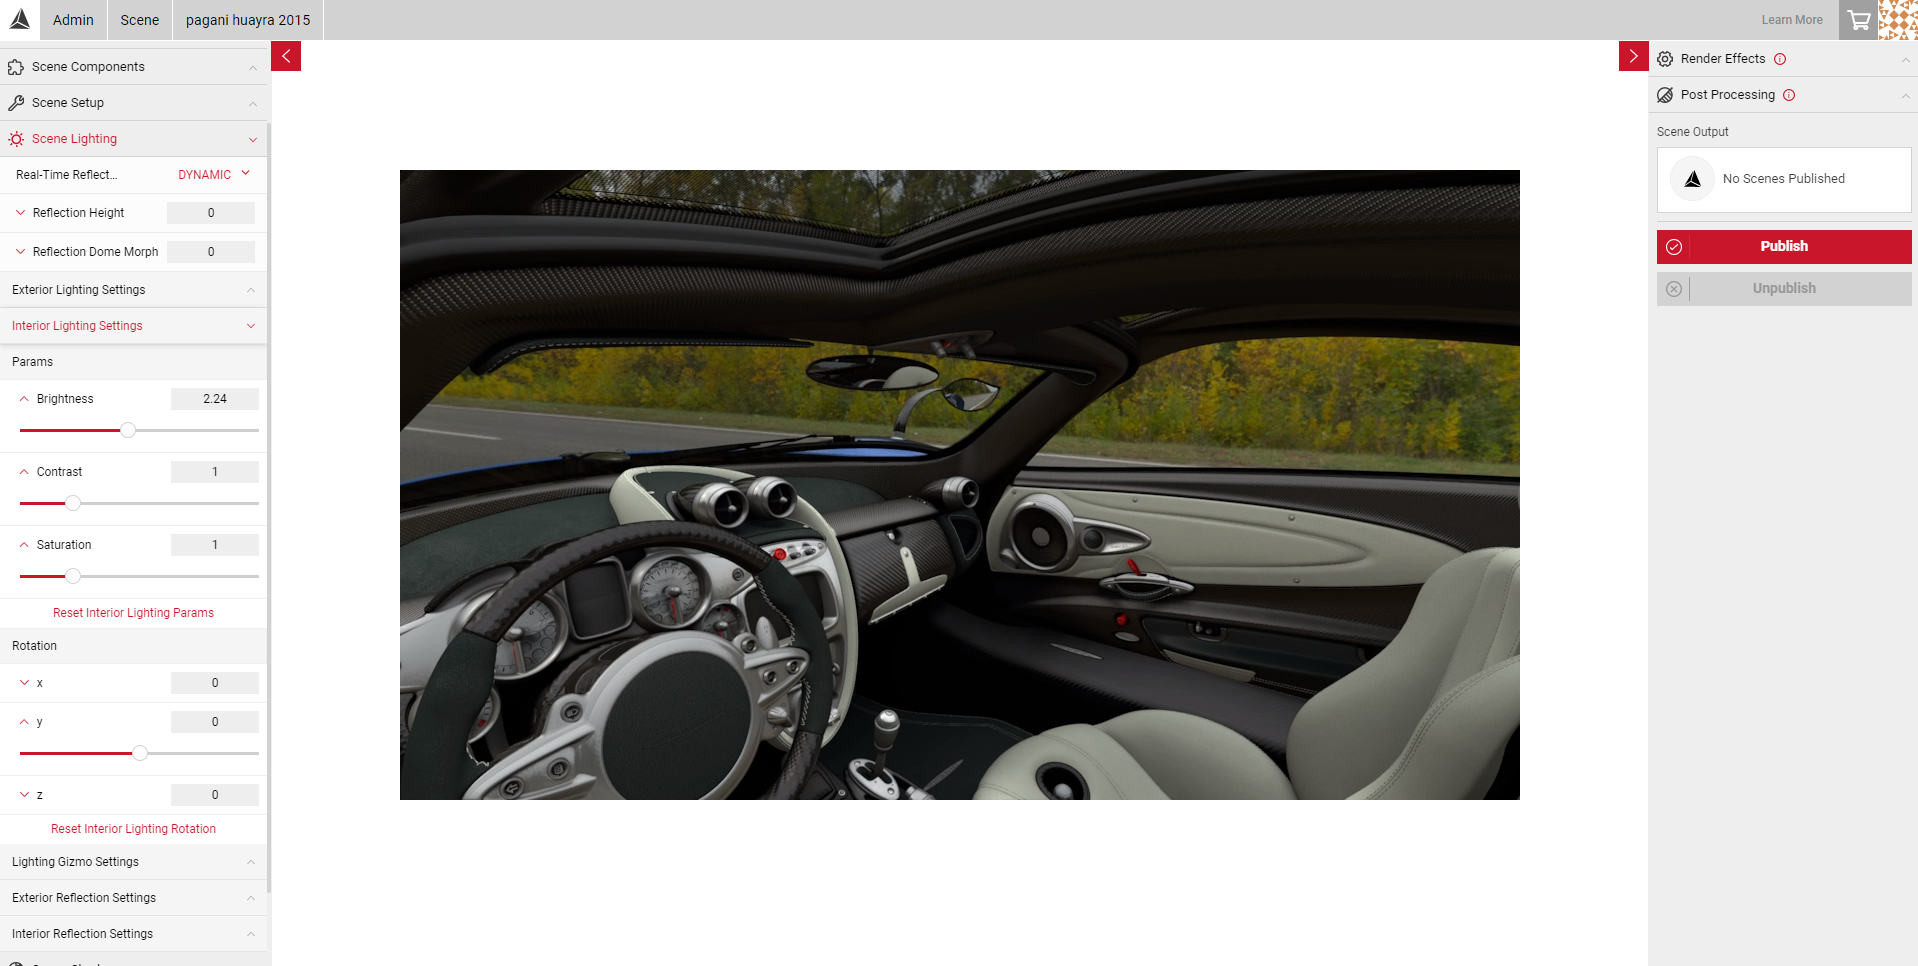
Interior Lighting Settings
Similar to the Exterior Lighting sub menu, the Interior Lighting sub menu allows you to edit the the brightness, contrast and saturation of the lighting, and the lighting rotation inside the car.
- Move the sliders from left to right to alter the settings to get the desired lighting.
- You can also enable FlyCam in the Camera Control menu. This gives you control to move the camera inside the vehicle to view your lighting changes.
Note: The Camera Control tools are only available in Dome environments, not Backplates.
Exterior Reflection Settings
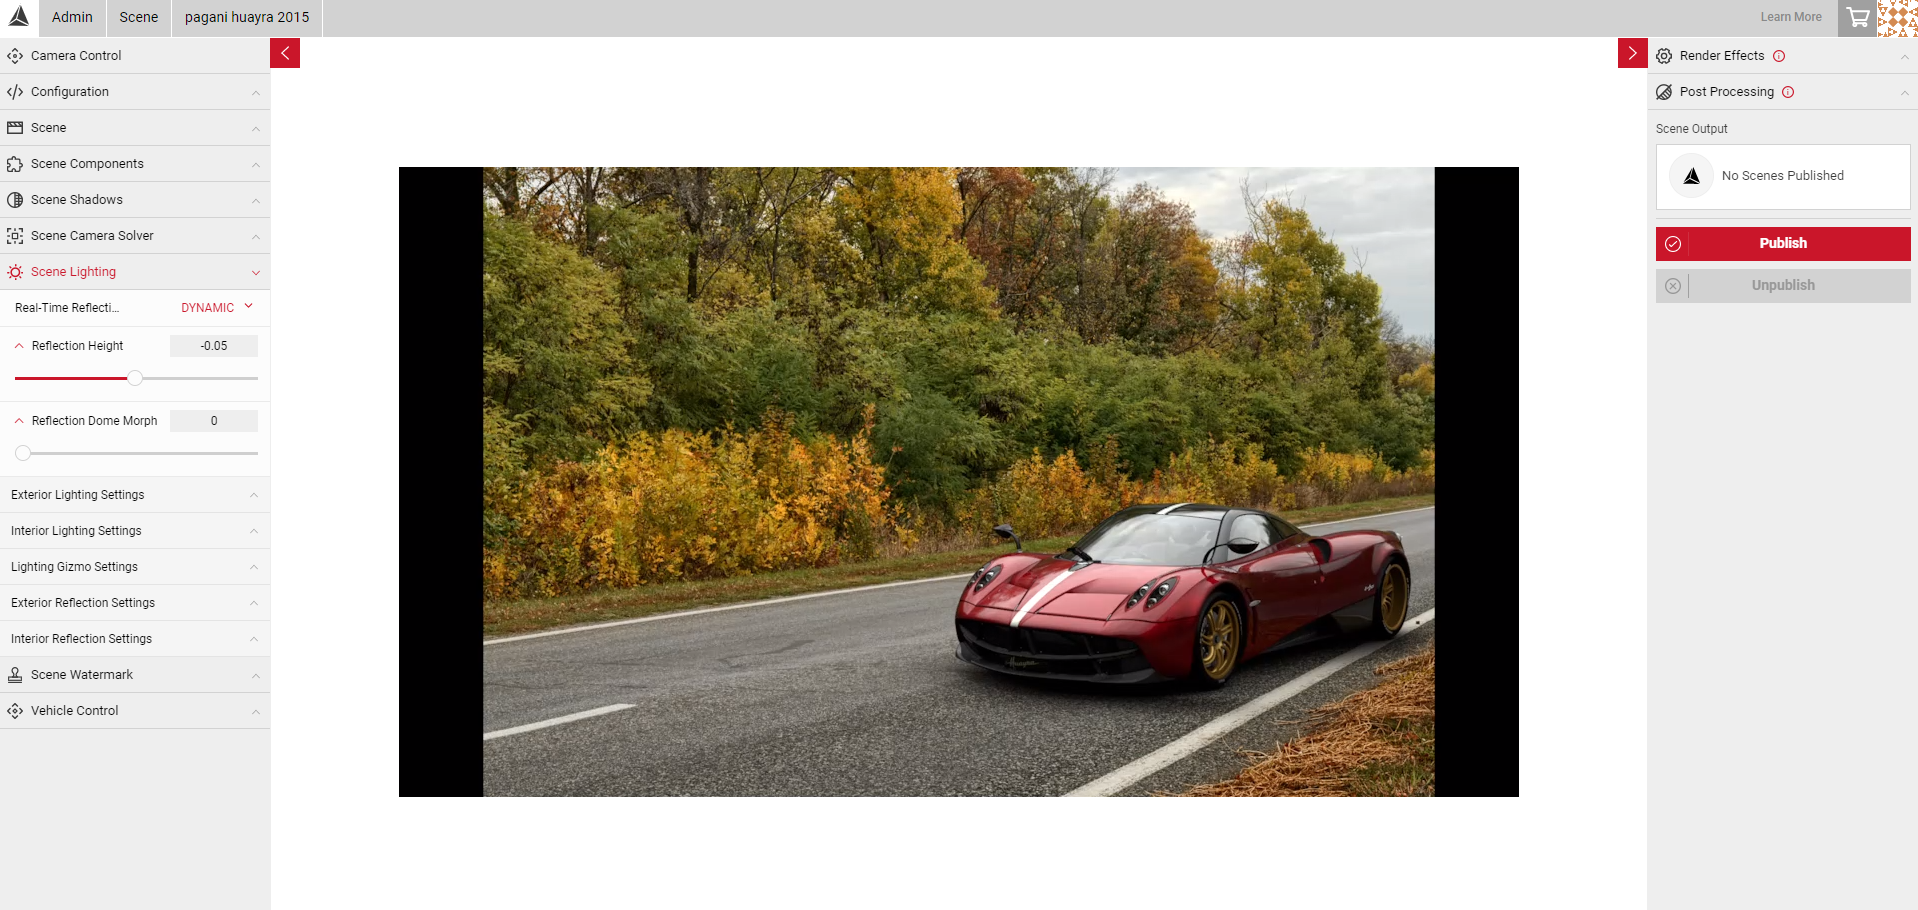
In the Scene Lighting menu, you can select Dynamic or Static Real-time reflections. Selecting Dynamic reflections will allow you to adjust the Reflection Height and Reflection Morph. In the Exterior Reflection Settings sub menu, you can also edit the Brightness, Contrast, Saturation, and Reflection Rotation on the car exterior. Try to match the brightness of the vehicle reflections to the HDR to ensure the reflections look correct. In most cases, the contrast and saturation will only need to be tweaked slightly.
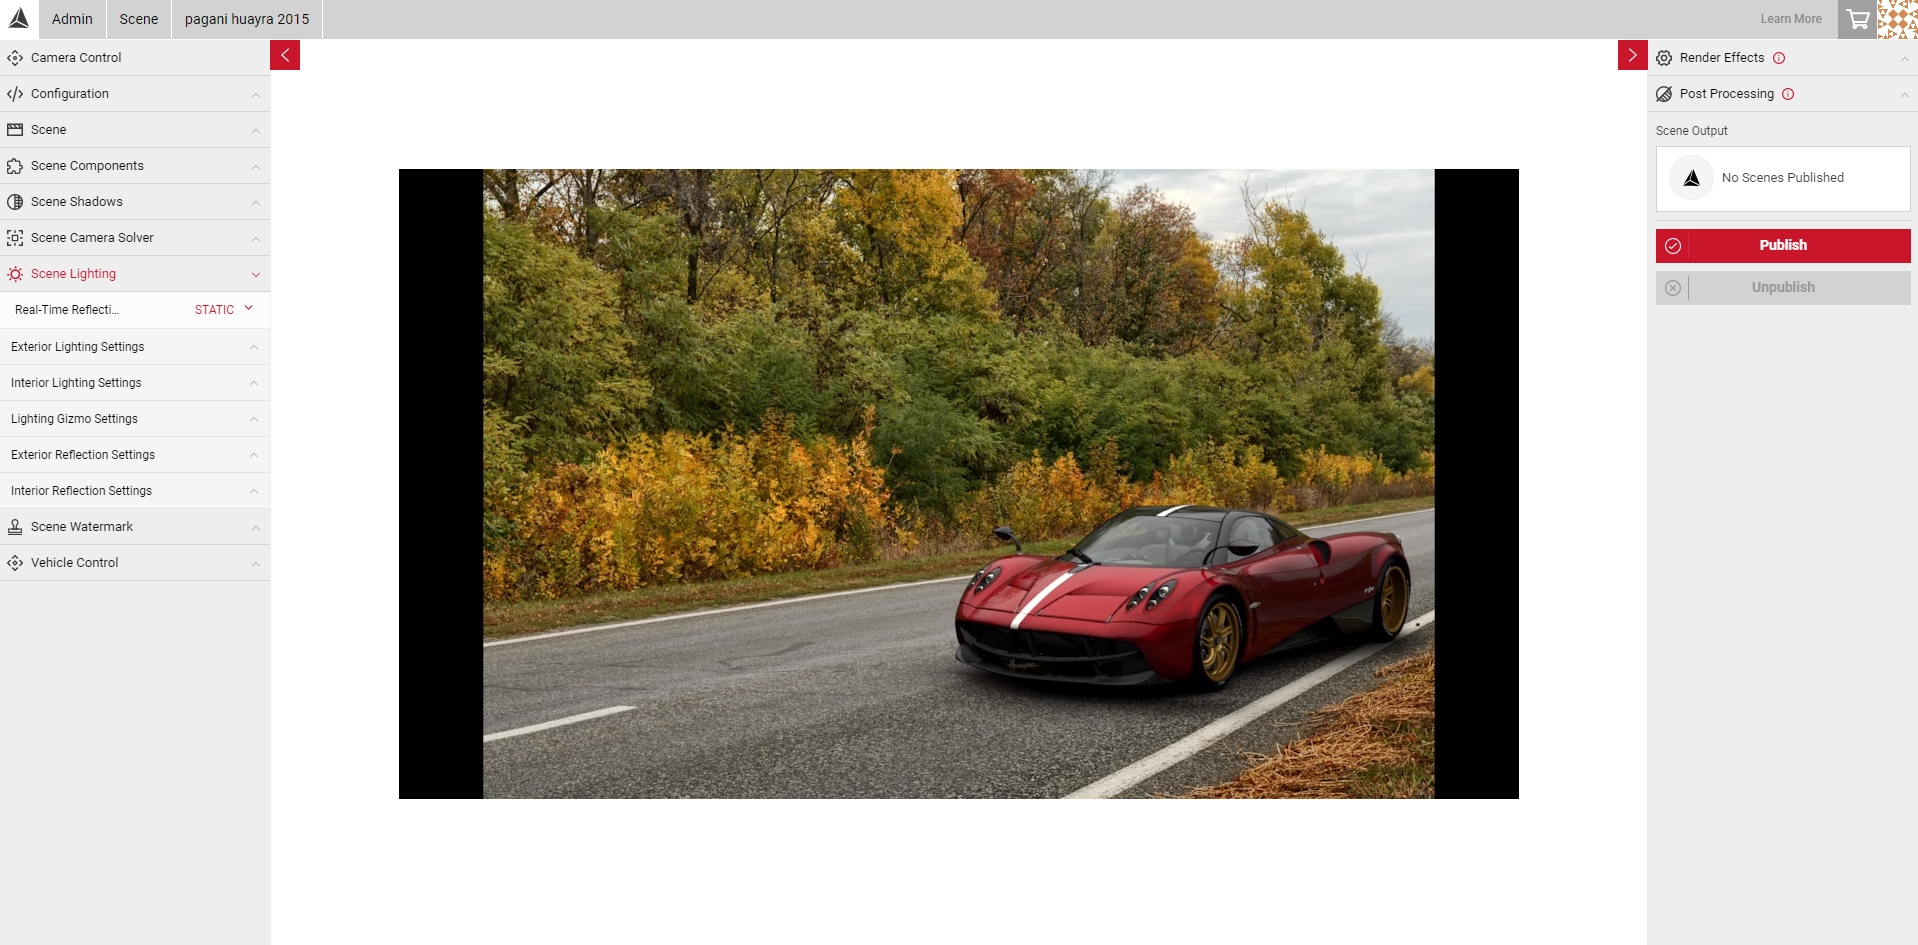
- Select your Real-time Reflection type: Dynamic or Static. Enabling Dynamic reflections will give you additional controls.
- Adjust the Height of reflections by adjusting the sliders. This will change the height of reflections on the car.
- Adjust the Morph slider to change the size of the reflections on the car.
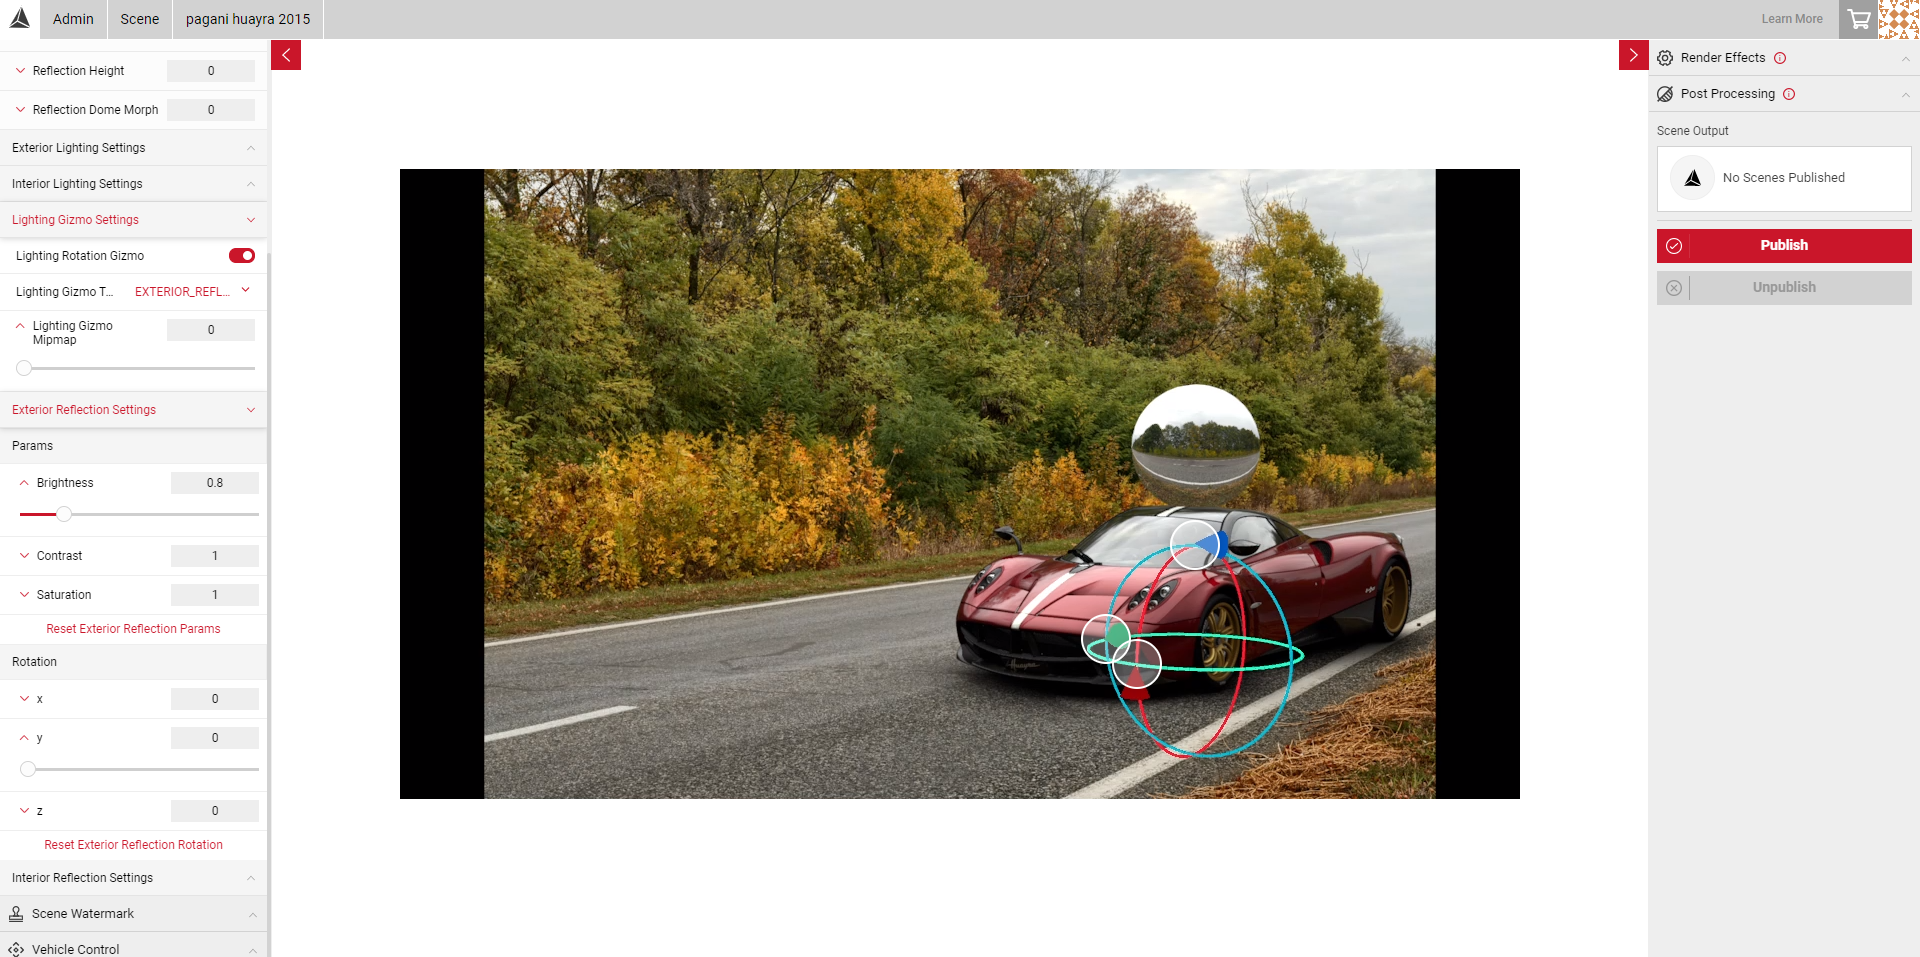
- Click on the Exterior Reflection Settings sub menu to reveal the Brightness, Contrast and Saturation parameters, as well as the Rotation sliders on the X, Y and Z axis. You can adjust these settings by typing a value in the box, or selecting the panel to reveal the sliders.
Note: You can also enable the Lighting Gizmo to adjust the rotation values in the stream. Click and drag each axis point to change the values on the X, Y or Z axis.
Interior Reflection Settings
Similar to the Exterior Reflection sub menu, the Interior Reflection sub menu allows you to edit the the brightness, contrast and saturation of the lighting, and the lighting rotation inside the car.
- Move the sliders from left to right to alter the settings to get the desired reflections.
- You can also enable FlyCam in the Camera Control menu. This gives you control to move the camera inside the vehicle to view your lighting changes.
Note: The Camera Control tools are only available in Dome environments, not Backplates.
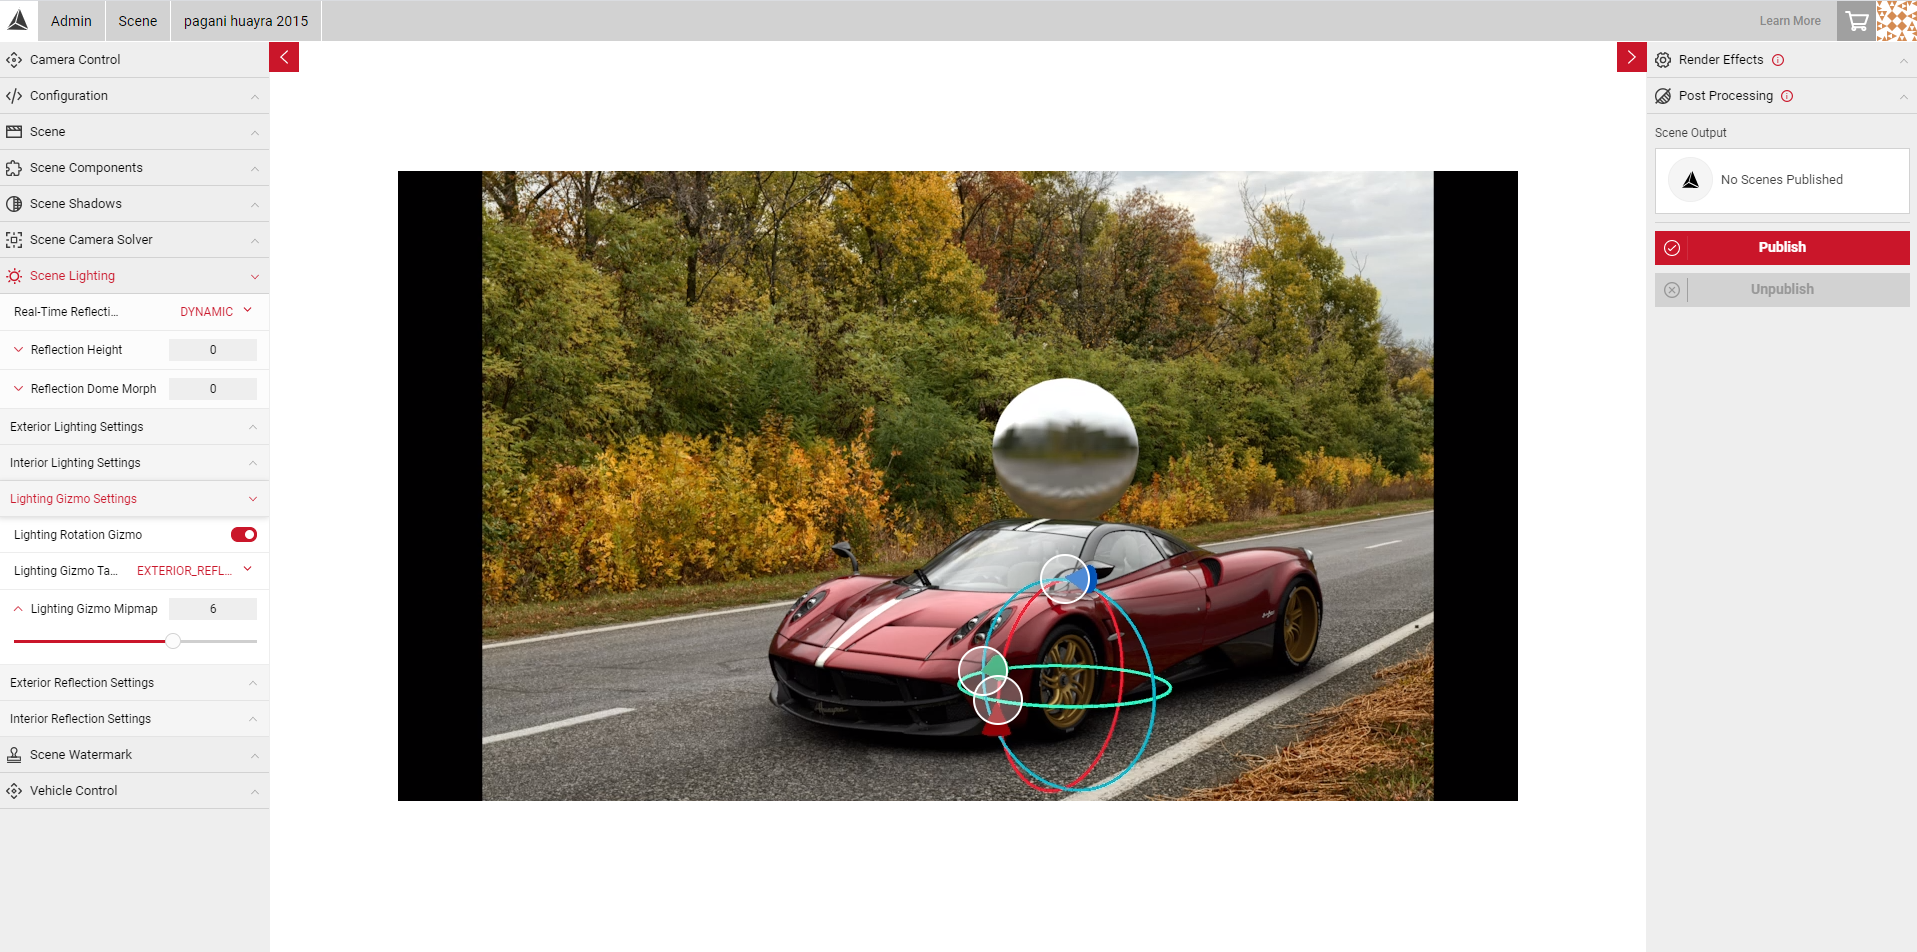
Lighting Gizmo
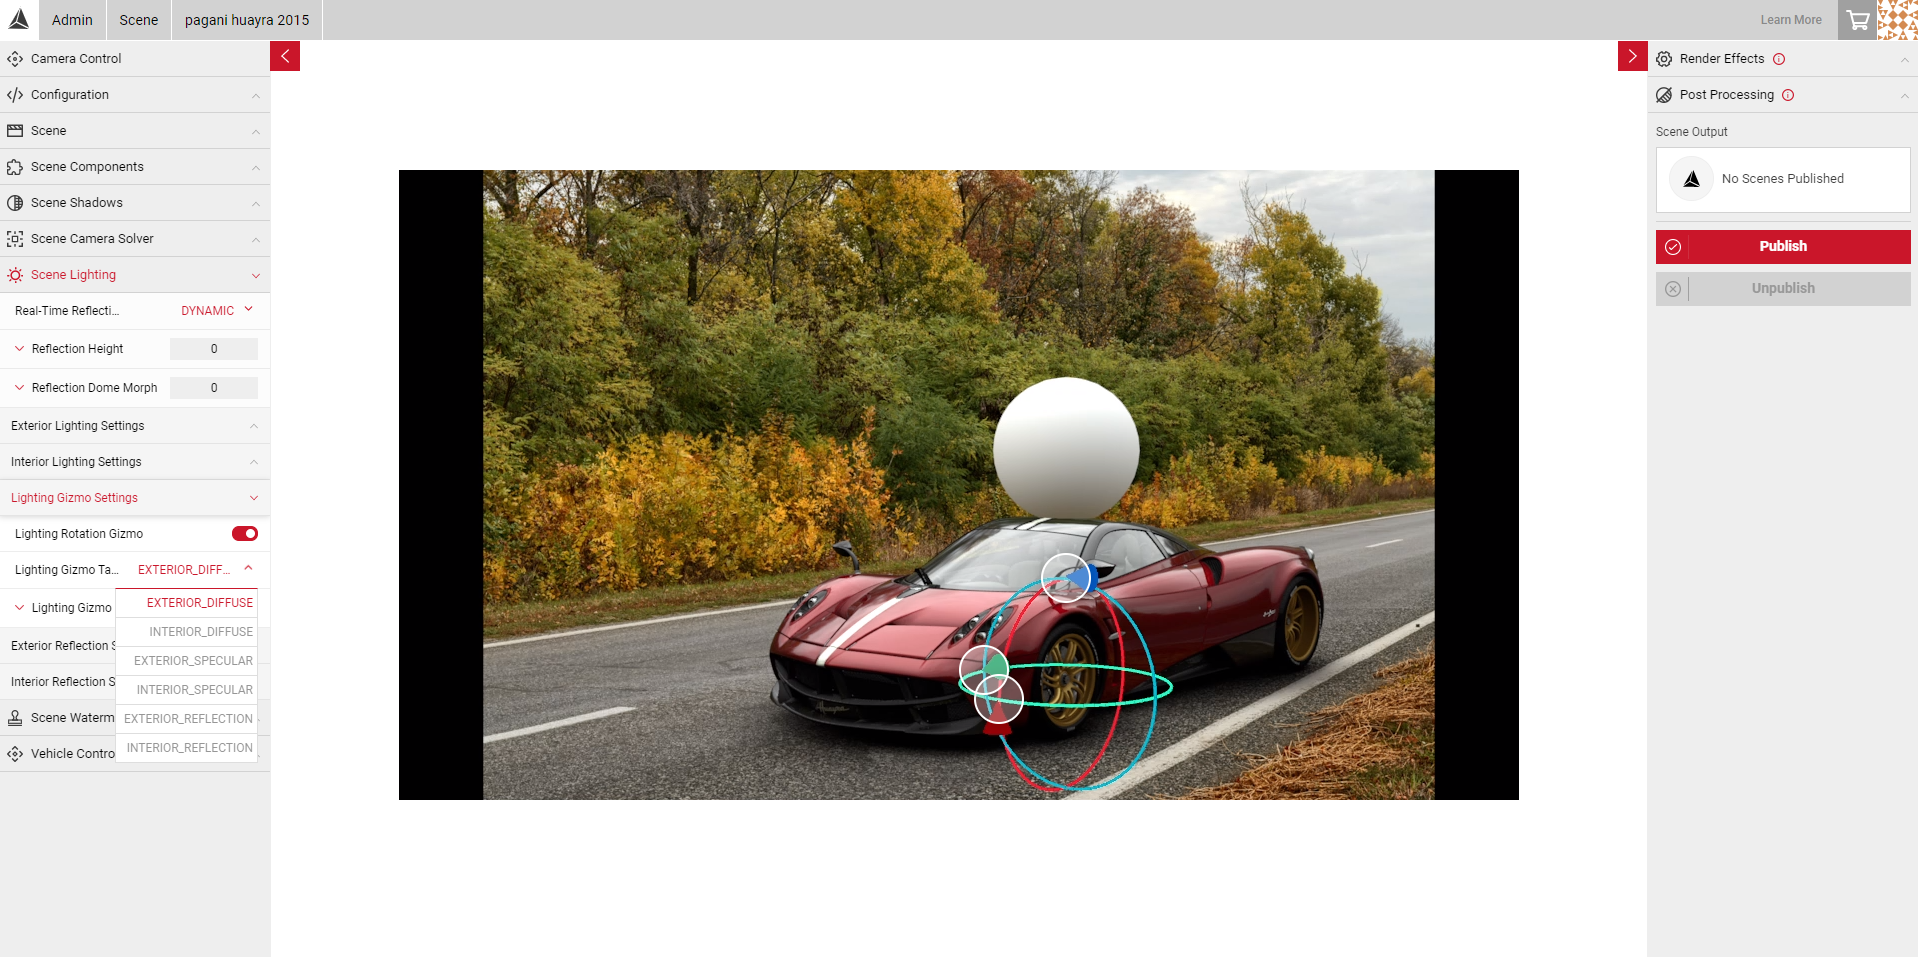
The lighting gizmo allows you to adjust the lighting rotation on the X, Y and Z axis points. When enabled, you will see a lighting orb appear in the viewport above the vehicle. You can then select a Lighting Target, allowing you to select the exterior and interior Reflection, Specular and Diffuse to edit individually. As you click and drag the axis points to change the lighitng rotation, the orb will show a preview of where the lighting will be placed on the car and will update based on the Lighting Target you select.
- In the Scene Lighting panel, enable the Lighting Rotation Gizmo slider.
- Similar to the Vehicle Control gizmo, users can adjust the lighting on the X, Y and Z axis by clicking and dragging each axis point.
- As you alter these values, the Lighting Gizmo will reflect where the lighting is positioned on the car, and the relevant sliders will update with the new values.
- You can also adjust the Gizmo Mipmap. This allows the texture to be previewed at a reduced level of detail. Increasing the slider will reduce the quality of the texture image on the lighting orb.
Lighting Example
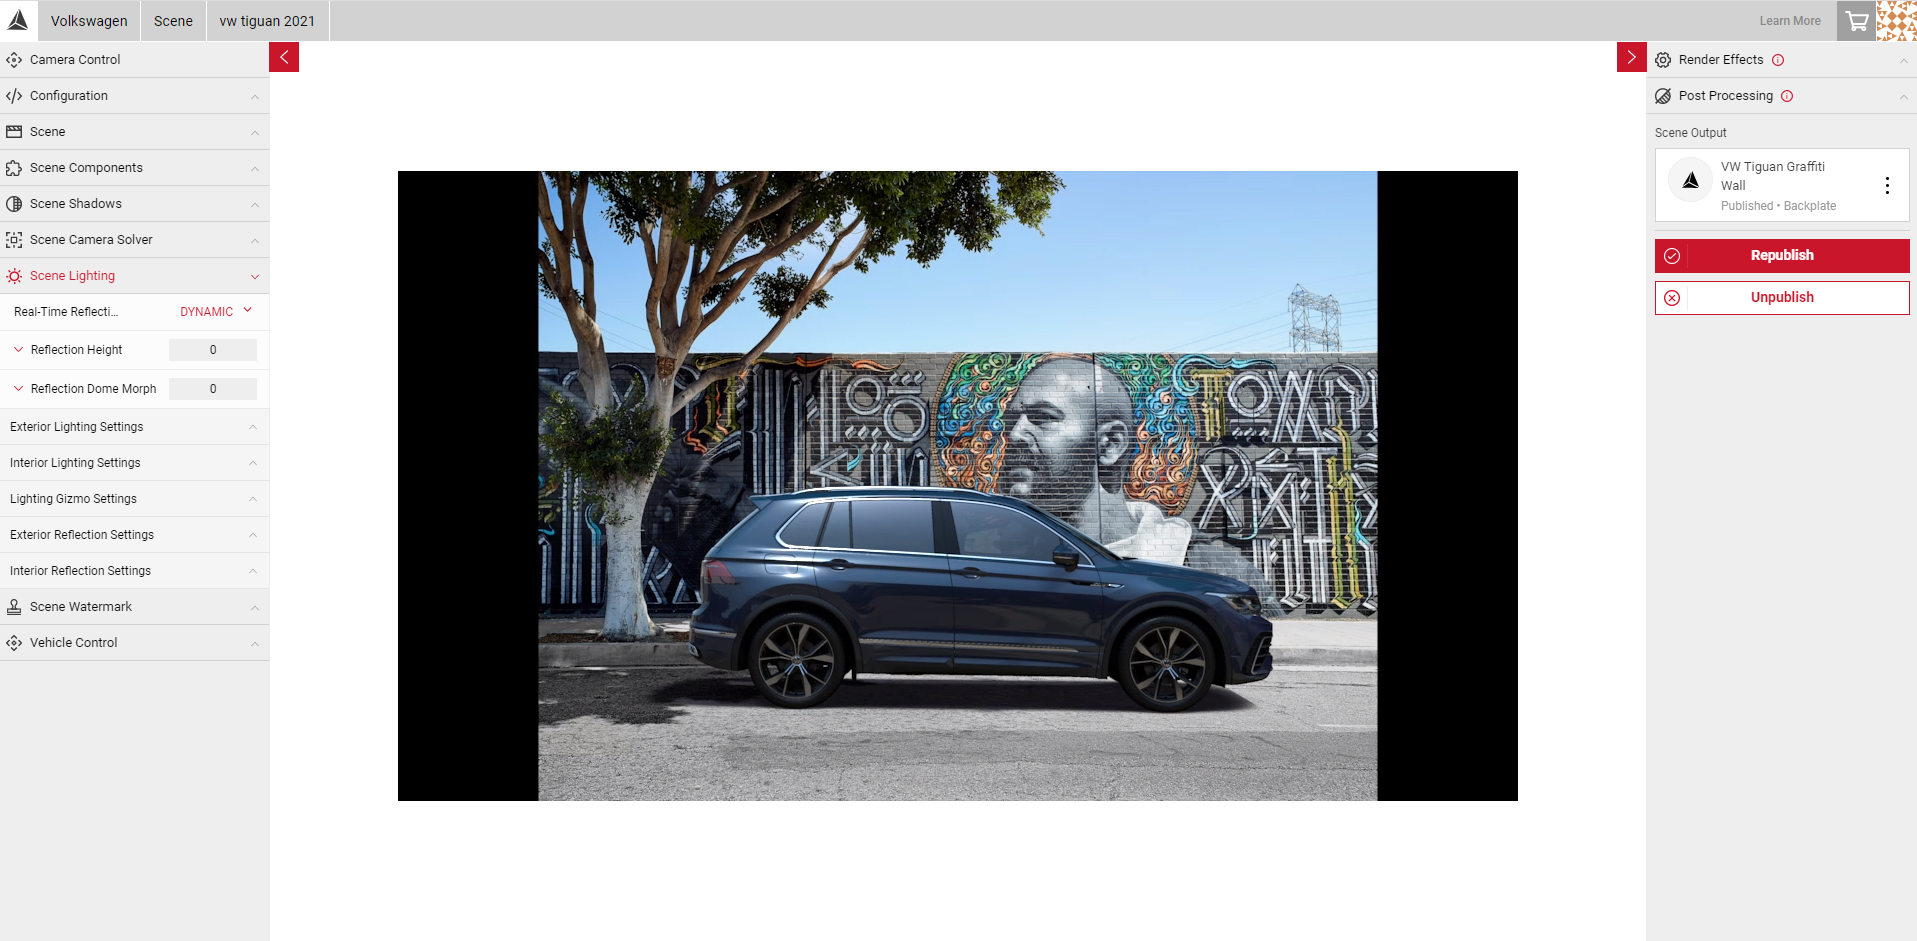
In this example, the environment is a bright sunny day so we would expect to see the lighting and reflections to be a bit brighter. When the components were first uploaded, we can see the lighting and reflection look slightly dull, to solve this we can alter the brightness settings and use the lighting gizmo to achieve the correct lighting rotation.
- The image below shows what the scene looks like without any editing to the lighting settings.
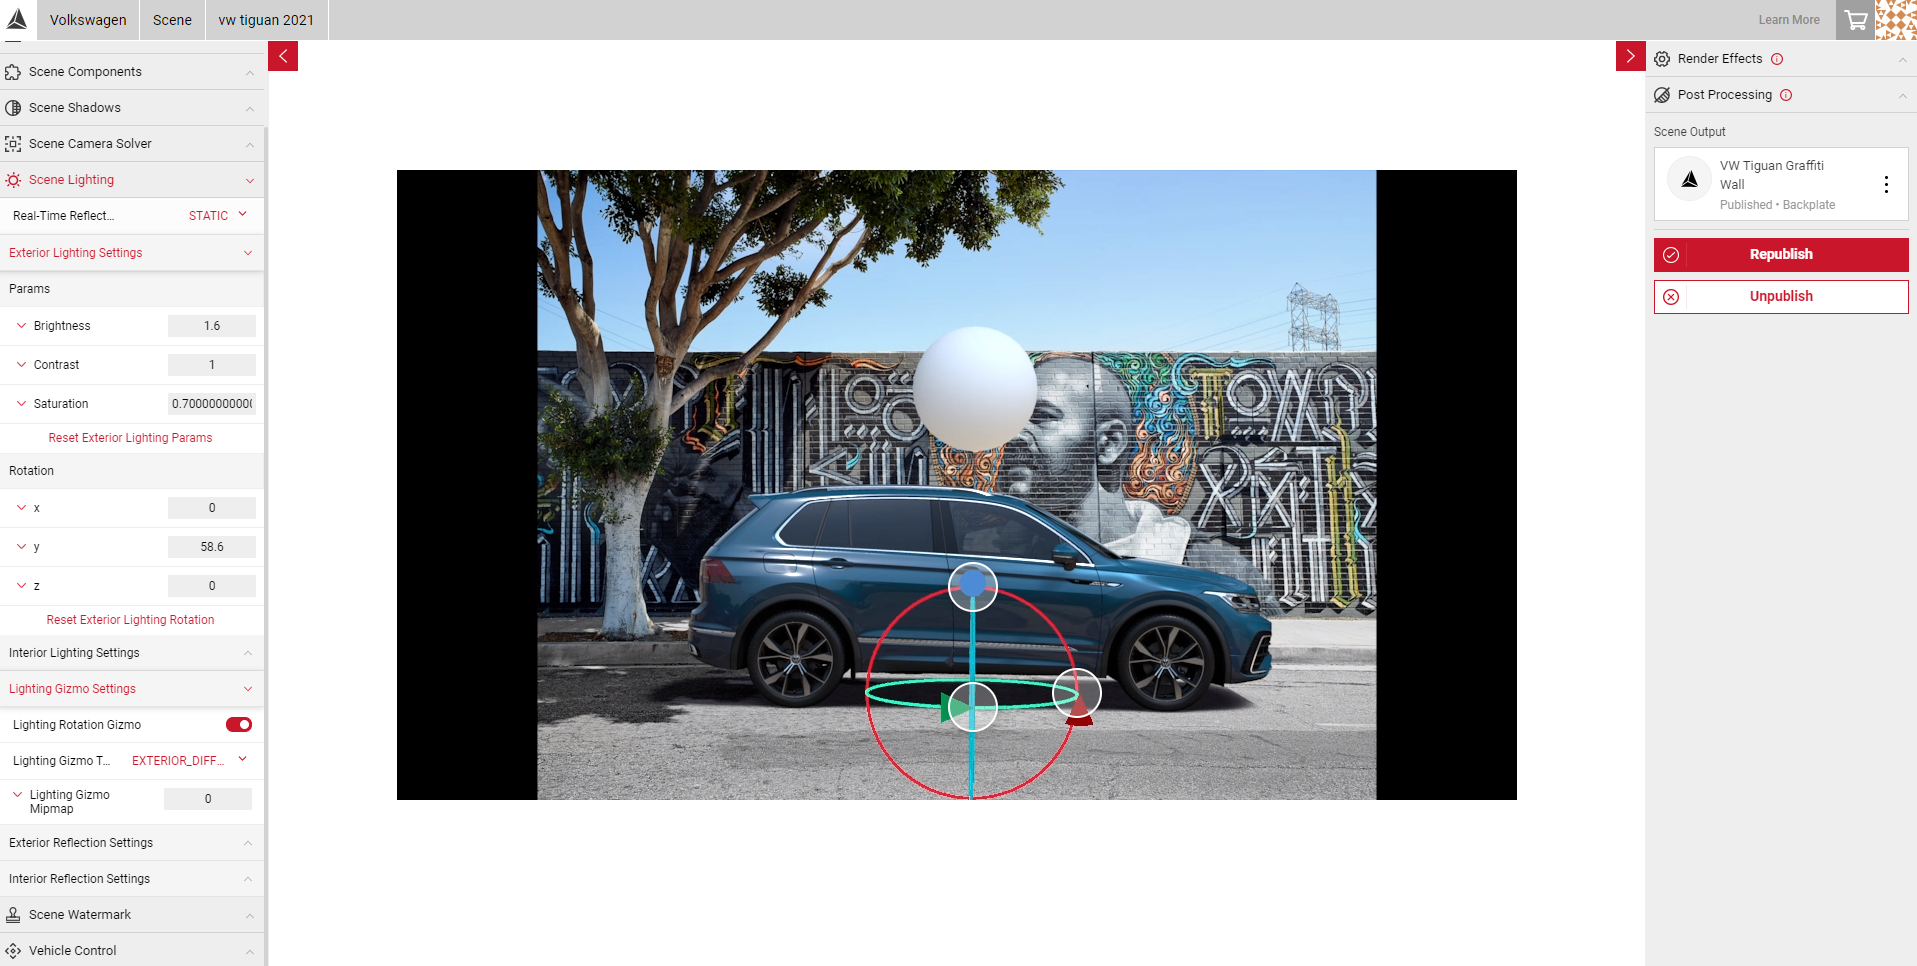
- Select the Scene Lighting panel and click the Exterior Lighting sub menu. In this example, the Brightness was increased slightly to reflect the sunny environment, and the Rotation value on the Y axis was changed to make the lighting appear on the front of the car.
- Next, the Exterior Reflections were edited to appear brighter, and altered on the Y axis so the bright reflections would appear on the front of the car, as the sun appears to be coming from the right.
- The lighting gizmo was then enabled to help visualise where the correct reflections should be on the car.
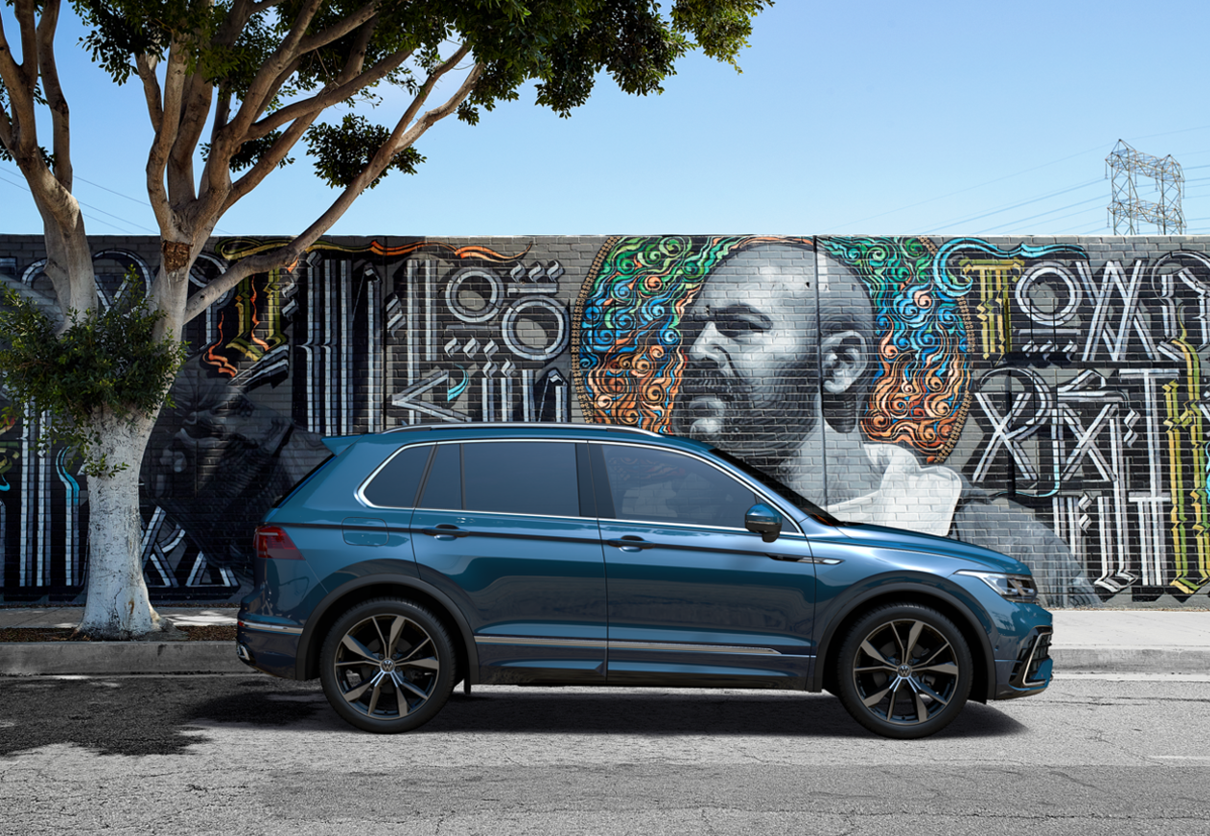
Finished Lighting Image:
The image below shows the desired lighting for this environment. Shadow intensity and direction would still need to be adjusted to continue building a realistic scene. Visit Scene Shadows to learn more.
Visit the Backplate Tutorial to look at this lighting example in more depth.