Guides & Overlay
Guides & Overlay feature allows you to upload an overlay image visible in the Viewport, with options to adjust the Opacity and Image Positioning (cover, contain, fit width, fit height) as well as guide lines to help with alignment and positioning. This tool can be used to help align the vehicle with the overlay image to achieve a specific position, or create an image with multiple vehicles.

- Select the Guides and Overlay panel and drag and drop your image in the overlay area. The name of your image will be displayed under Overlay Image.
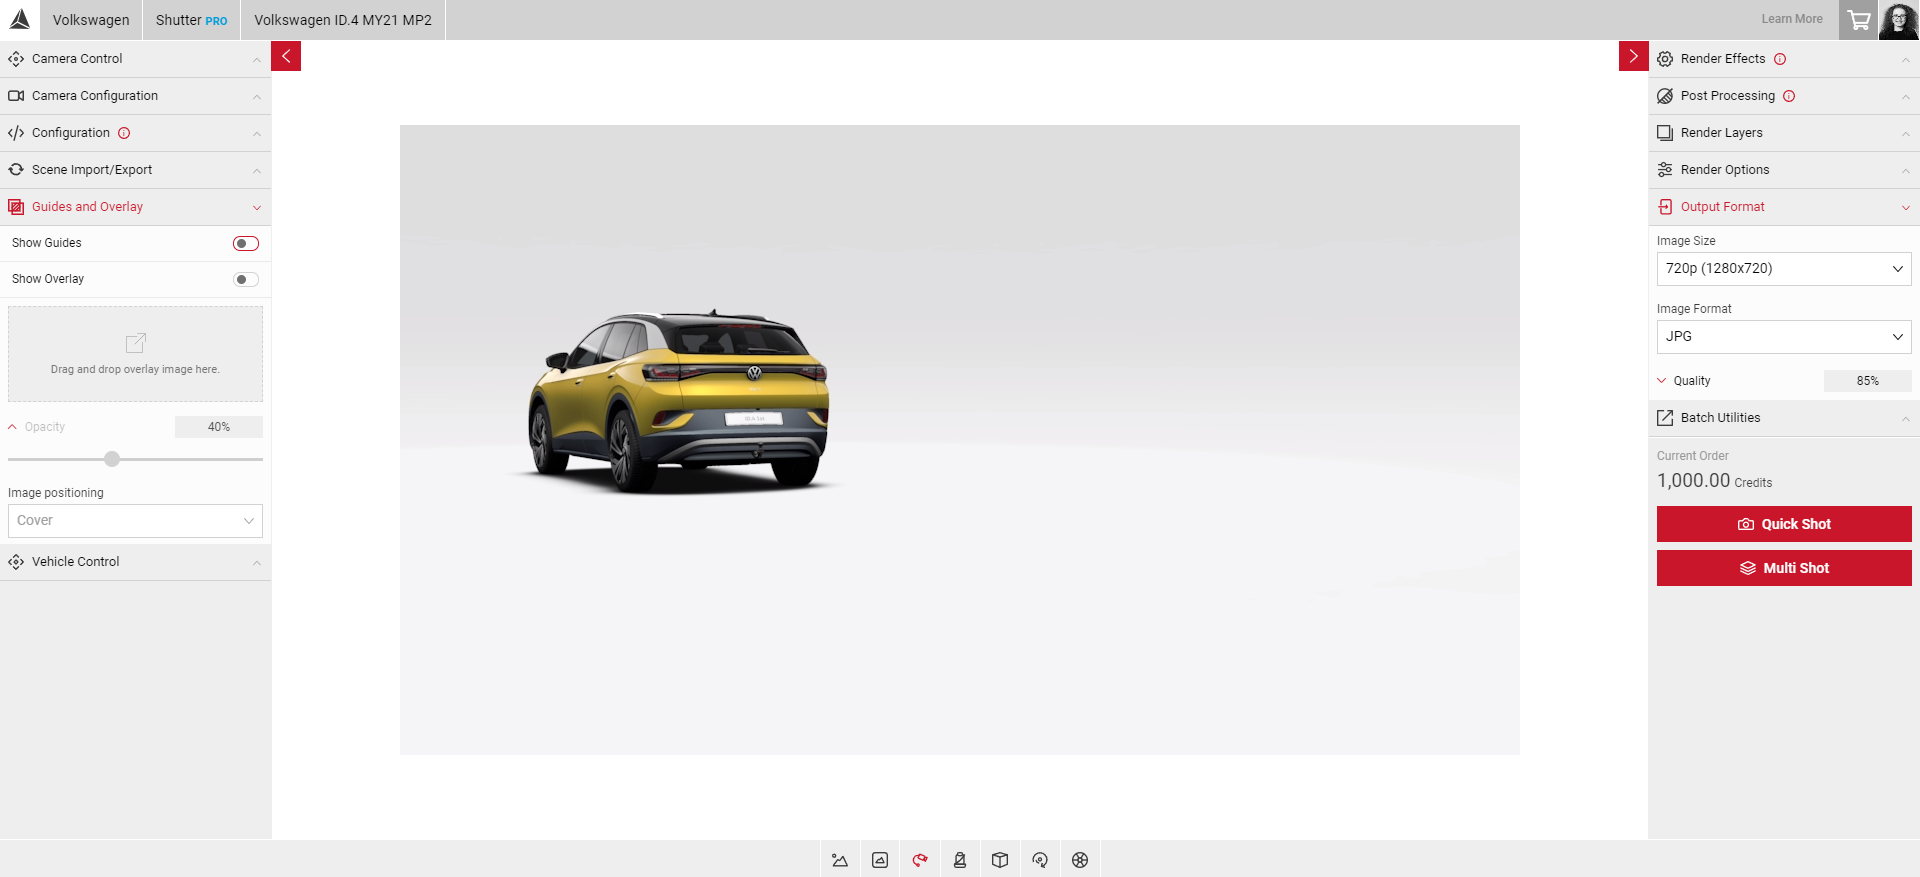
- Toggle the Guides and visibility of the image by using the Show Guides and Show Overlay sliders. Use the Opacity slider to adjust the opacity of the overlay image.
- Select the Image Positioning dropdown menu to reveal the image options. Select, Cover, Contain, Fit Width, Fit Height, & Default Size.

- To align your vehicle in the Viewport with the overlay image, select FlyCam and adjust the position using Camera Control until aligned.
- Select the X next to your image in the Guides and Overlay panel to remove.
Note: The overlay image will not be visible in any images you create.
To learn more on creating an image with multiple cars, visit Hero Shot Multiple Car Picture