Tutorial Time: 10 mins

- Using Configuration
- Positioning the car
- Using .JSON files
- Using Vehicle Control
- Using Overlay Feature
What you will learn
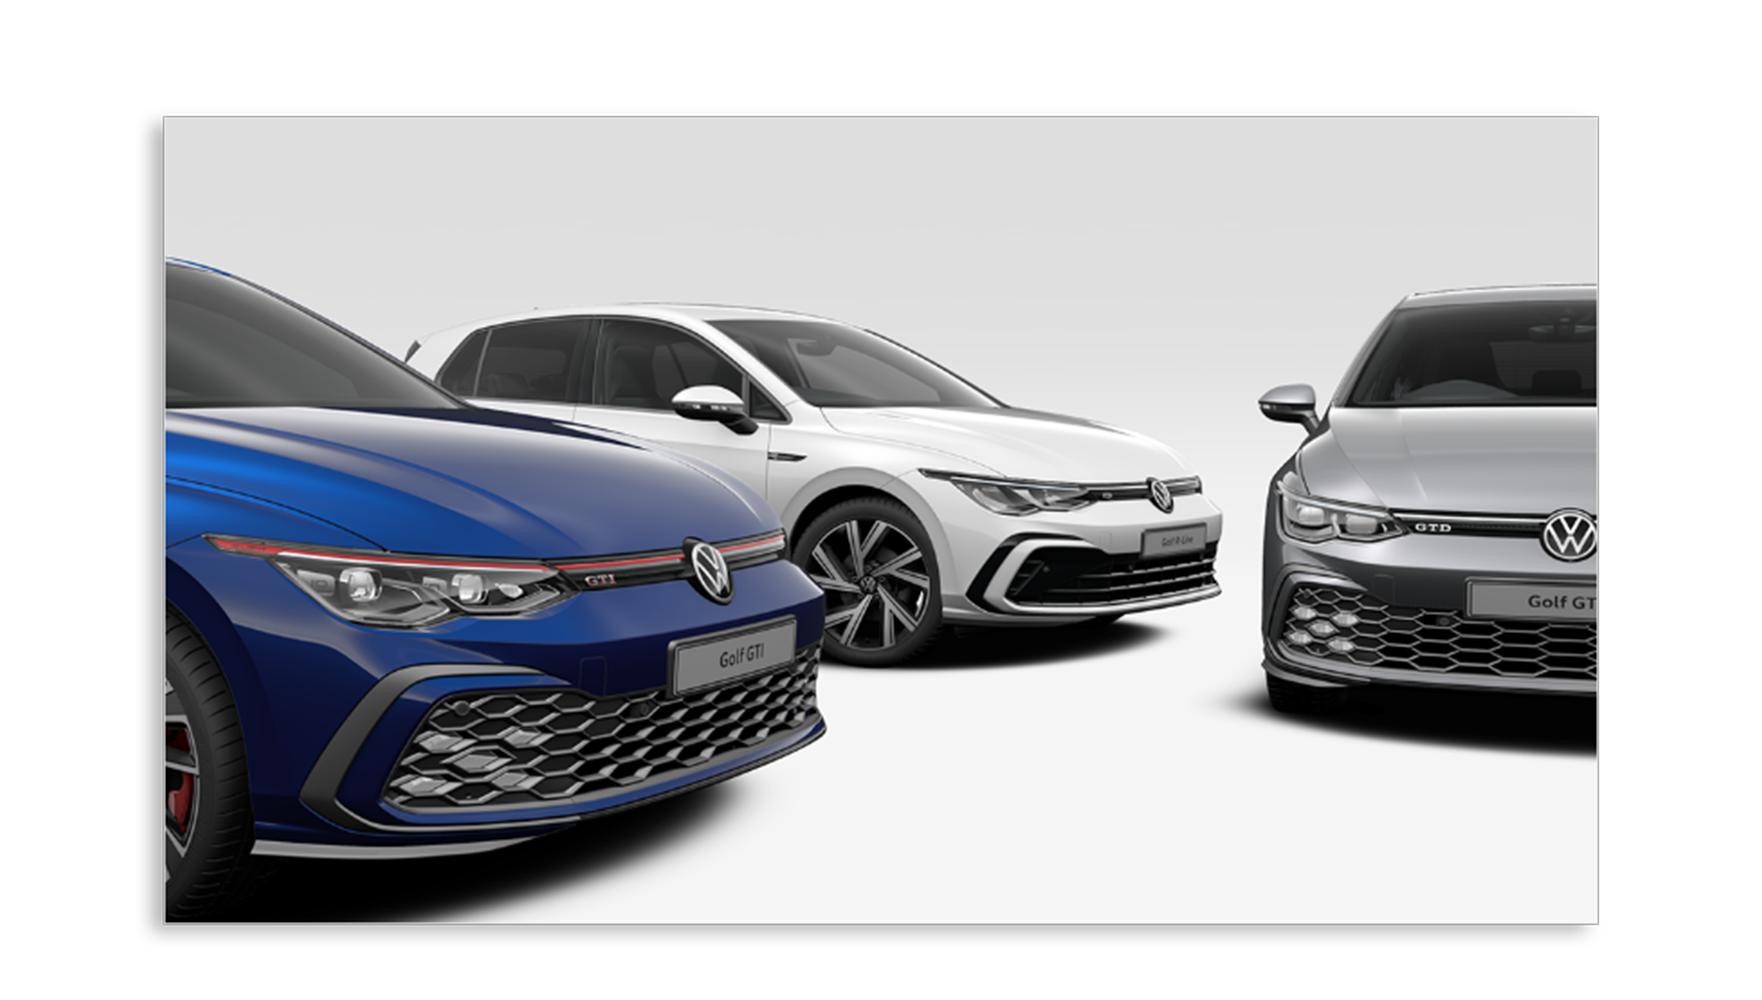
Using the Shutter Pro app we will create a campaign picture for the Volkswagen Golf 8 using Vehicle Control and .json files to position multiple car models and create a stylised dynamic composition. We will learn how to use the Overlay Feature so we can correctly place the car models where we want them to be in our campaign picture.
Method
1
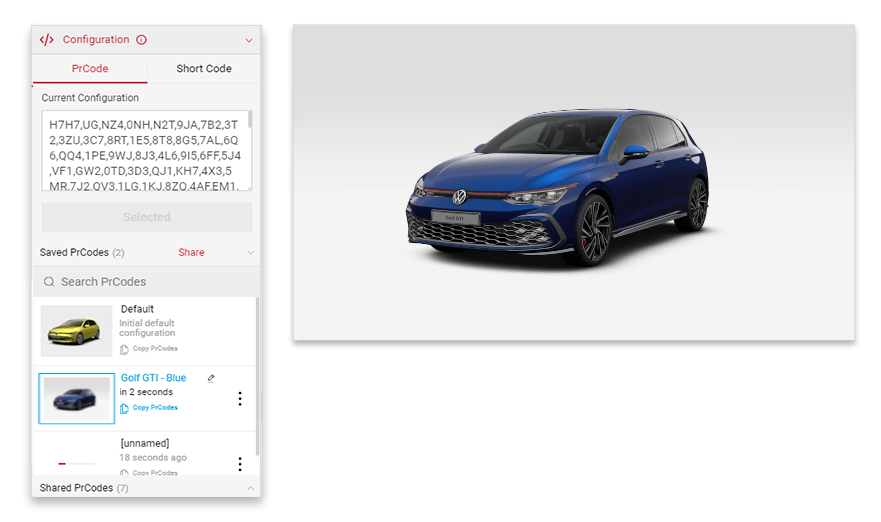
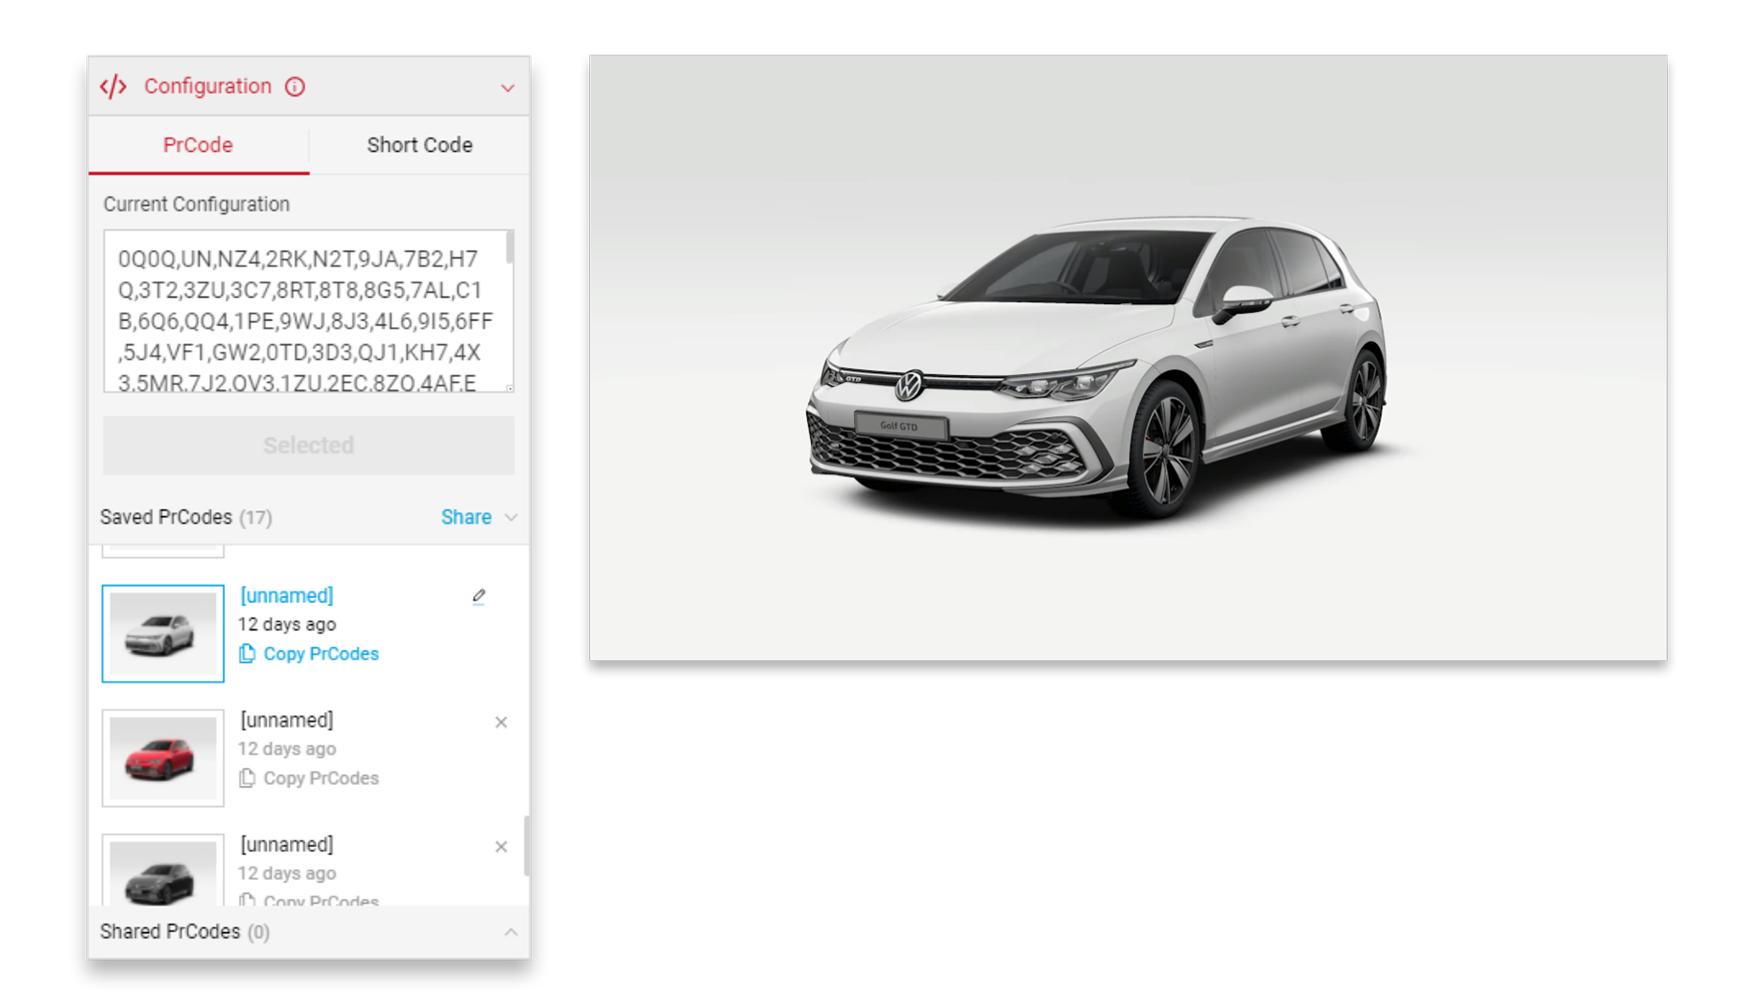
Copy and Paste your PrCodes into the Configuration tab. Click on Apply and the car will change to your own configuration.
Make sure to the click the Save Configuration button so you have it stored in the Saved PrCodes menu.
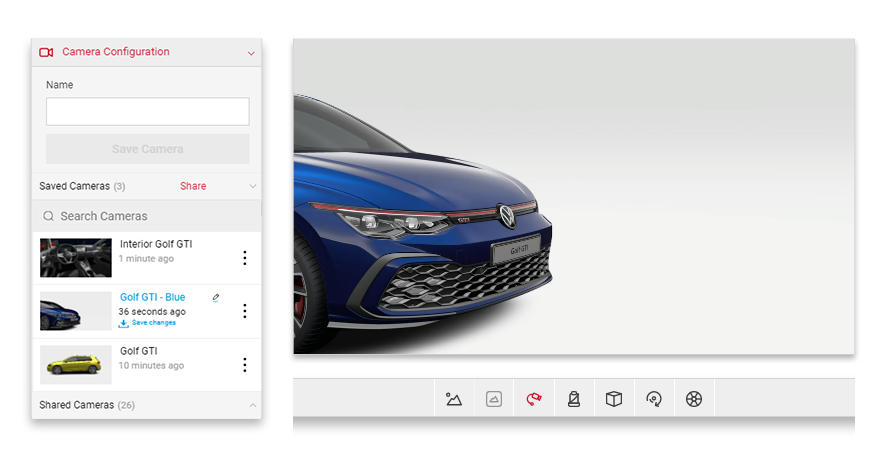
2 Using the Global stage camera and Flycam within the Controls menu, begin to position and set up the first car within the Viewport menu. Always remember to Save camera in the Camera Configuration menu.
Tutorial Tip
Use the keyboard inputs to help position the car: W, A, S, D - Translating of the camera L, J, K, I - Rotates camera E - Translates camera up Q - Translates camera down U - Tilts left) O - Tilts right SHIFT - Holding ‘Left Shift’ will slow down camera movement.
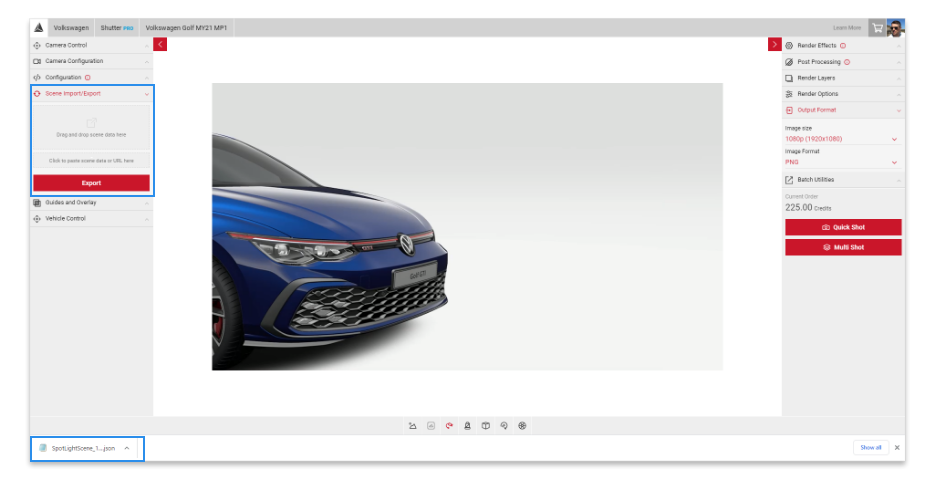
3 Now we have the car in position. Download the .JSON file so we can reuse the camera position to set up the other cars correctly in their position. In the Project Import/Export menu click the Export button (the .JSON file will automatically download).
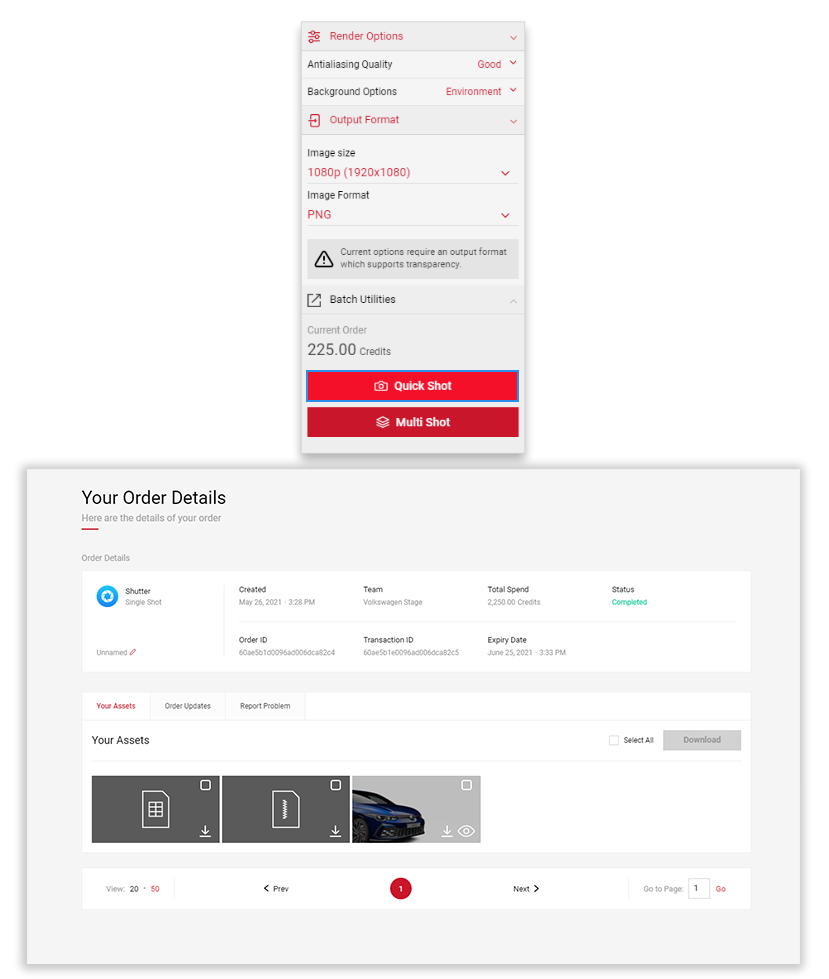
4 Now we will take a Quick Shot picture. Once processed, download the picture. We will use this as a template to create the second car.
5 Now let's change the PR code (or Shortcode) to a different car model.
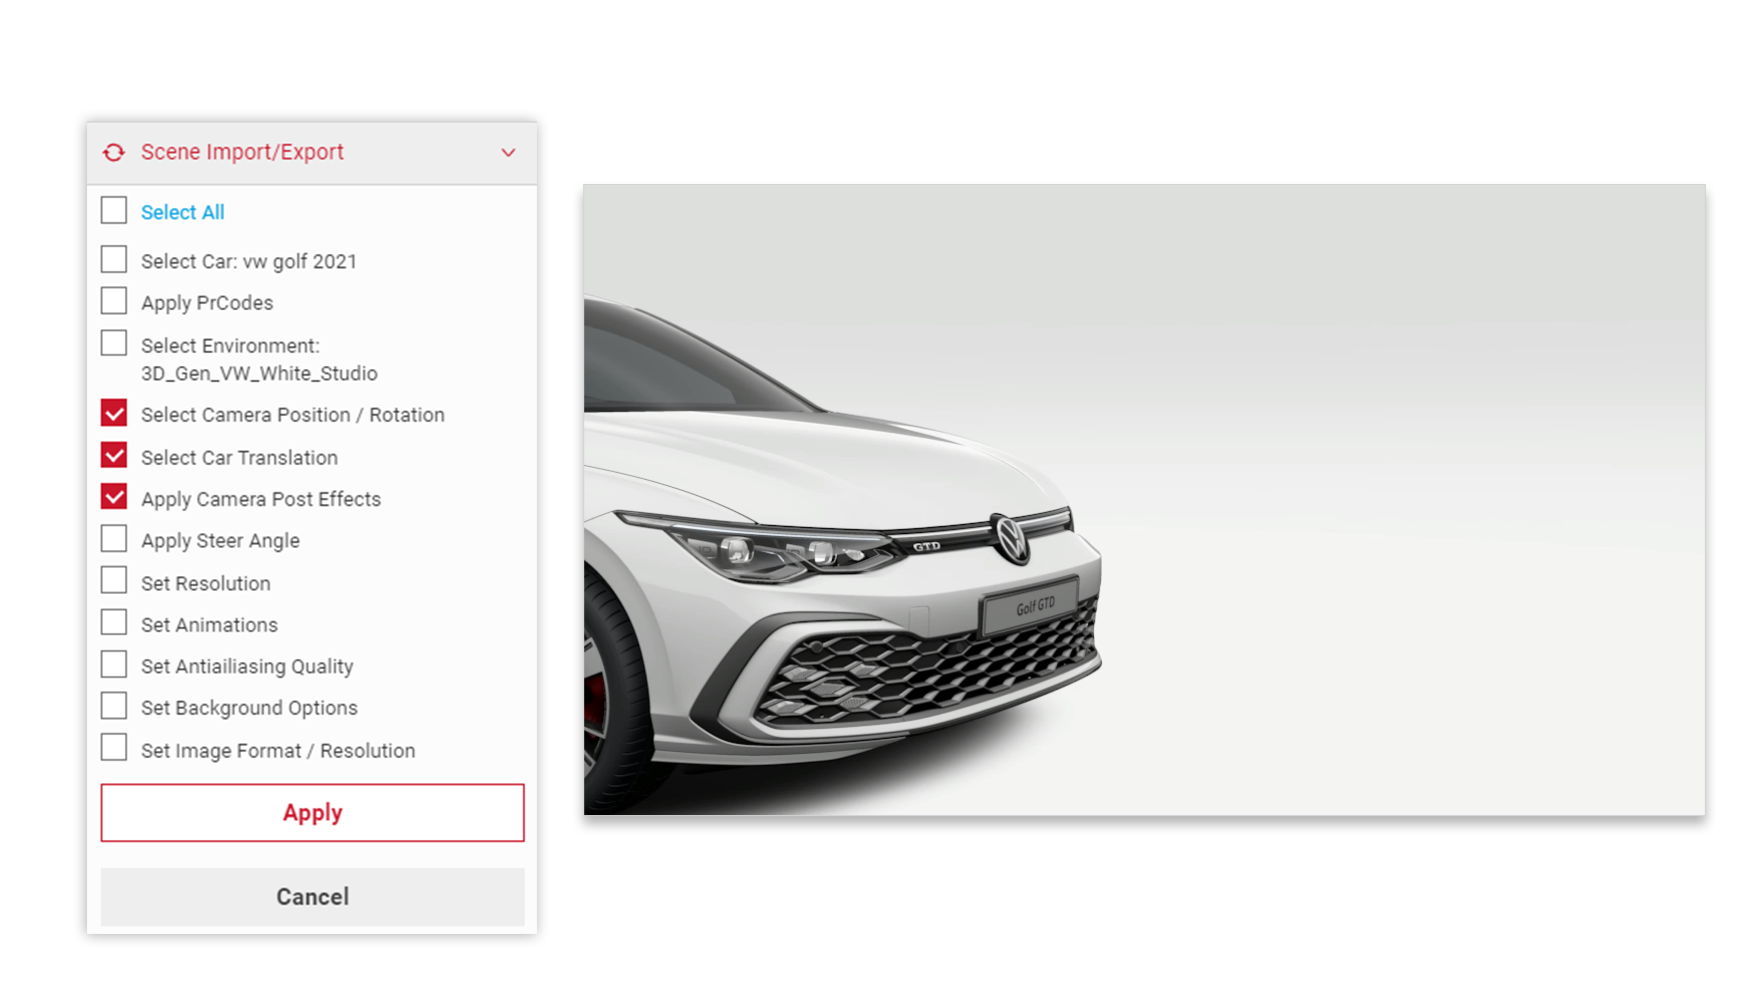
6 Locate the previously downloaded .JSON file. In the Project Import/Export menu drop the .JSON file into the dialog (Drag and Drop data here). You will then be presented with a dialog of clickable options. By default Select Camera Position & Apply Camera Post Effects are pre selected. Click the Apply button.
7
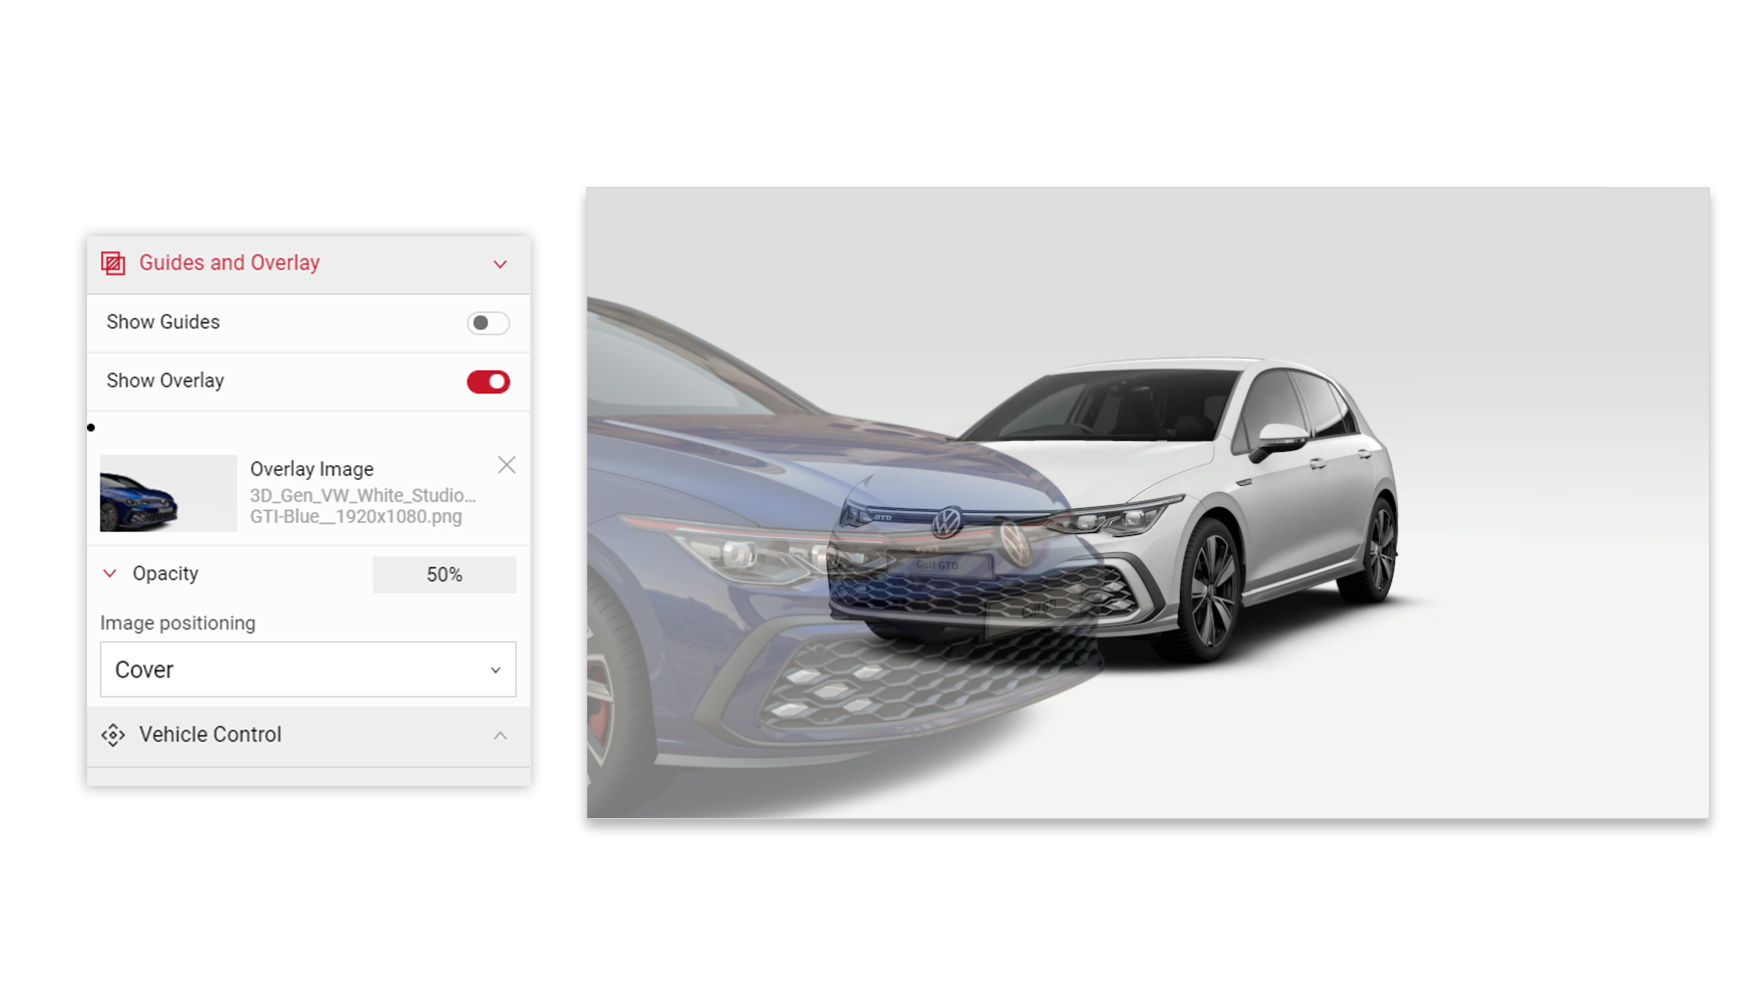
The car model is now repositioned in the same place as the first car. We can import the downloaded image of the first car and use this as template. This allows us match correctly the angle and position so both cars sit together in the composition.
Select the Guides and Overlay menu (directly beneath the Project Import/Export menu). Click the dialog in the Show Overlay area (Drag and drop overlay image here). Locate the downloaded image and import it. You have control over the opacity of the image and via a dropdown menu can change the Image positioning. To delete the image click the 'x'.
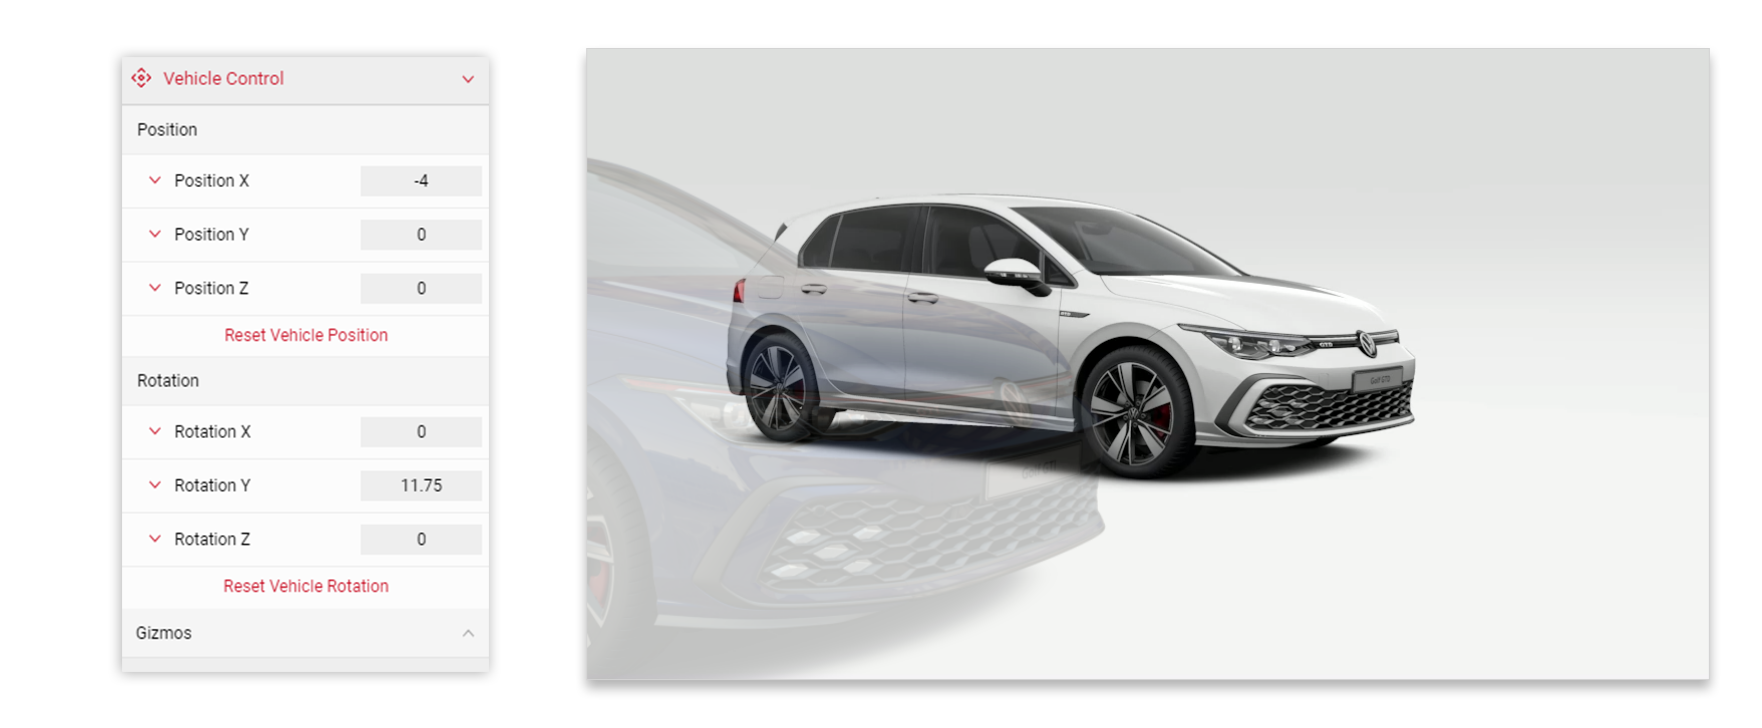
8 In the Input menu under the Vehicle Control tab we can begin to reposition the car by editing the available POS and ROT X,Y,Z coordinates. You can also enable the Gizmos to get the desired position. Once positioned, take a Quick Shot (* Output Format - transparent - png) and download the picture.
Tutorial Tip
Good practice to always save your cameras in the Camera Configuration menu along with exporting your .JSON files vie the Project Import/Export menu.
9
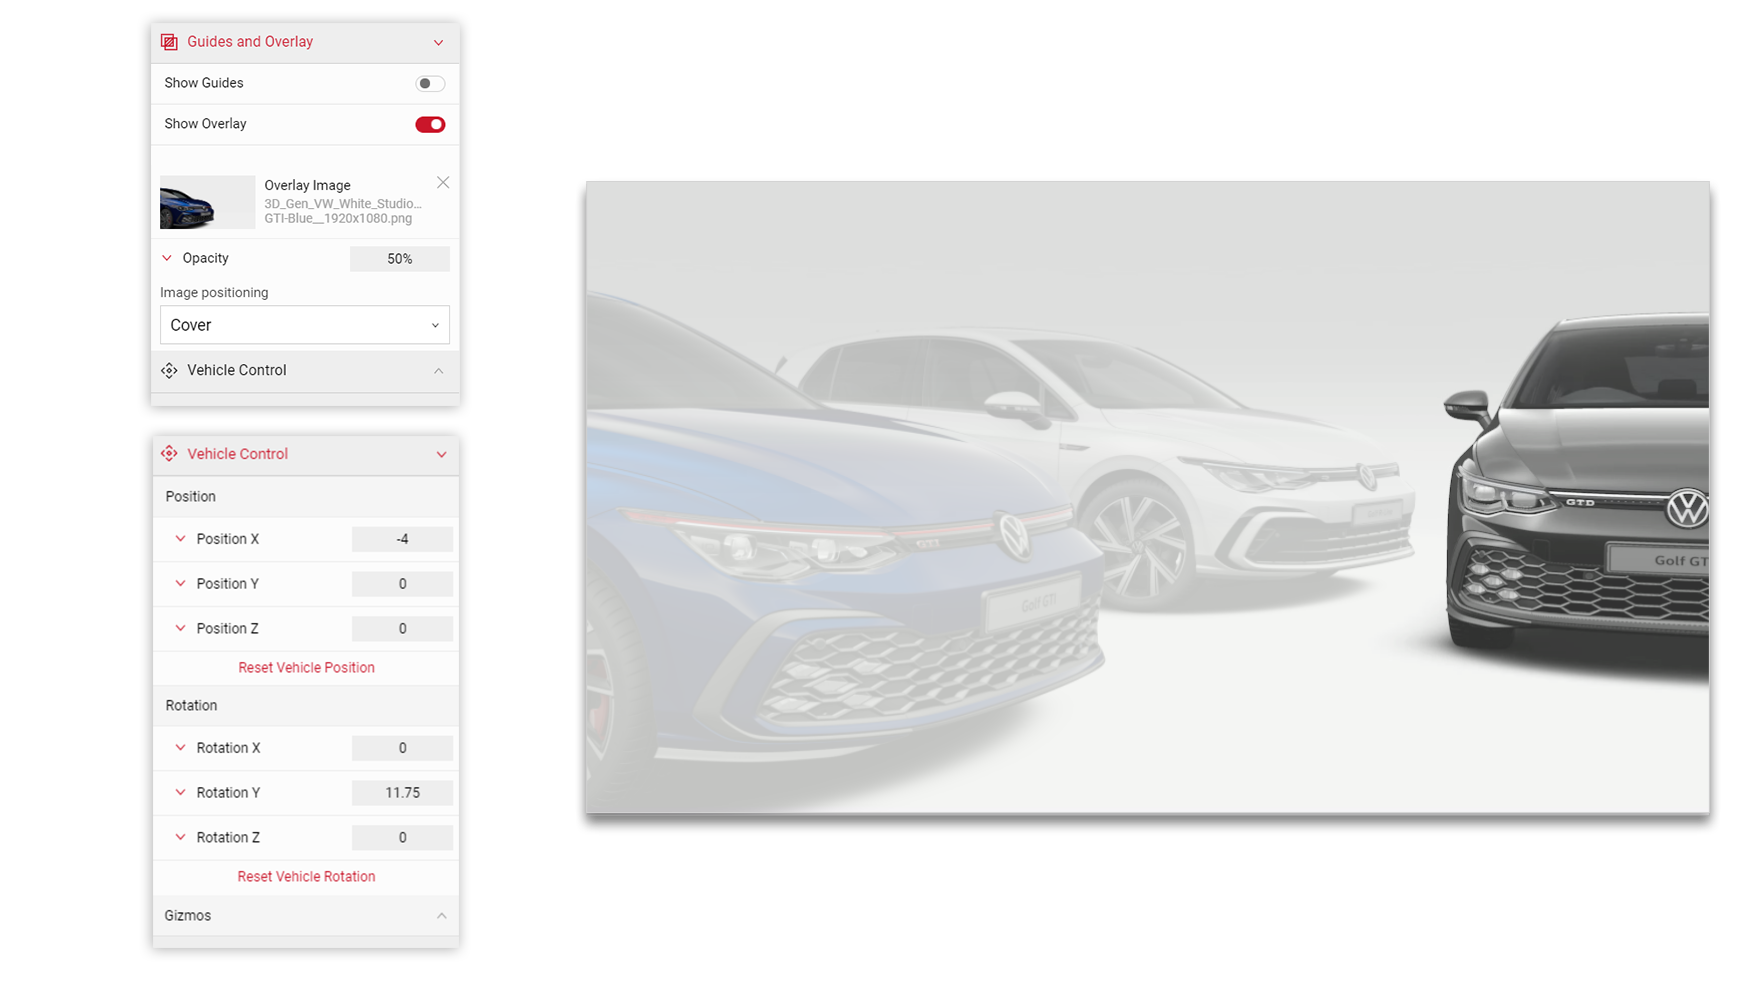
Change the PrCode (or Shortcode) for the third car. Following the same steps to how we positioned the second car, we can now re use the same .JSON file as the camera start position for the third car.
Using the Quick Shot pictures of the previous cars (composited outside of SpotLight Suite™) we will again use the Show Overlay feature in the Guides and Overlay menu as our template.
Using the Vehicle Control values, position the third car in the correct position for the campaign picture.
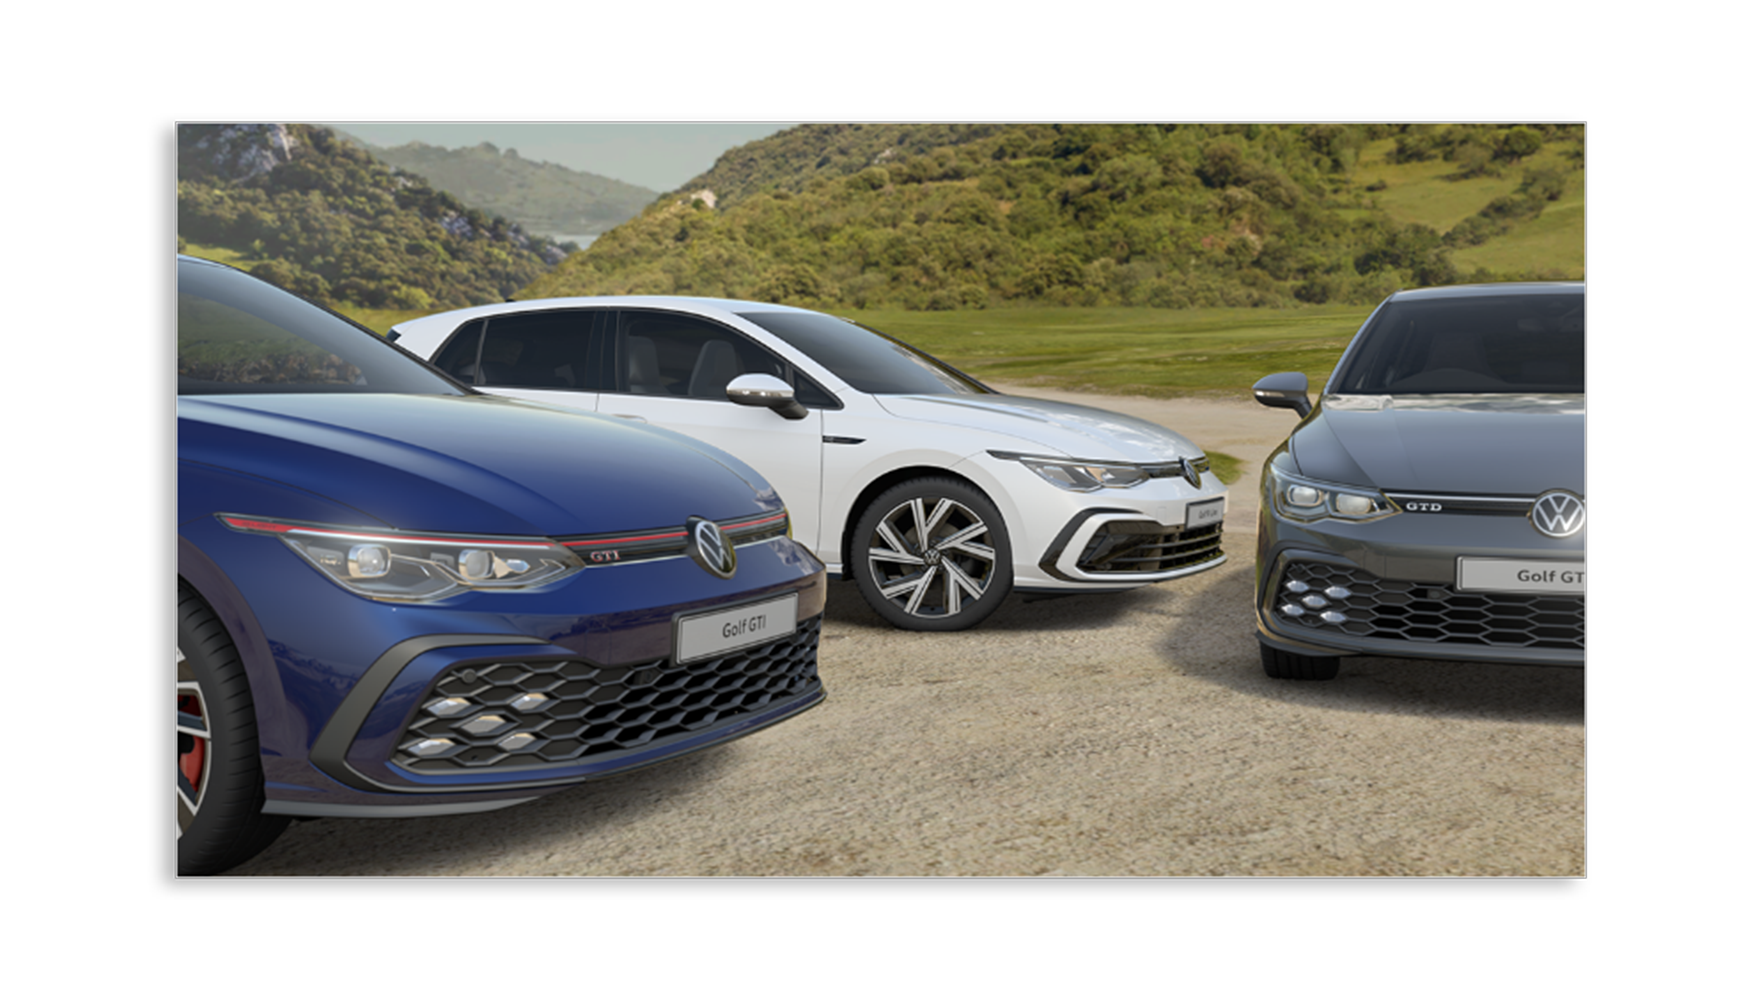
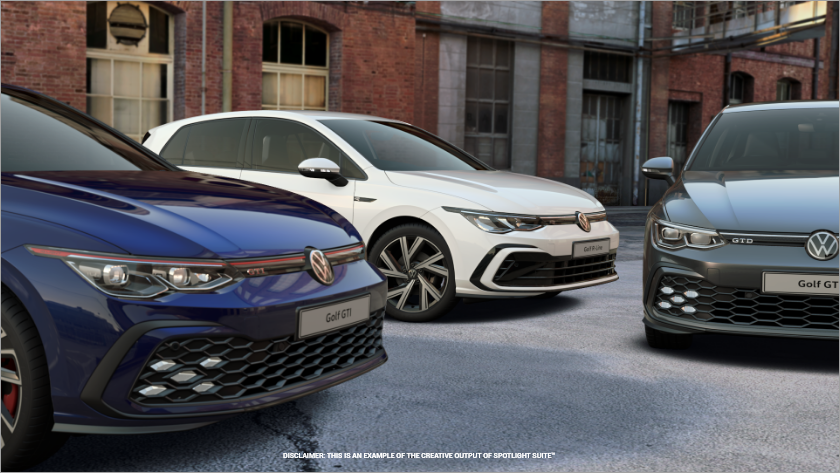
10 Now we have the composition set up, along with our .JSON files and cameras saved. We can experiment and reuse them to try alternative environments to make a mixture of different campaign pictures.