Tutorial Time: 10 mins

- Using PrCodes
- Using Render Options
- Using Custom Image Sizes
- Using JSON Files
- Changing Car Models
What you will learn
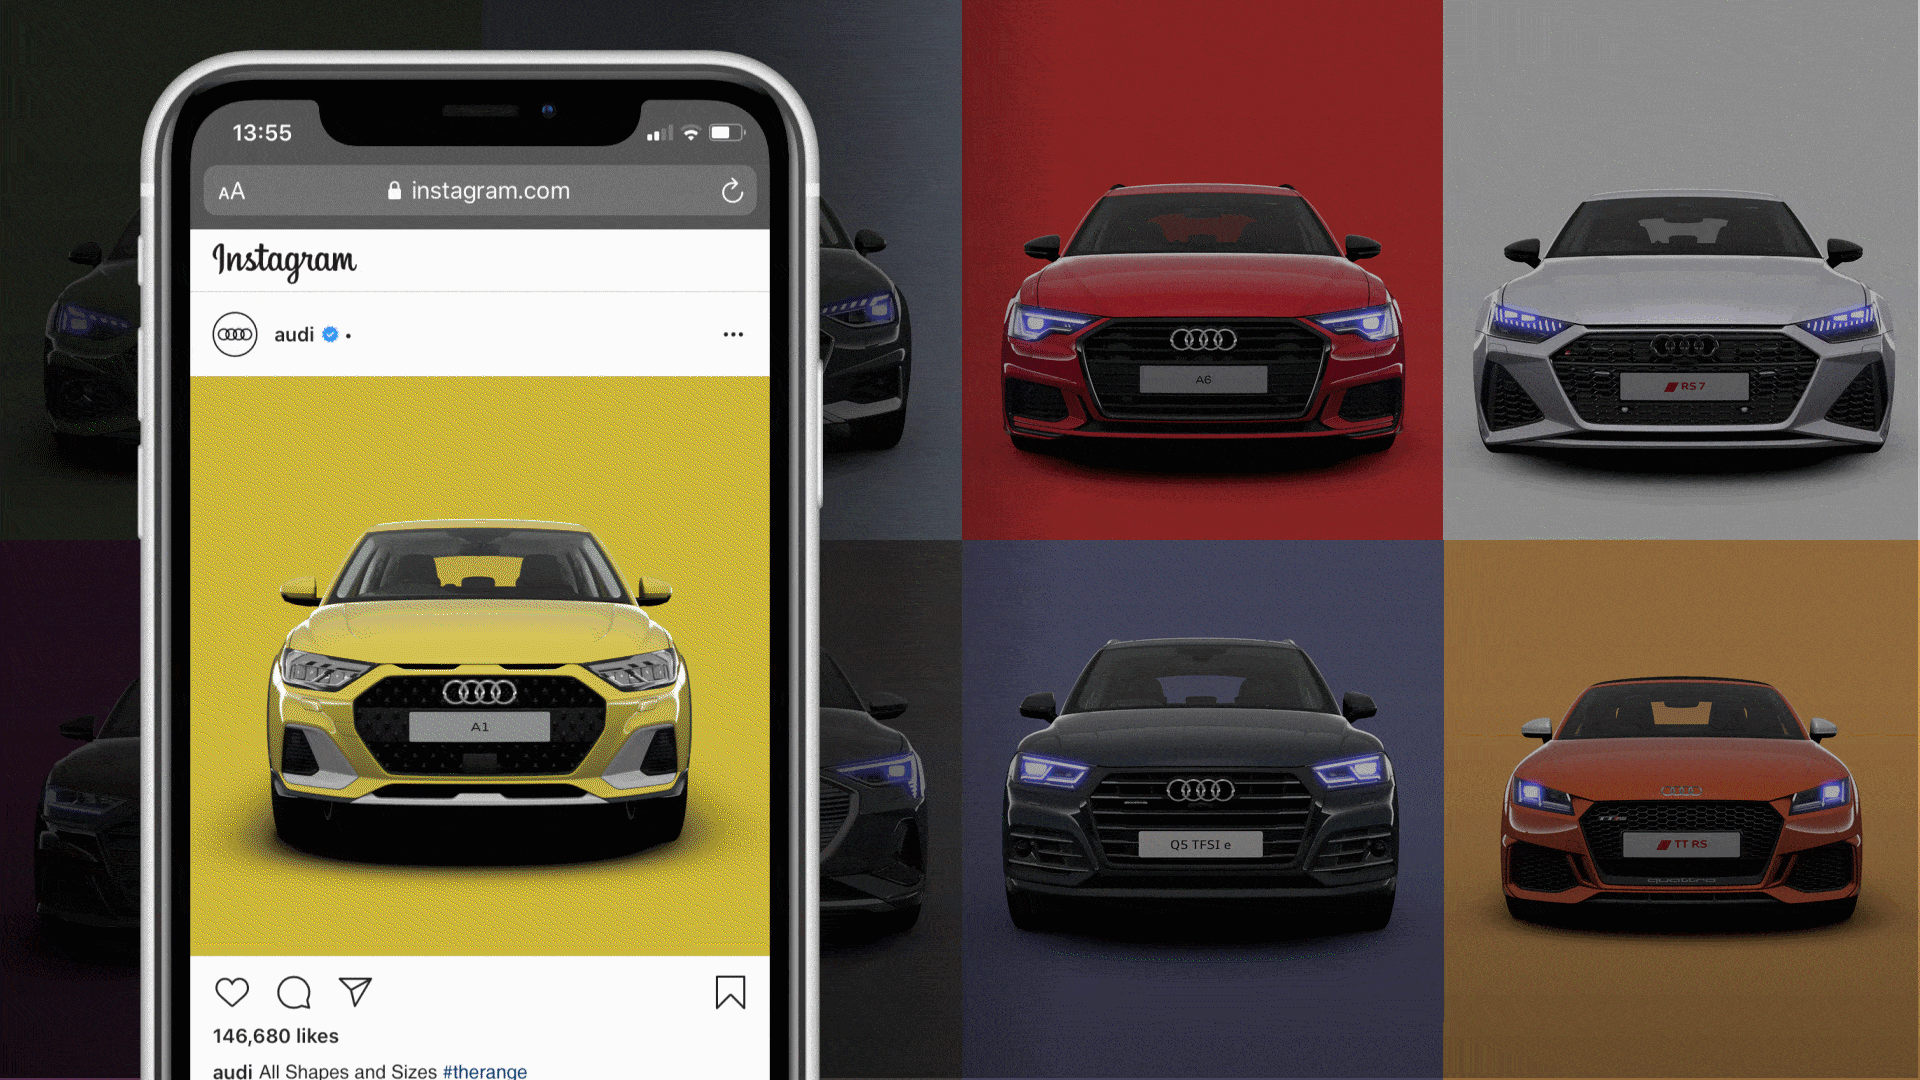
Using Shutter Pro we will learn how to build an engaging social media campaign for targeting use across different platforms. We will use a variety of different car models to set up camera positions and use the Render Options ‘colour’ feature to output the car model pictures on a variety of colours.
Method
1
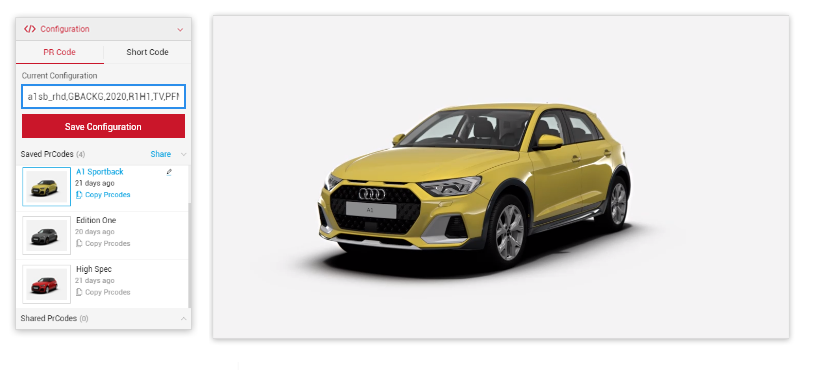
Copy and paste your PRCodes into the PrCode Configuration tab. Click on Apply and the car will change to your own configuration.
Make sure to click the Save Configuration button so you have it stored in the Saved PrCodes menu.
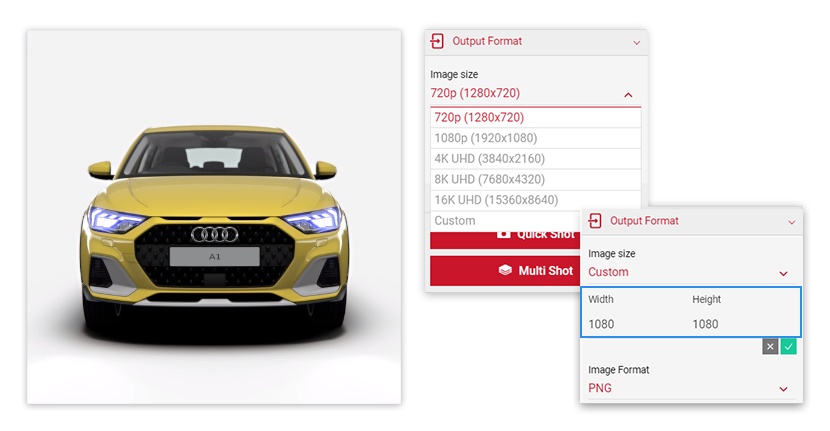
2 In the Output Menu, click the Output Format dropdown and select the Custom Option. We will set the width and height to be 1080 x 1080 to match the social media campaign size format.
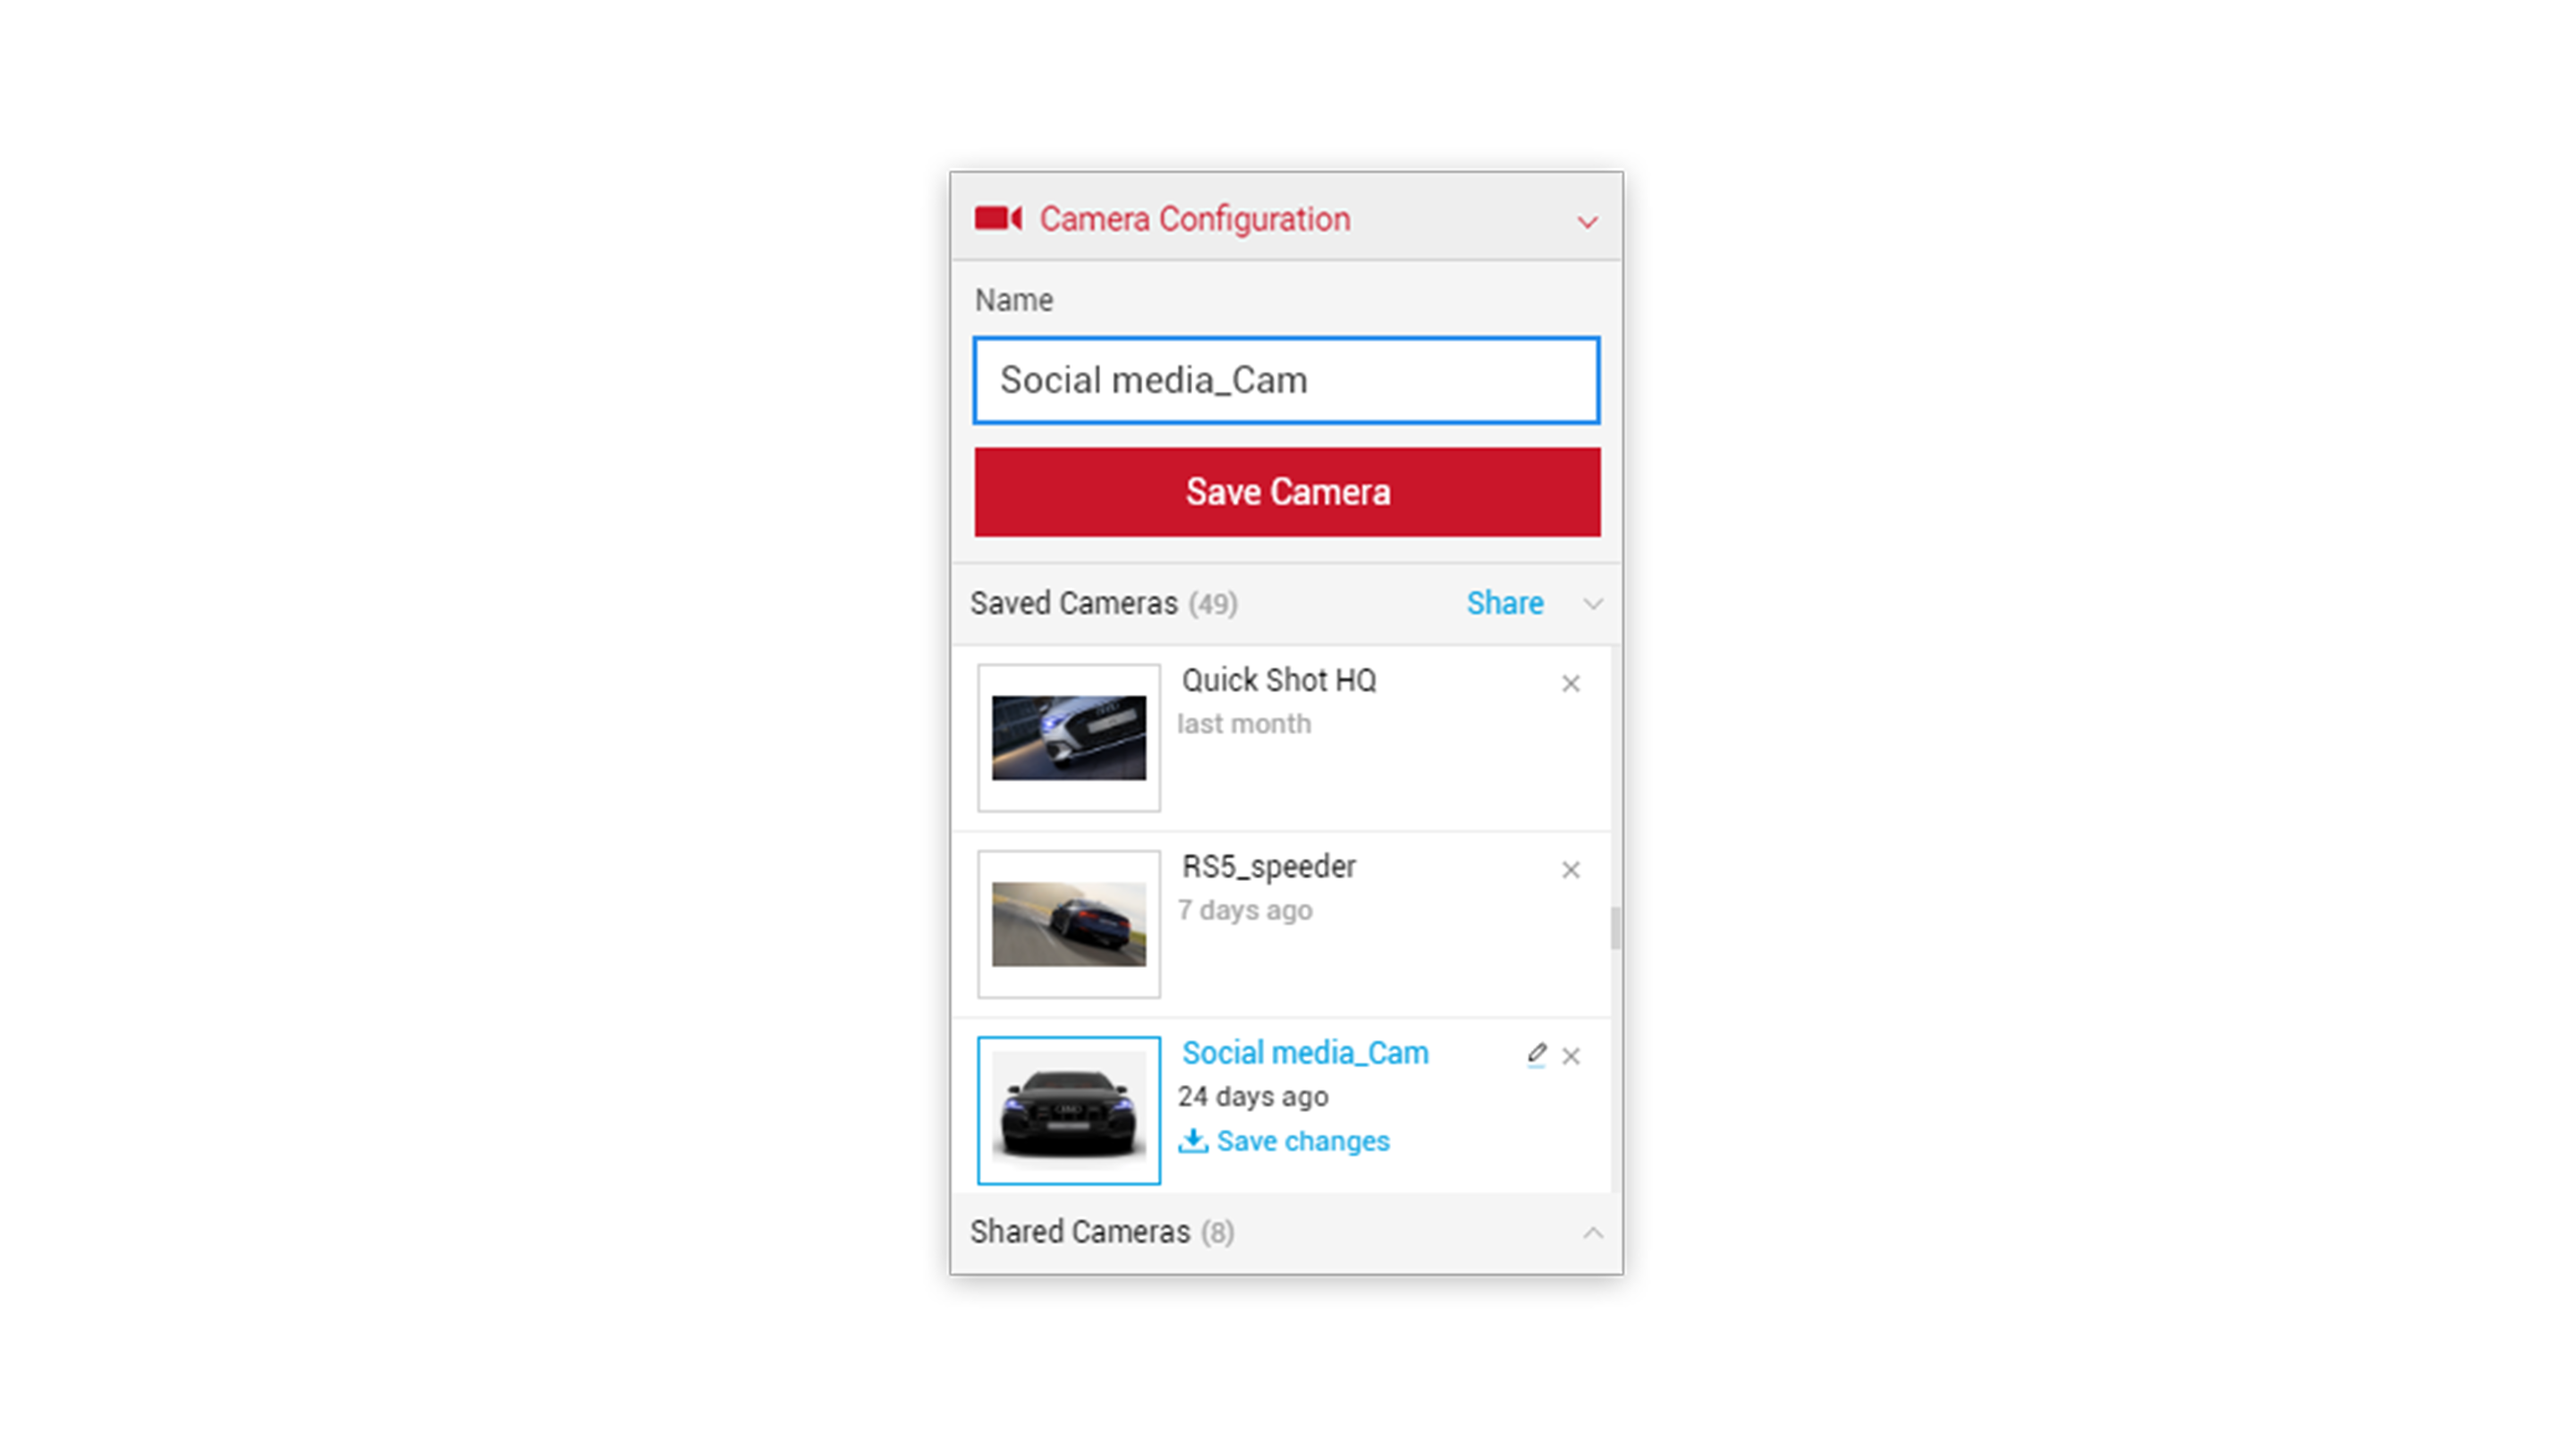
3 In the Input Menu select the Camera Configurations menu, name and save the camera.
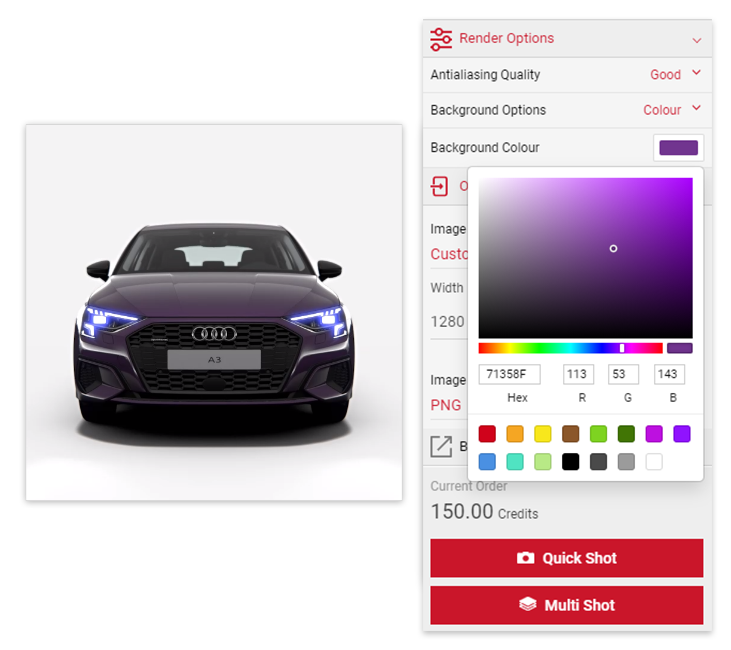
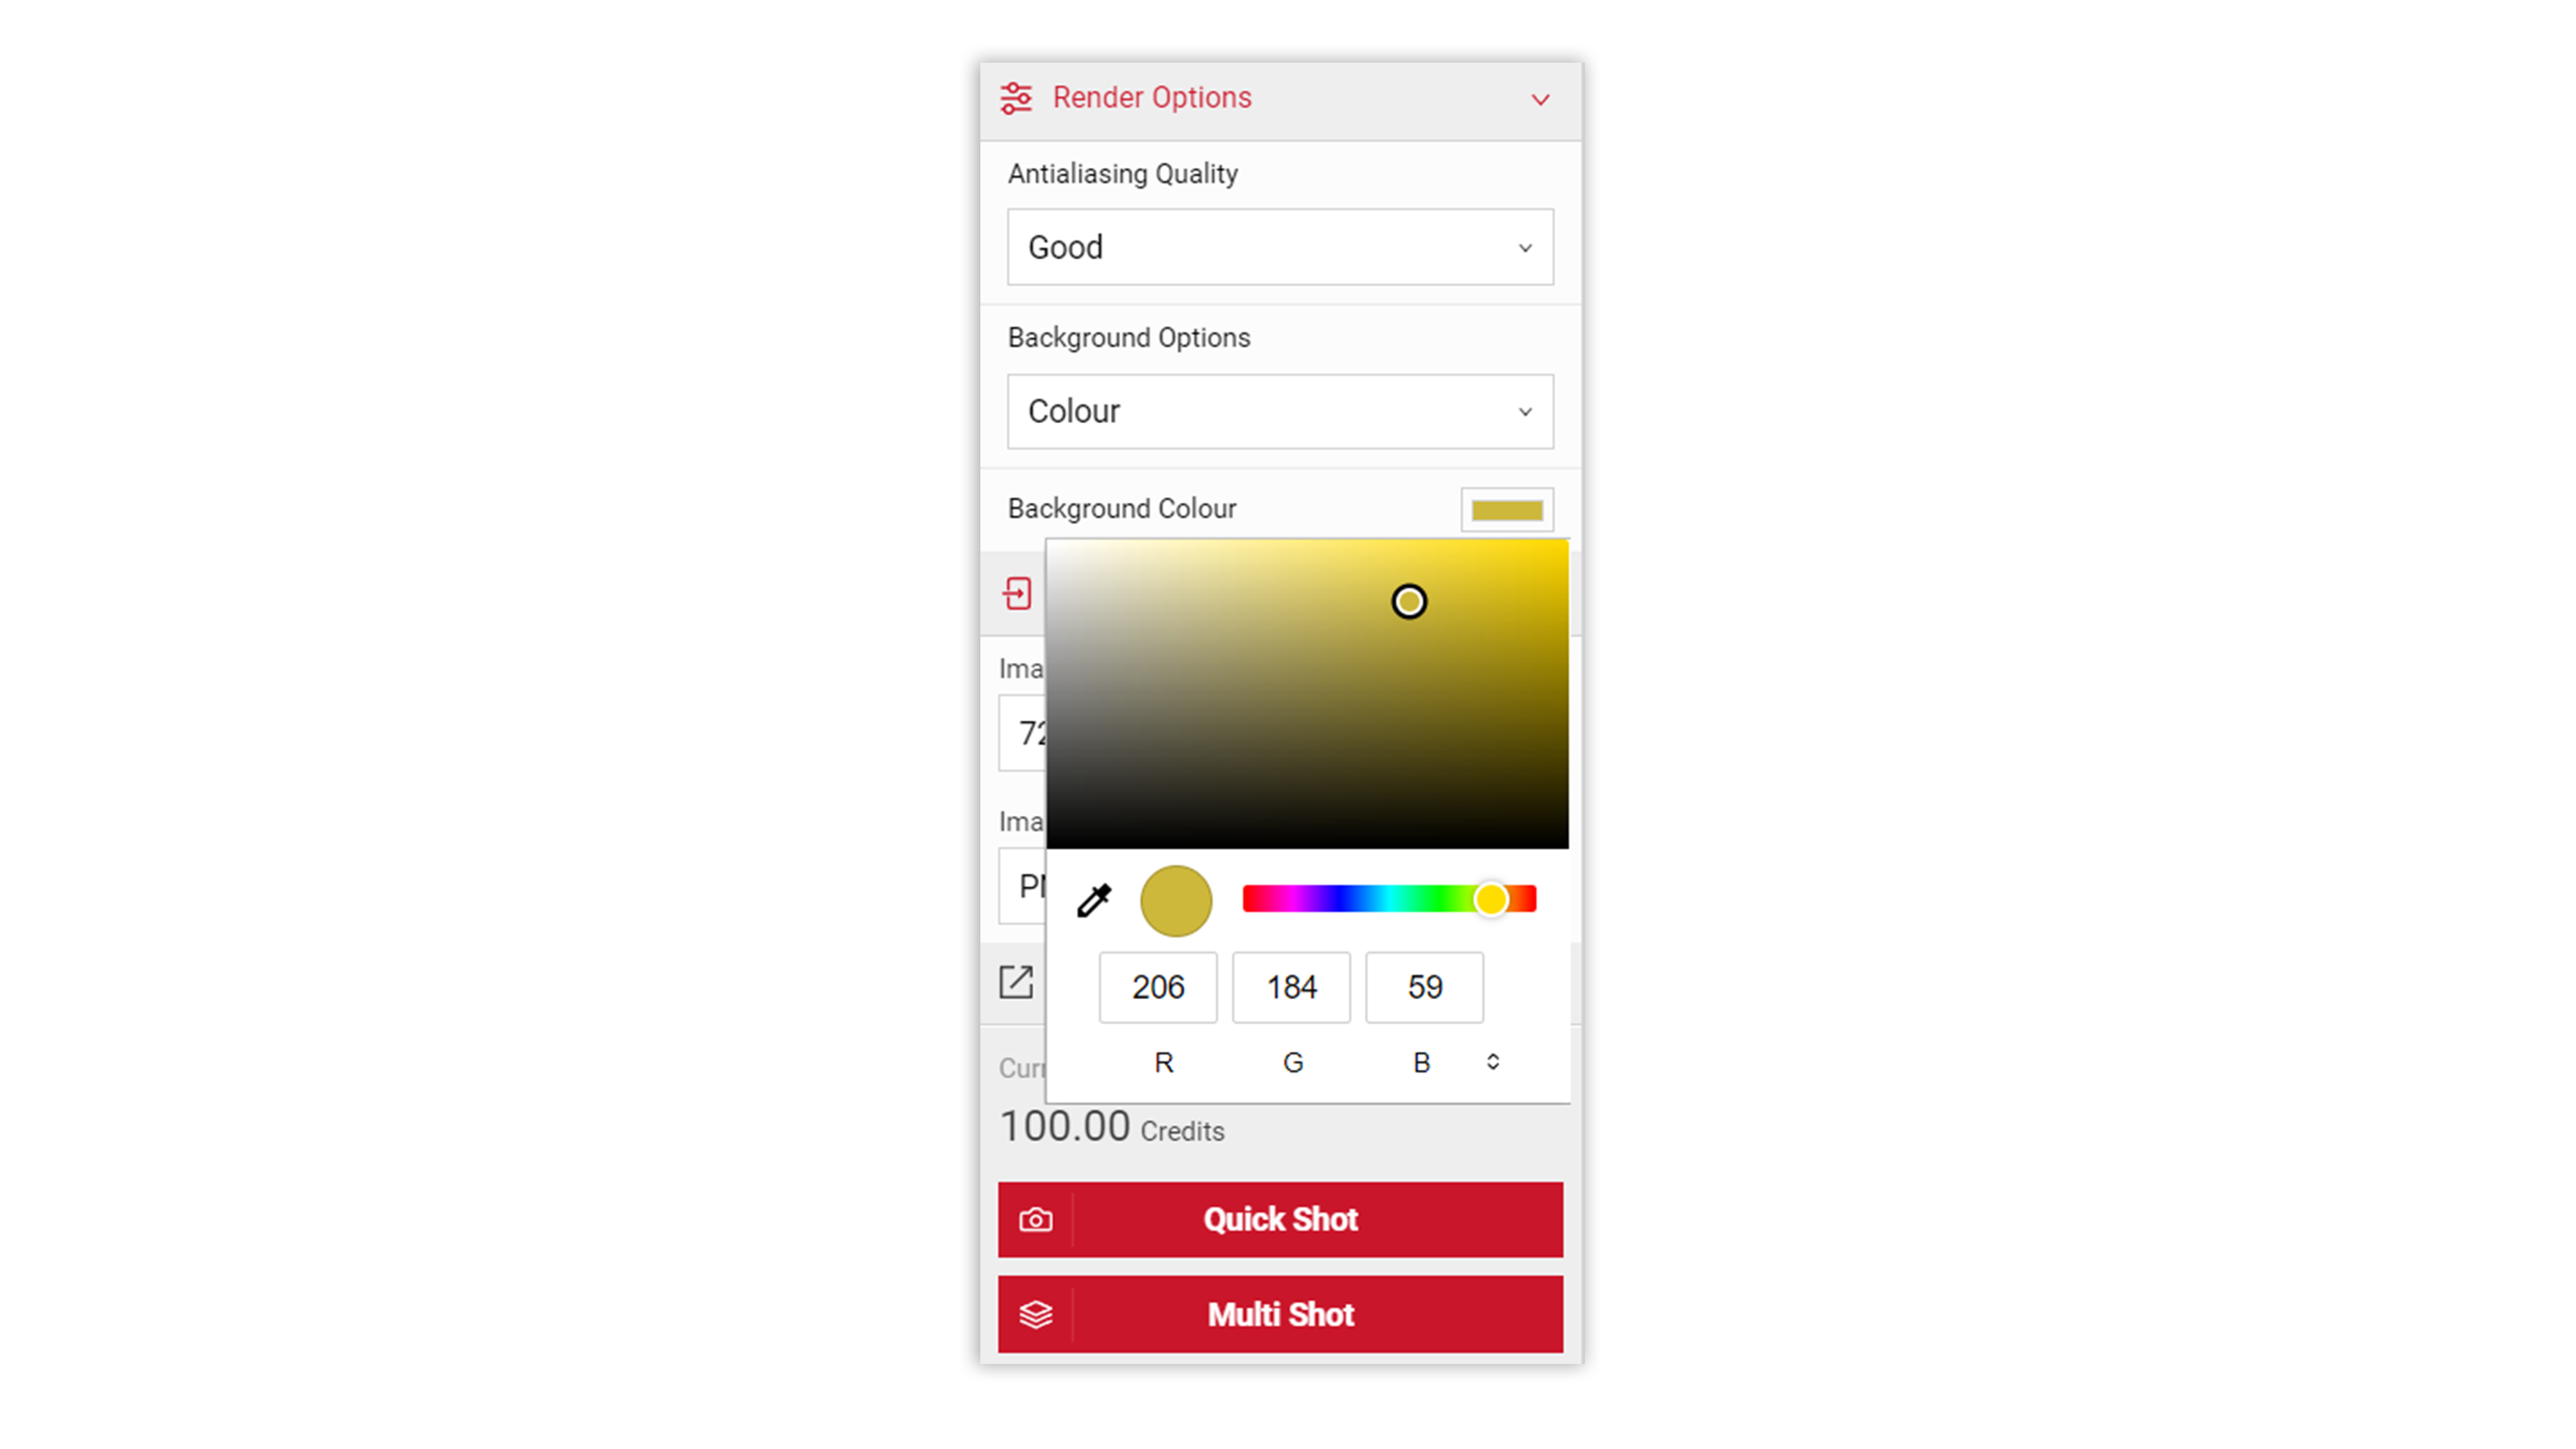
4 To create the full colour background effect, select a colour to use for the background that closely matches the paint colour. In the Output Menu, select the Render Options and Colour from the dropdown menu. Click the Background Colour swatch and enter the appropriate Hex or RGB value.
Tutorial Tip
When using the Background Options feature within Render Options. Applying a new Colour Hex or RGB value to add a solid colour behind the car, this will only be visible in the final output of the picture. Not visible in the Viewport stream window.
5
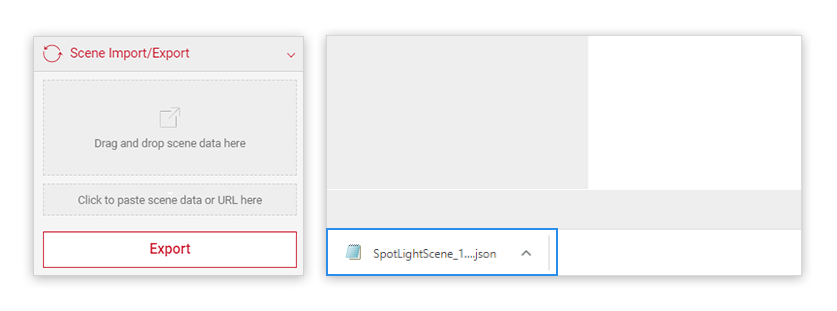
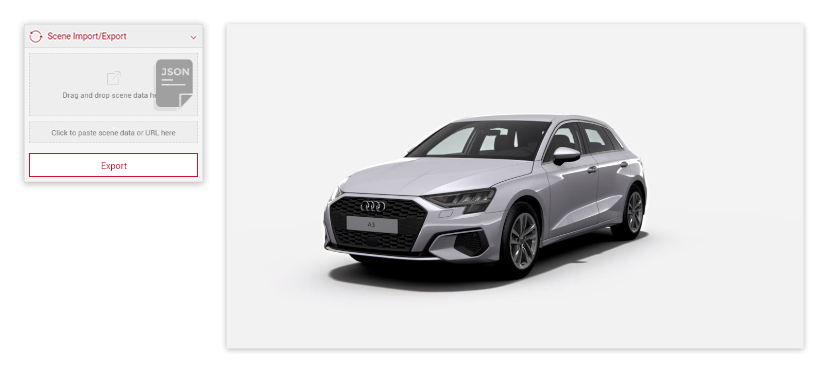
Now we have the camera position set for the car. We have the colour selected for the background behind the car, we can re-use the settings for all the other car images we want to produce. Select the Scene Import/Scene in the Input menu and click the Export button. This download .JSON file which will retain all the Scene info.
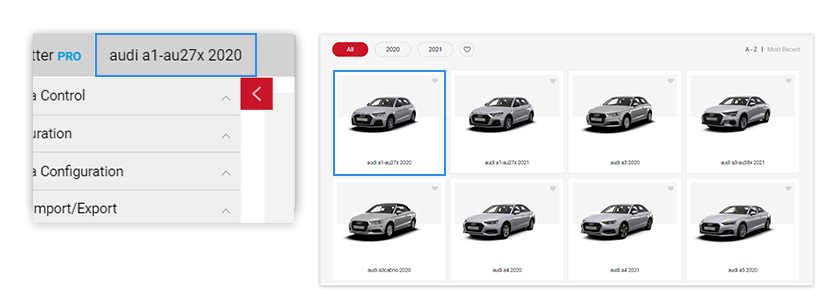
6 Now select the car name in the top left area of the Top menu. We can create all the other car images by accessing the default car selection and picking a different car. Click the car tile you wish to use to create the next image.
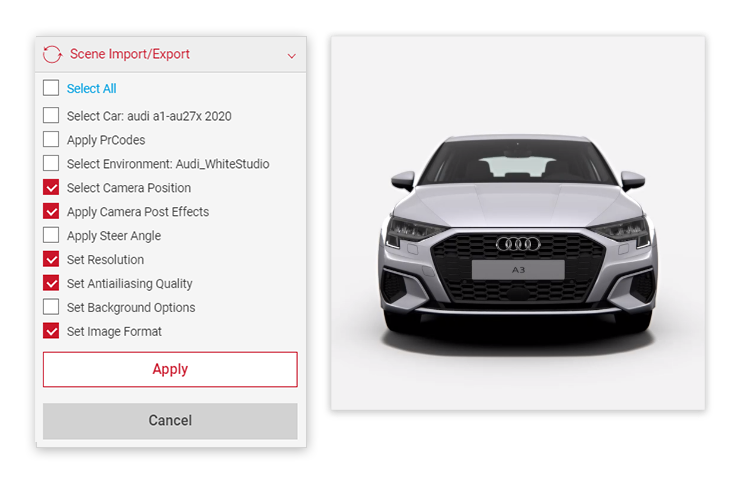
7 Once we have the next car visible in the Viewport. We can then locate the .JSON file we downloaded (located in your downloads folder). Drag the file in the Scene Import/Export menu.
8 In the Scene Import/Export menu you will see all the previous information from the original scene displayed. We can check the boxes of all the scene settings we wish to apply to the new scene. With all the appropriate text boxes ticked, hit the Apply button.
9 We can now change the PrCode for the new car (not shown) and follow the same steps as outlined above. We can re-use the .JSON file and change the Background Options Colour to match the car. We can then take a 1080 x 1080 PNG Quick Shot picture of all the car content we will use for the OEM's social media campaign.