Tutorial Time: 05 mins

- Using PRCodes
- Saving Car Configurations
- Using Guides and Overlay
- Exporting PNG
- Using Animations
What you will learn
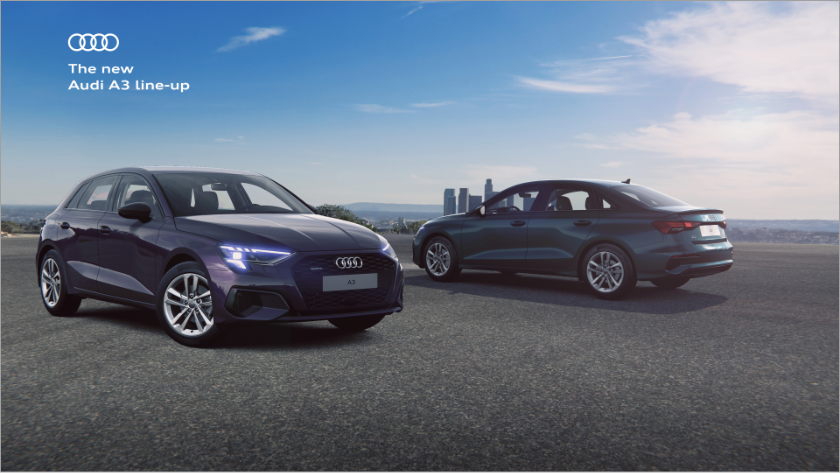
Using the Shutter Pro app we will learn how to create a 4K image using 2 car models placed in an specific environment to create a stylised picture for the OEM to use within a continental campaign. We will learn how to use the camera control to position the 2 cars while getting to know the ‘Show Overlay’ feature to help us build the picture.
Method
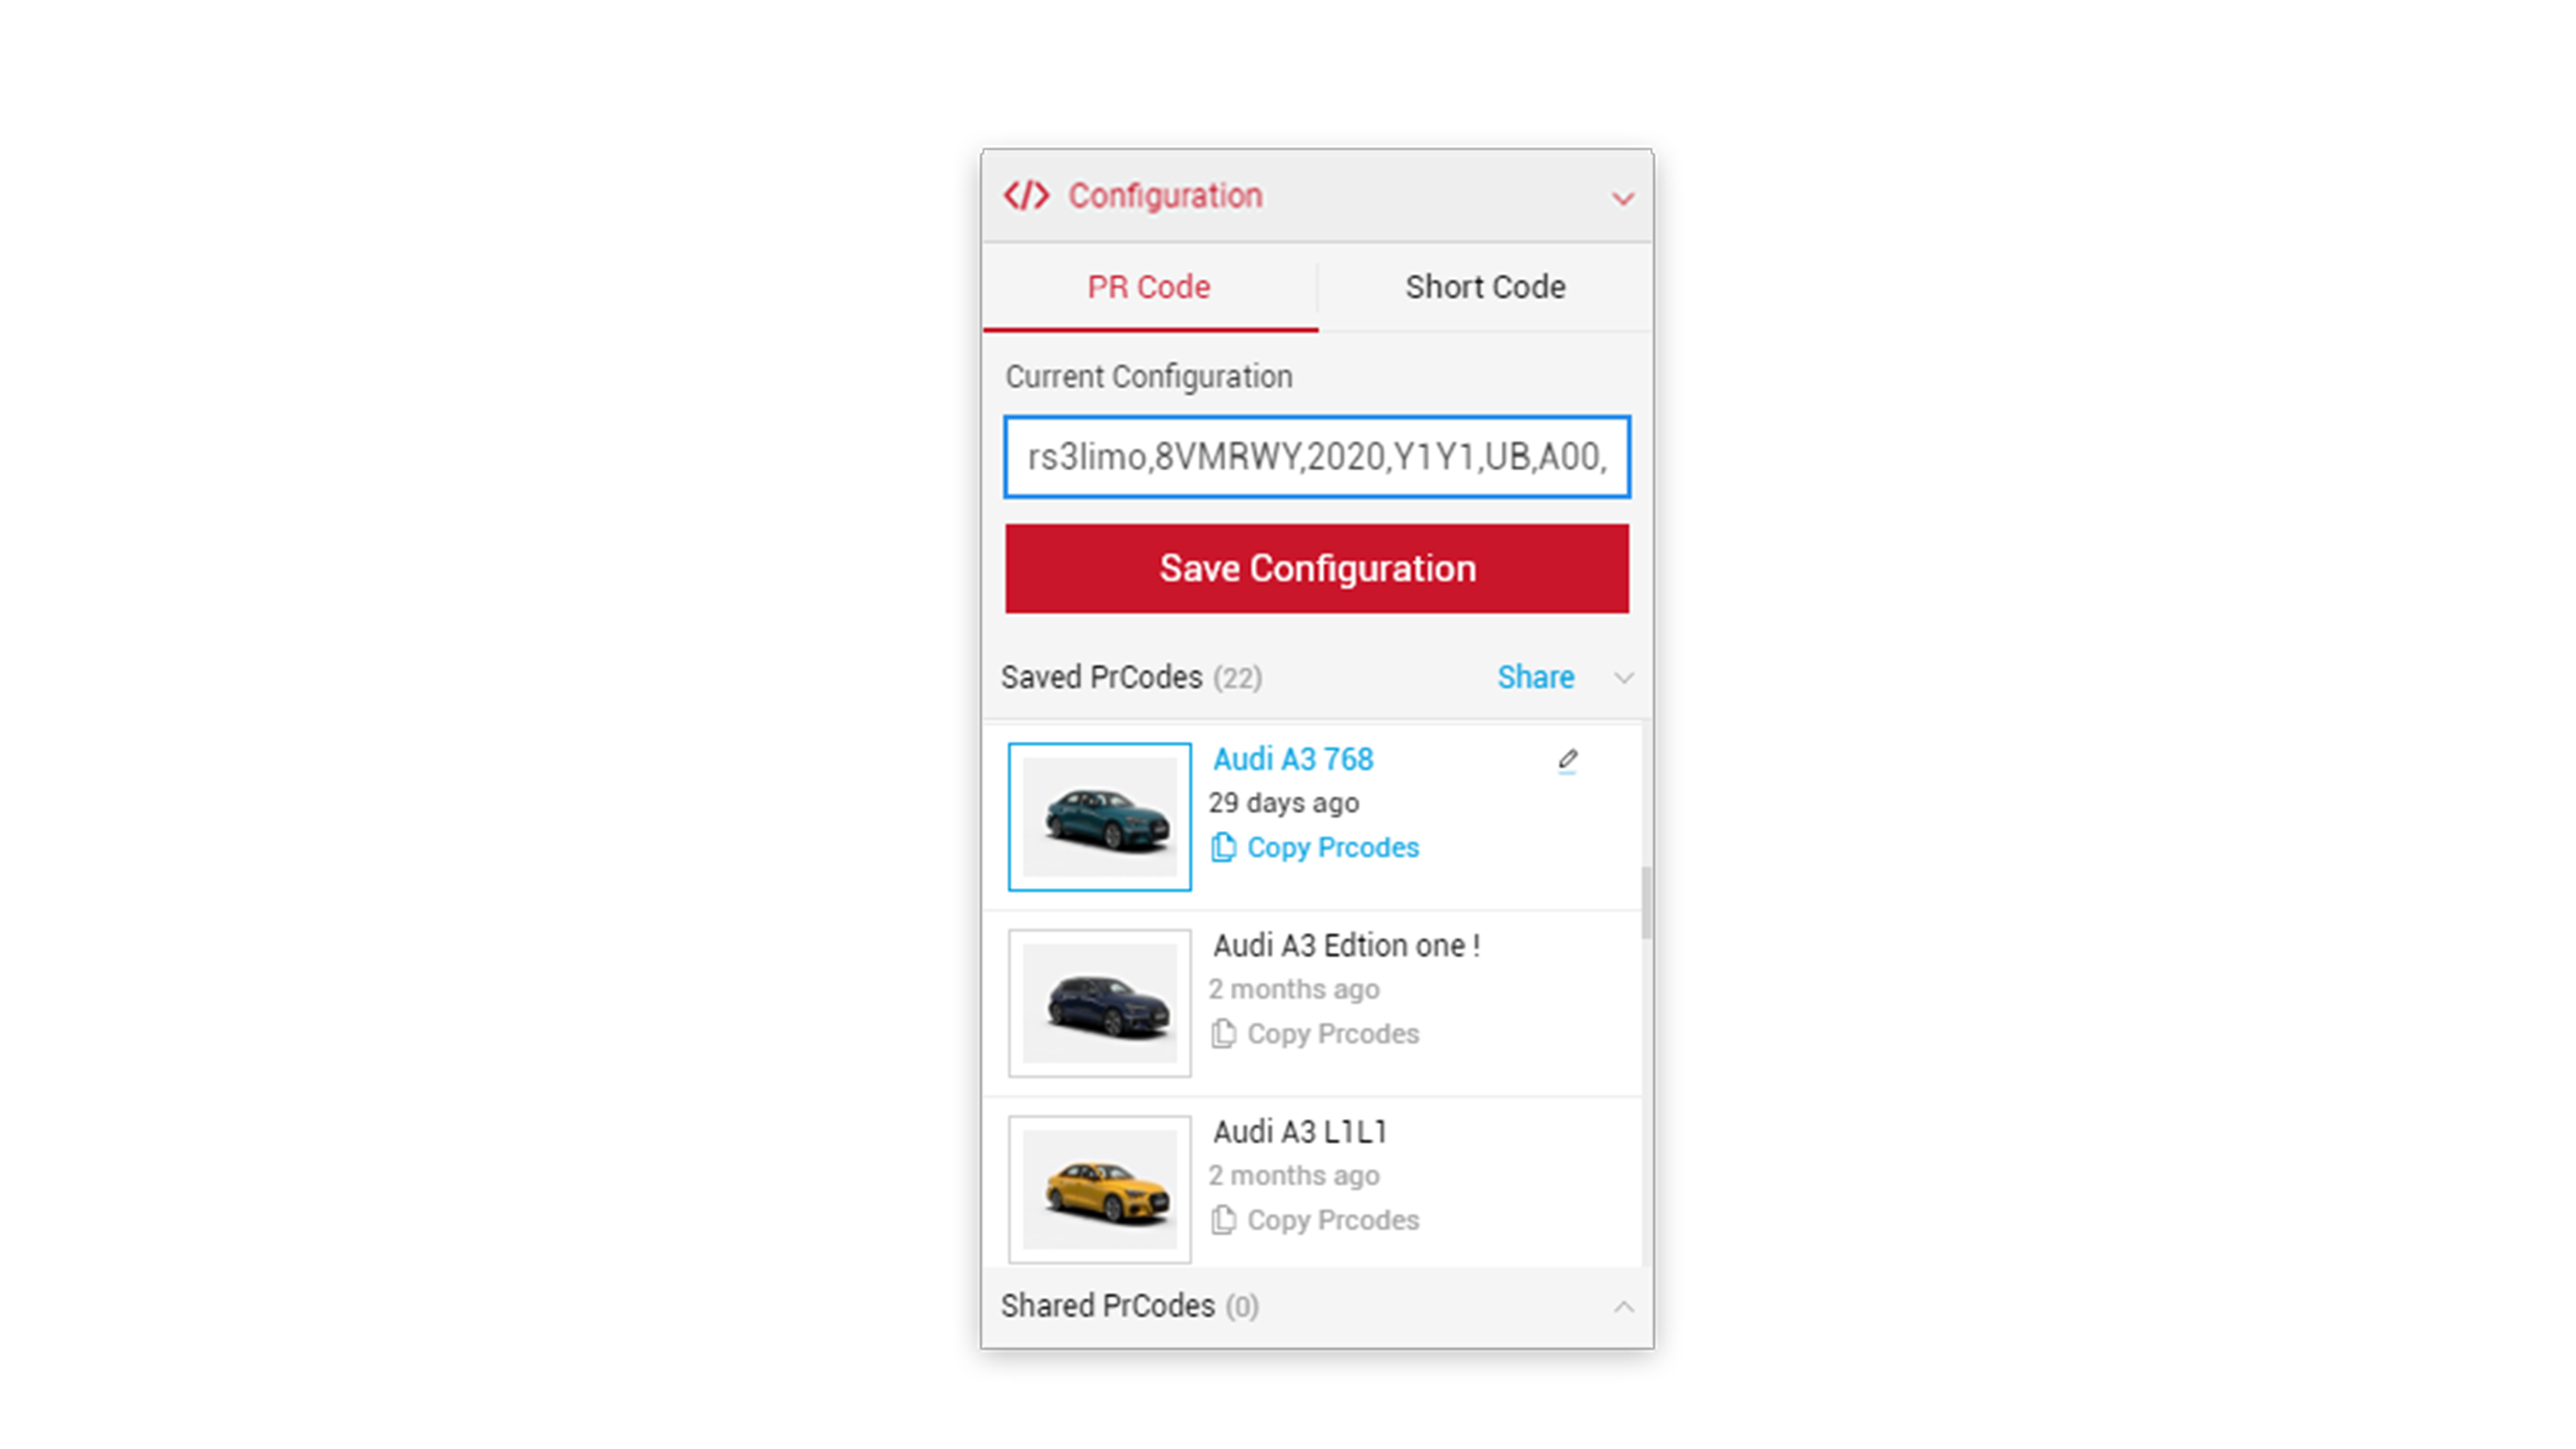
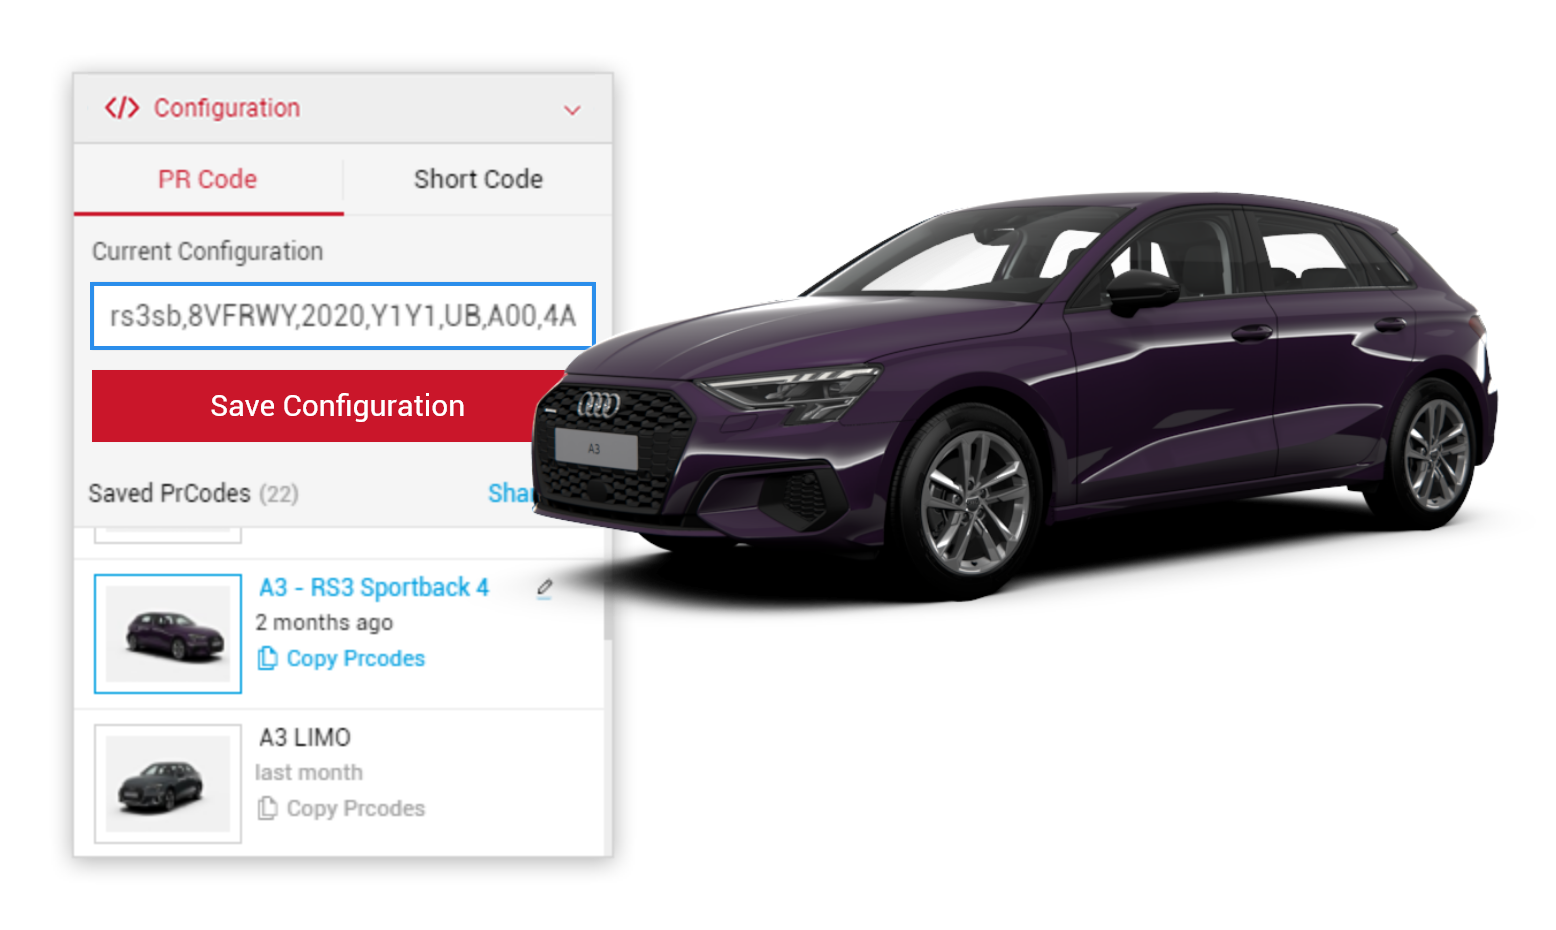
1 Copy and Paste your PrCodes into the PrCode Configuration tab. Click on Apply and the car will change to your own configuration. This will allow to begin placing the first car within the Viewport.
Make sure to the click the Save Configuration button so you have it stored in the Saved PrCodes menu.
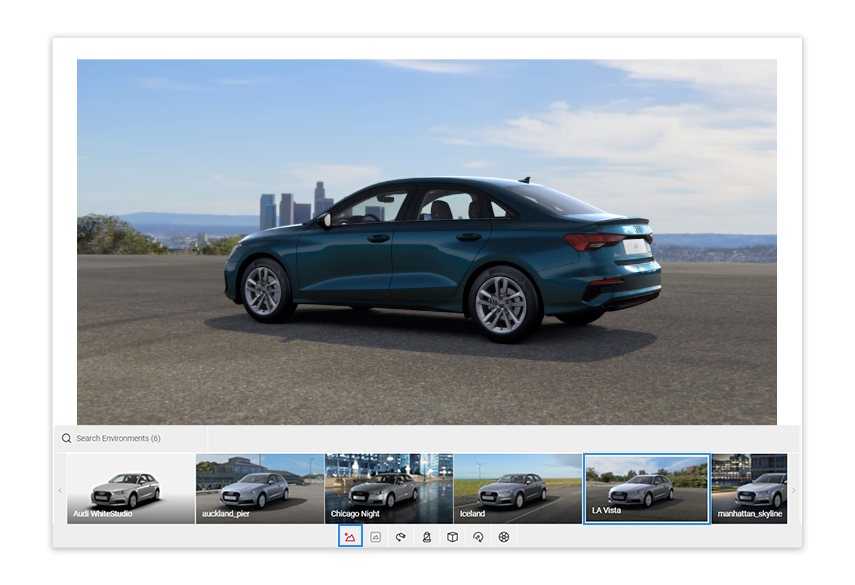
2 Setting the angle of the car. Start rotating and positioning the car in the Viewport to match the angle of the car in the final picture. Click the Environment icon and change to LA Vista from the available options.
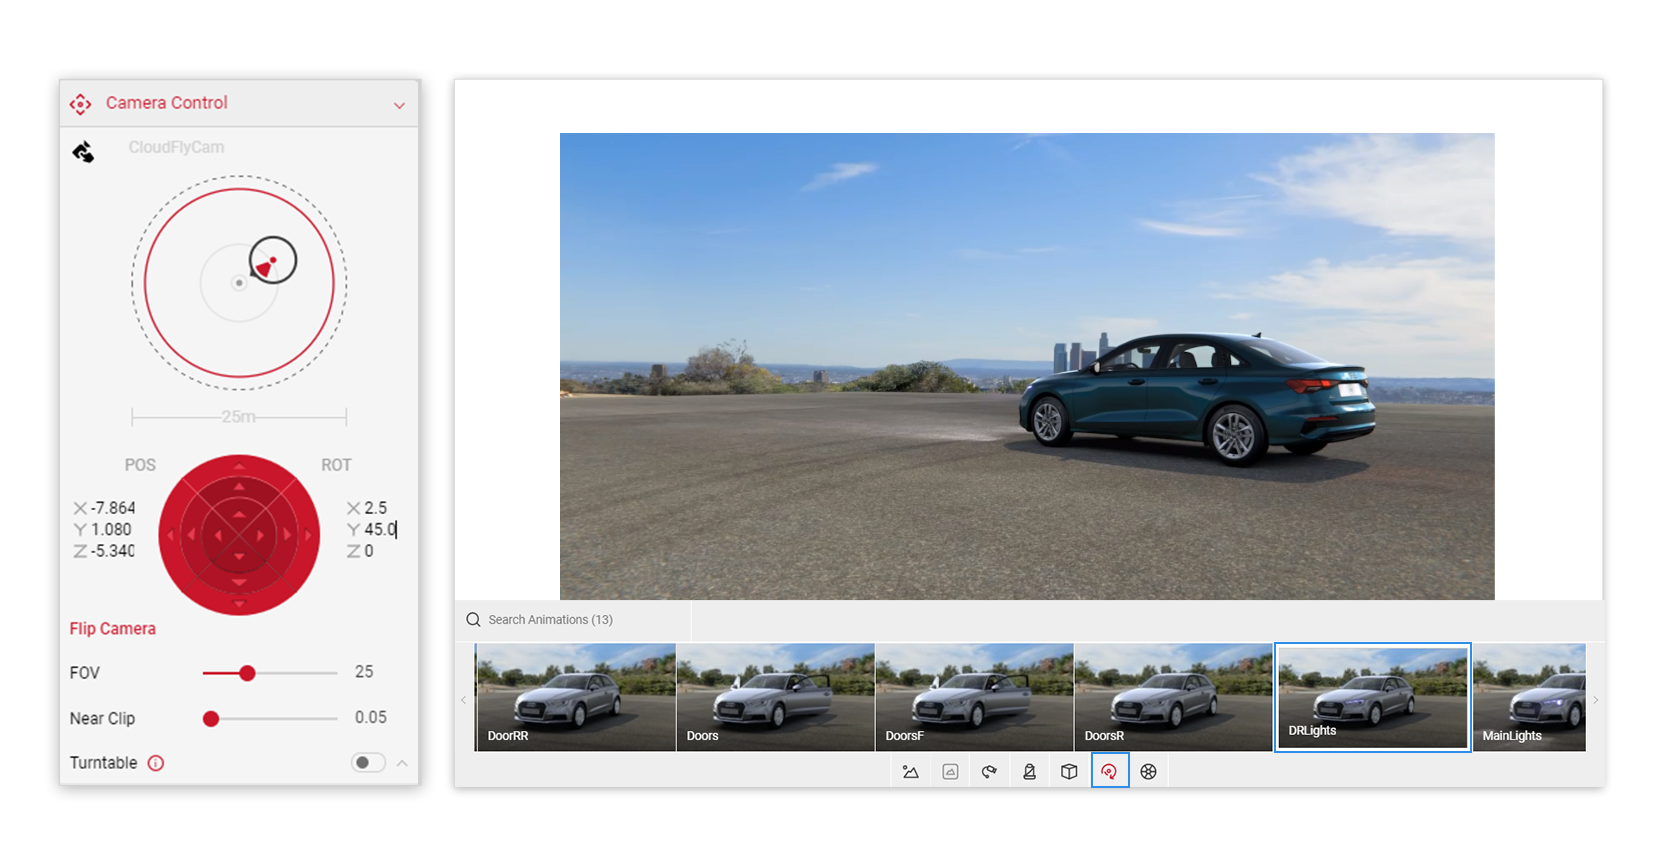
3 Click the Flycam icon to continue to set the angle and position of the car. In the Animations options in the Control menu we can also turn the Mainlights feature on.
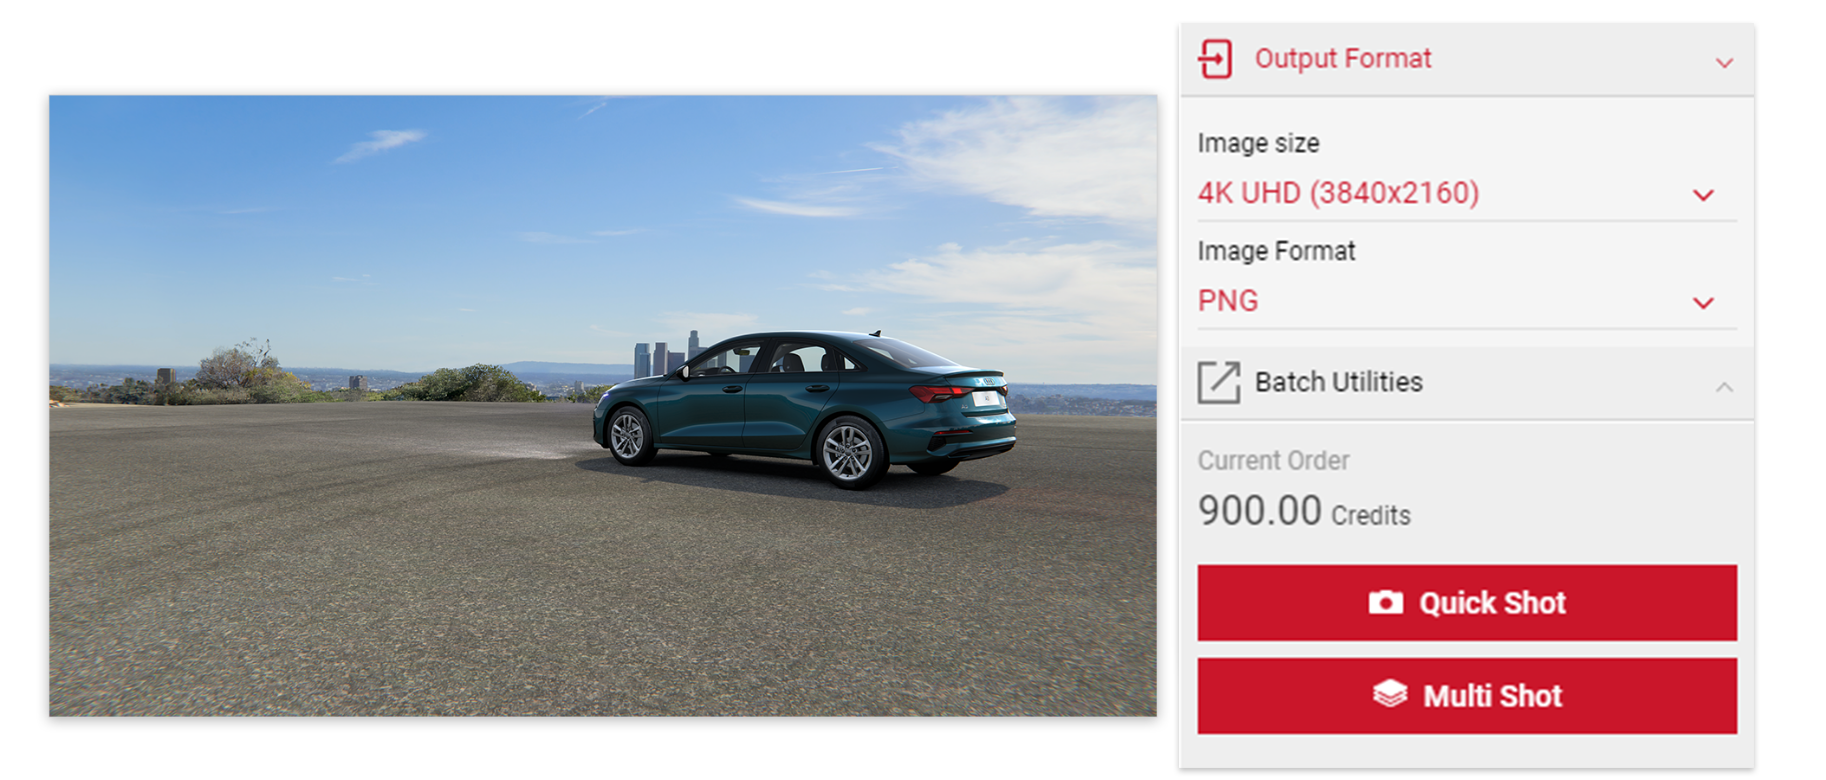
4 With the car model correctly placed within the scene. We can now, via the right side Input menu, select the Output Format and set the Image Size to 4K and the Image Format to PNG. Take a Quick Shot of the image.
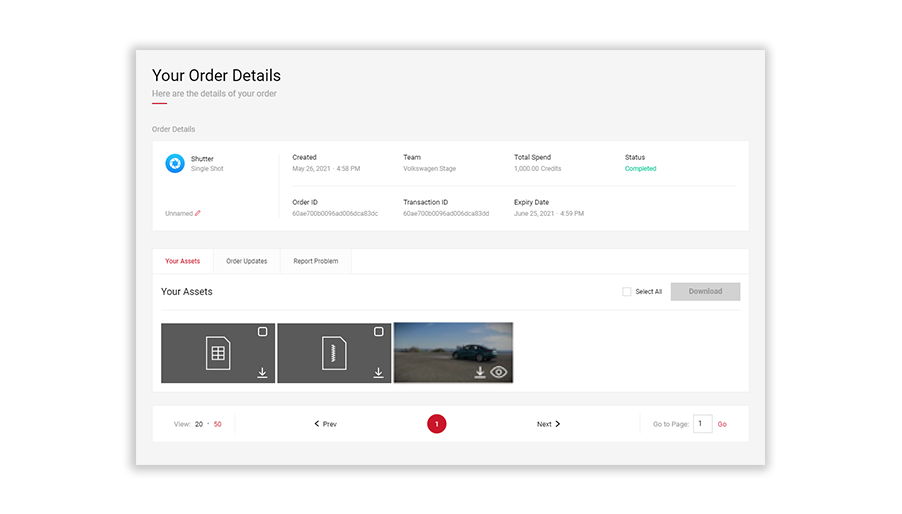
5 When the order has been processed. Download the image. We will re-use this image later to finish our picture creation.
6 In the PrCode Configuration menu we will change the car (insert new PrCode).
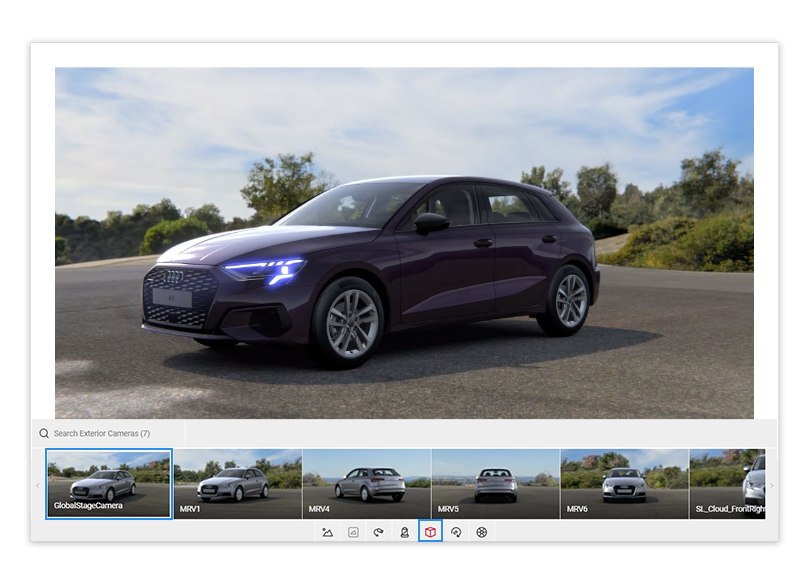
7 Now we will reset the scene by clicking the GlobalStageCamera in Exterior Cameras. We will use the LA Vista environment to set up the second car.
8 Now we will use the Guides and Overlay feature with in the Input menu. Open the menu and click the 'Drag and drop overlay image here' area. Select the image we downloaded to use a background reference template.
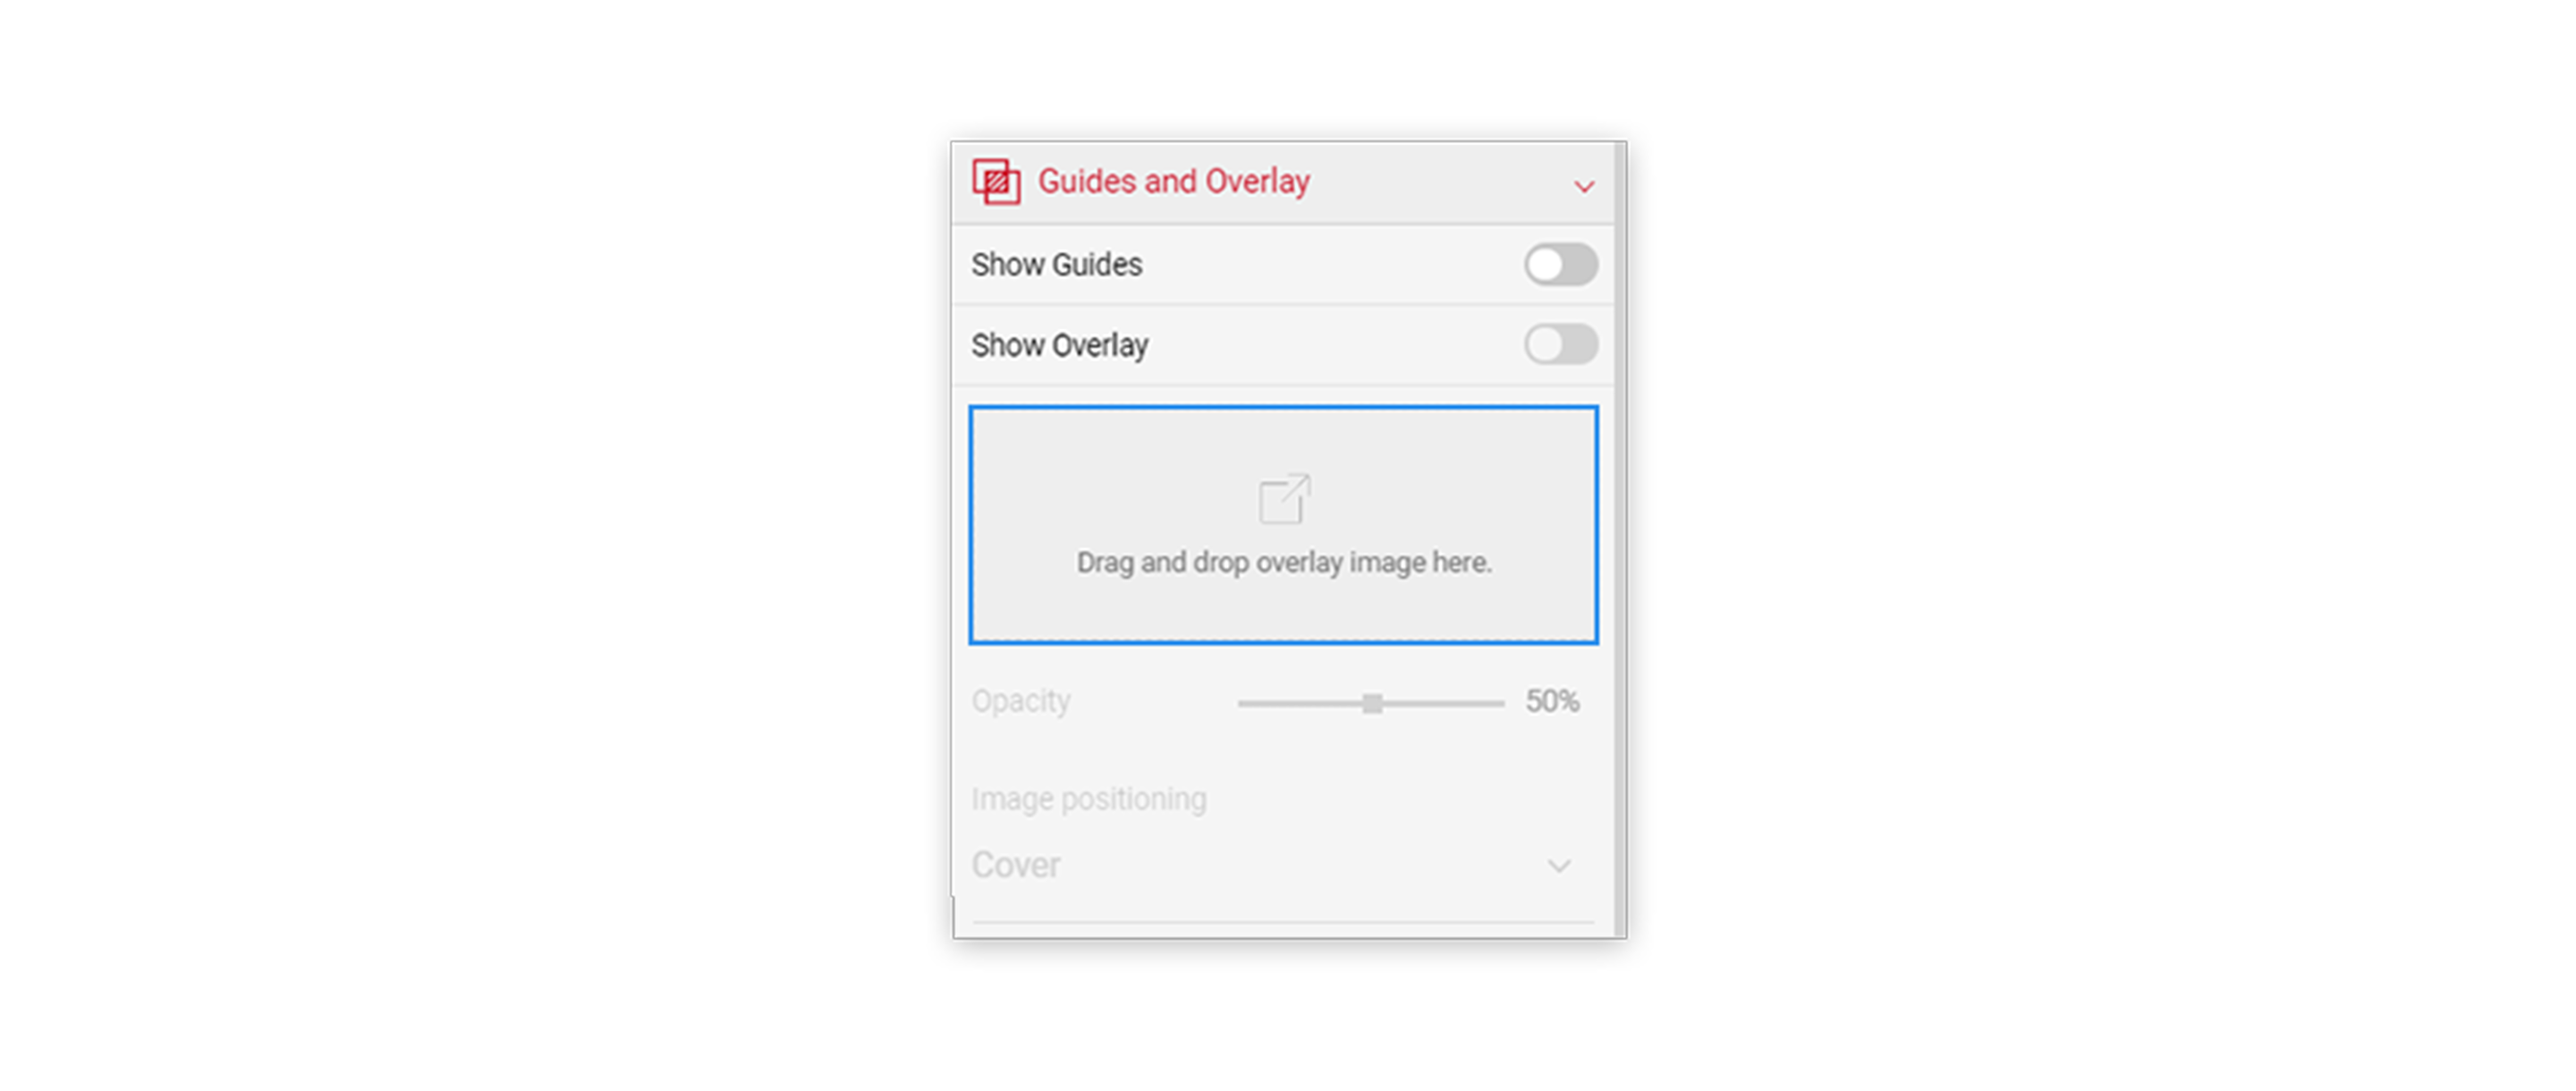
9 The image is automatically added to the Viewport. We can adjust the opacity of the image appearance along with the display size of the image within the Viewport. Experiment with the opacity setting while creating the car position.
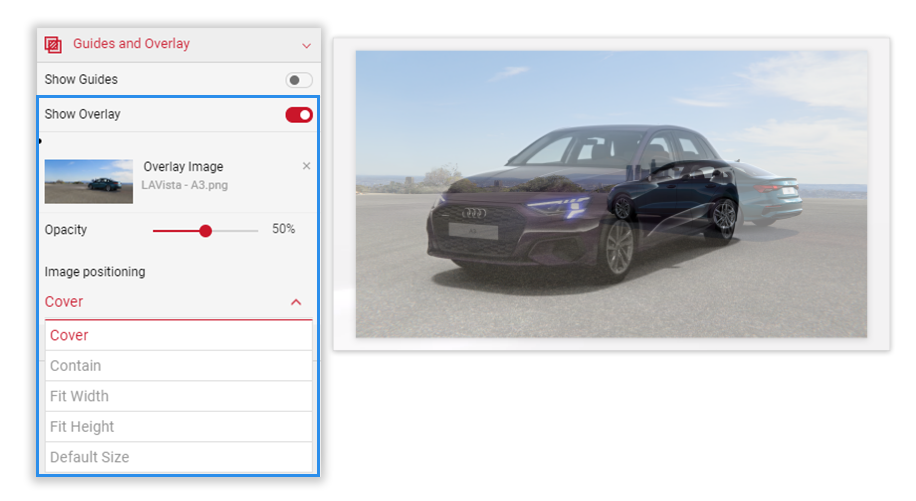
10 Use the Flycam to adjust and modify the position of the second car until the placement is correct. When ready, in the Render Options menu set Background Options to the Transparent setting. Take a Quick shot picture.
Tutorial Tip
Remember to set the correct environment in the Viewport before you output the final image. Even though we are outputting a transparent PNG we want to retain the environment reflections.