Tutorial Time: 12 mins


- Using PRCodes
- Changing Environment
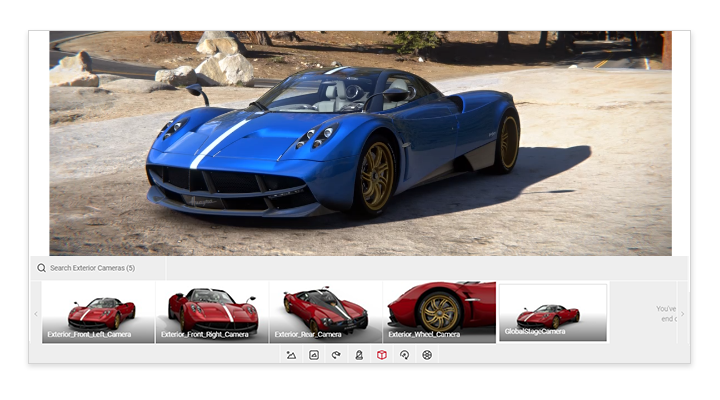
- Using an Exterior Camera
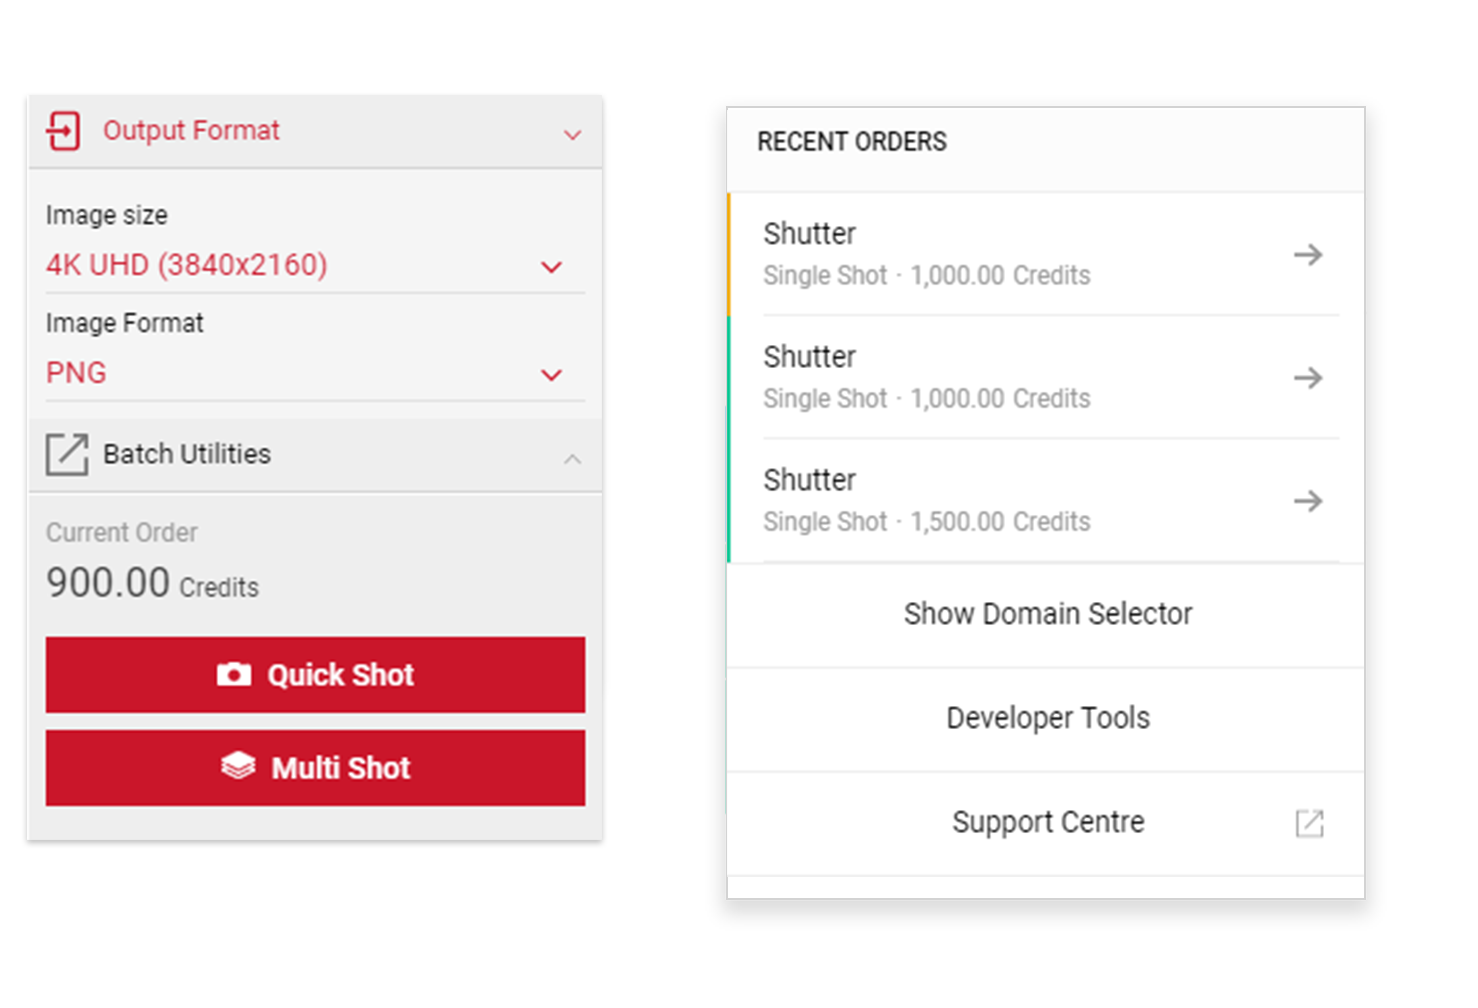
- Using the Output Format
- Taking a Quick Shot
What you will learn
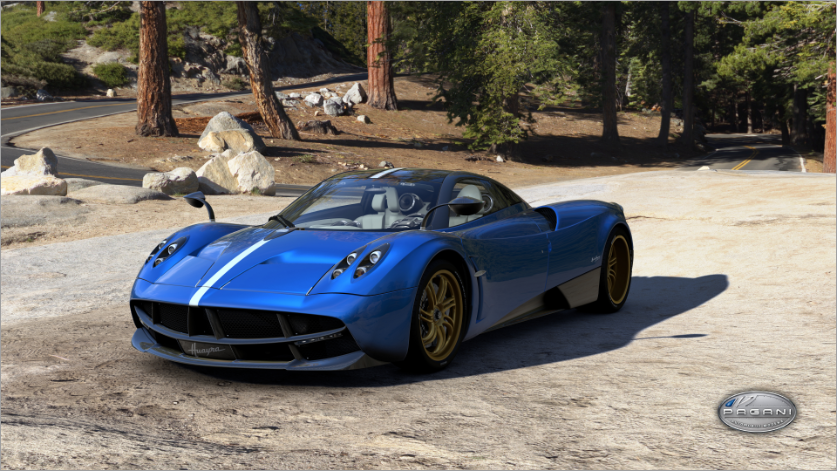
Using the Shutter app we will learn how to add a PRCode to change the car color. Select an environment and choose a pre-existing Exterior Camera setup for the position of the car. We will learn how to save a camera so we can reuse the camera or share it amongst team members.
Method
1
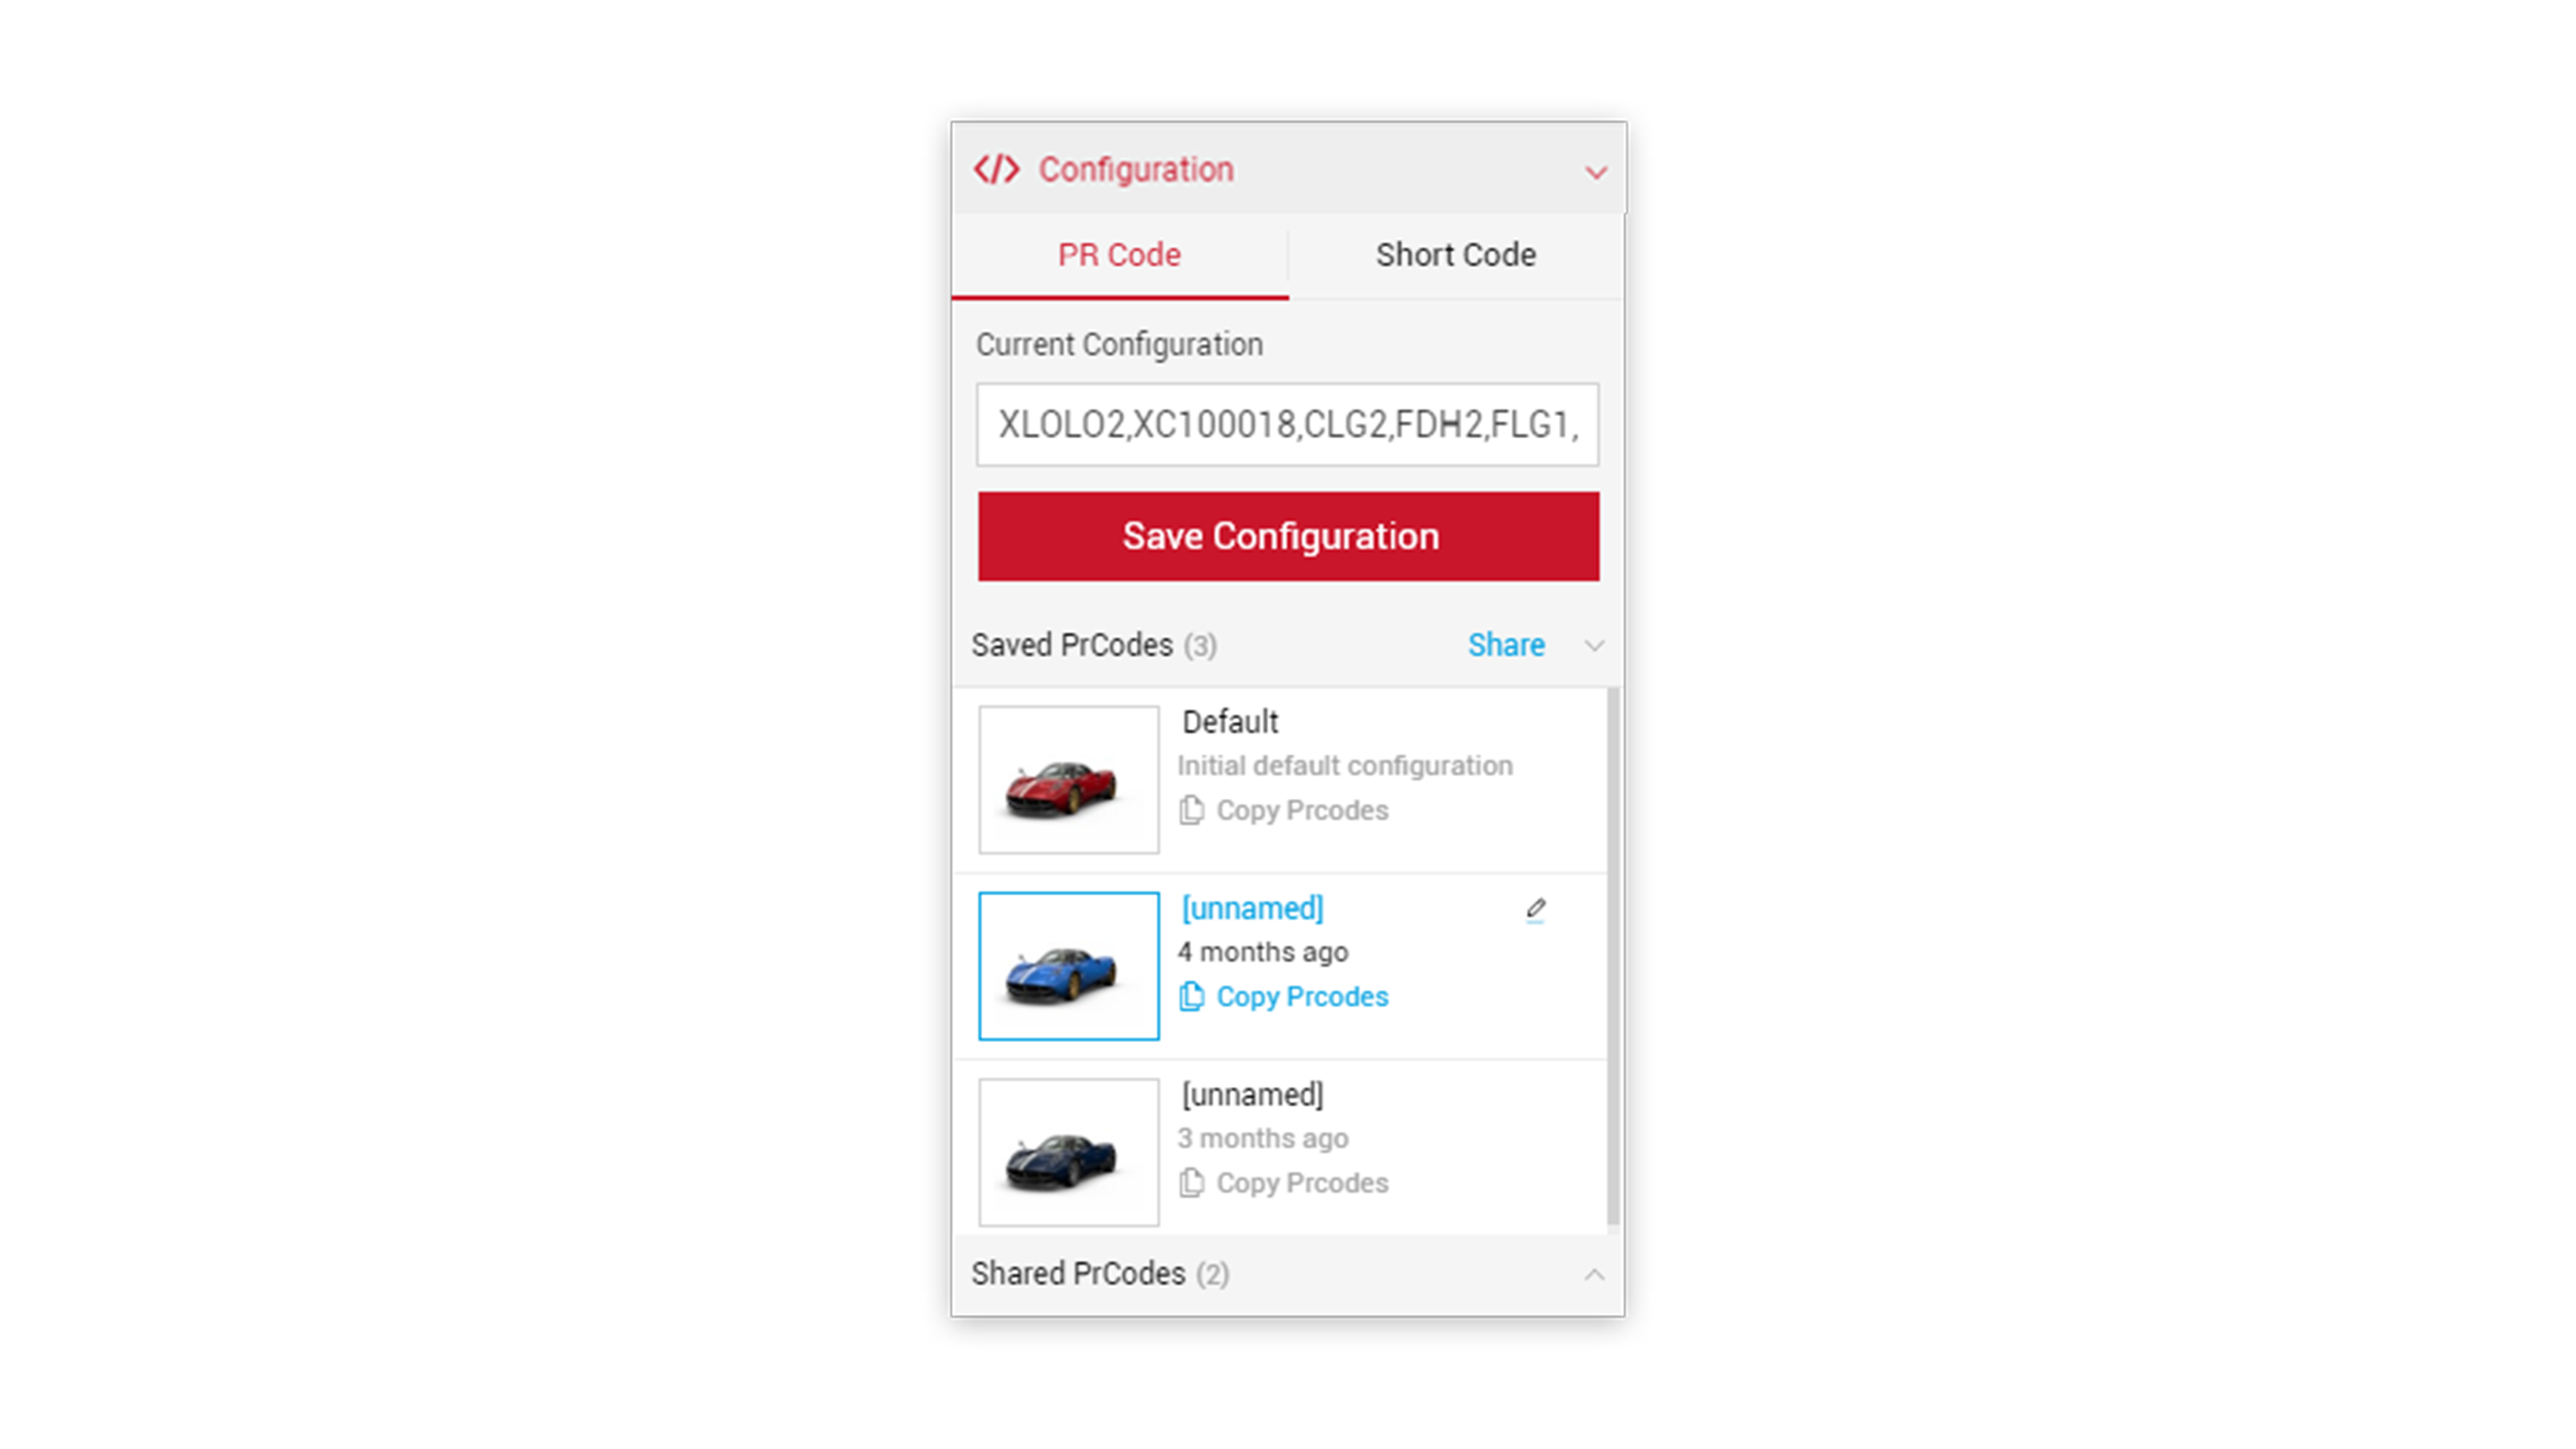
Copy and paste your PRCodes into the PrCode Configuration tab. Click on Apply and the car will change to your own configuration.
Make sure to click the Save Configuration button so you have it stored in the Saved PrCodes menu.
Tutorial Tip
Always remember to save your camera. In the Camera Configurations dropdown and add a name for the camera and click the Save Camera button. Should you change anything in the Viewport, you can save your changes to the camera at anytime.
2 Click on the environment icon within the Controls menu and select the Glacier Point environment
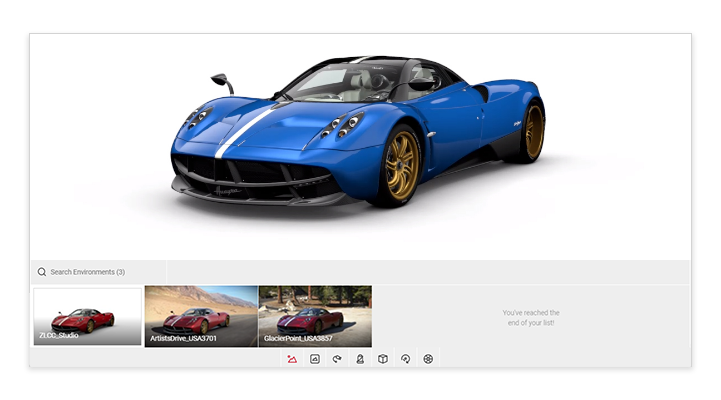
3 Click on the Exterior Camera icon within the controls menu and select the GlobalStageCamera.
4 The car and environment are all in ready. Set the Output format to 4k and the image format to PNG. Then click the Quick Shot button. The image will be added to the Render Queue where you can see it processing before you are ready to download.